Small 3D Rangoli Ideas That Look Simply Stunning
Small 3D rangoli ideas are perfect for anyone who wants to create something beautiful without taking up too much space. These designs use layers, petals, and simple materials to give the rangoli a raised, lifelike appearance.
Whether you are decorating for a festival or brightening up a corner of your home, a well-made 3D rangoli can make a big impression. They are creative, fun to produce, and look far more striking than their size suggests. This guide walks you through everything you need to get started, from choosing materials to finishing your first design with confidence.
What Makes a Rangoli Look Three-Dimensional
A rangoli becomes three-dimensional when it has visible depth. This is achieved by layering materials so that some parts rise above the flat surface. Flower petals folded at different angles, piled sand, stacked diyas, or coiled clay all help create this raised effect.
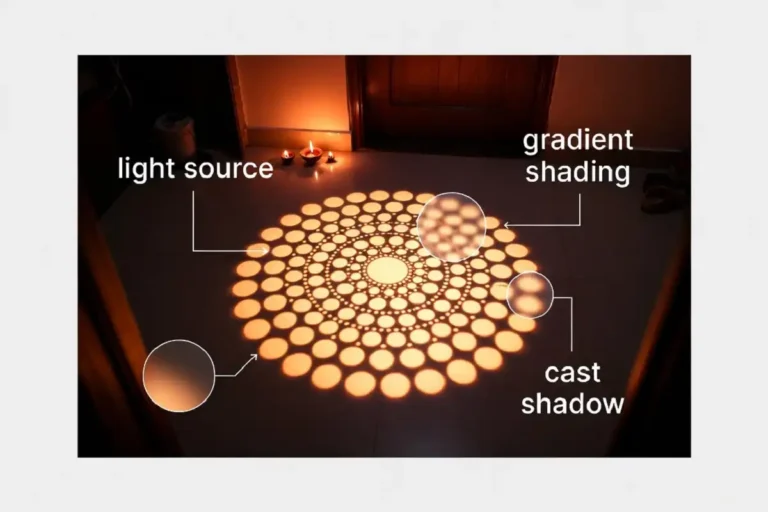
The result is a design that casts small shadows and catches light in a way that flat rangoli simply cannot. Even a compact design of 12 to 18 inches can look incredibly detailed and eye-catching when built up with layers and care.
Why These Designs Are Worth Trying
Many people assume that bigger is better when it comes to rangoli. But small 3D rangoli ideas have their own clear advantages that make them genuinely worth your time.
Small designs also encourage you to focus on detail, which often results in a cleaner and more polished final look than a large, rushed piece.
Best Materials for Small 3D Rangoli Ideas
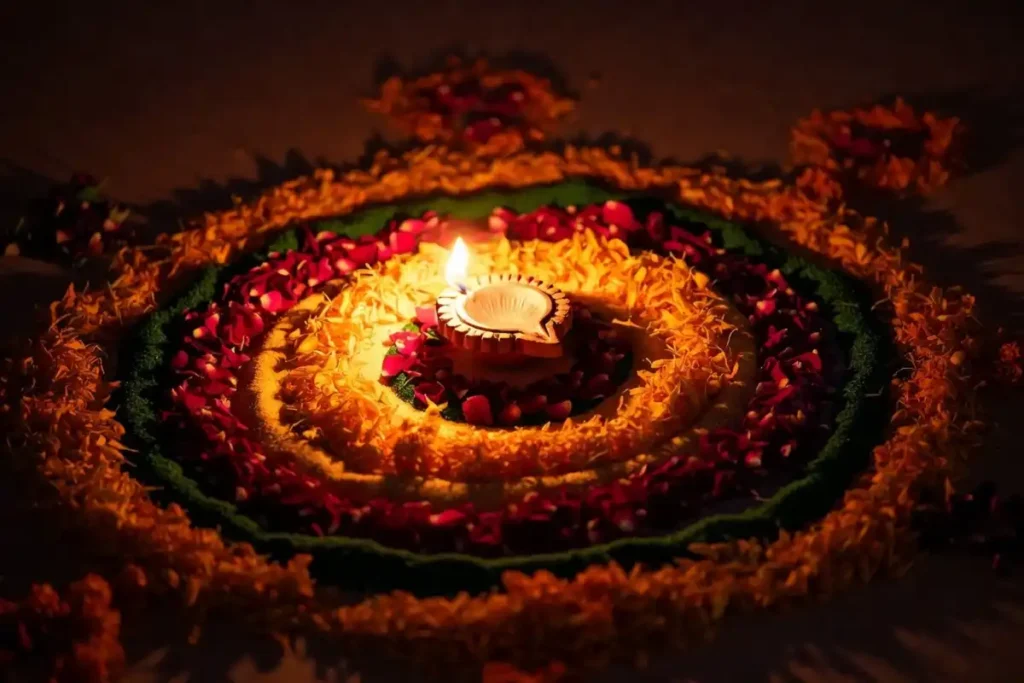
Choosing the right materials makes a noticeable difference in how your design turns out. The following options are widely used when creating small 3D rangoli ideas with a raised, dimensional effect.
- Fresh flower petals — The most common choice. Marigold, rose, and jasmine petals layer well and hold their shape for several hours. Folding petals slightly before placing them gives a curved, realistic appearance.
- Colored sand and powder — Forms the base of most rangoli. Use finer powder for flat areas and slightly coarser sand where you want texture and raised edges along the outline.
- Diyas and clay elements — Add real height and warmth to any design. Placing small lit diyas at the center or corners creates a glowing focal point that draws the eye inward.
- Pulses and seeds — Moong dal, rajma, or rice can fill in outlines and create subtle raised lines. Inexpensive and easy to source from any kitchen.
- Foam or cardboard base layers — A practical modern trick. Cutting small shapes from craft foam and covering them with petals or powder creates a consistent raised surface with very little extra effort.
Easy Small 3D Rangoli Ideas to Try at Home
The designs below are some of the most popular small 3D rangoli ideas that work well for beginners and experienced makers alike. Each one uses simple techniques that build on each other.
Lotus Flower with Layered Petals
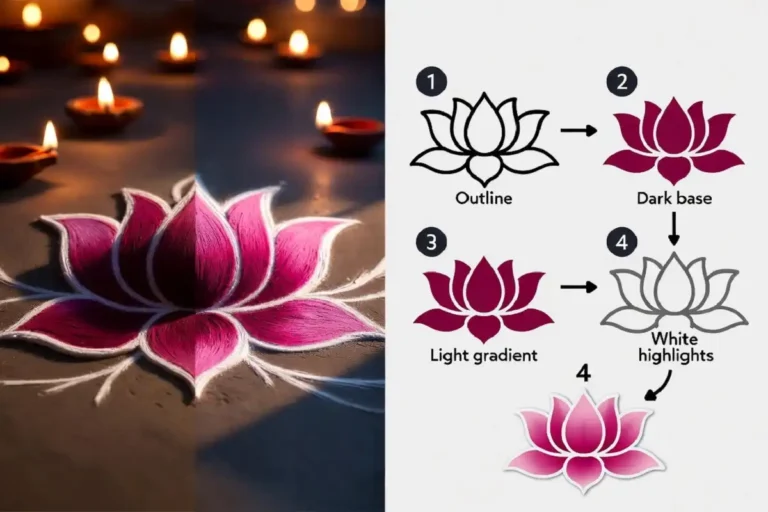
⏱ ~20 minThe lotus is one of the most beloved shapes for rangoli, and it adapts beautifully to a 3D format. Start by drawing a simple circle about 10 to 12 inches wide. Fill the center with yellow or orange powder. Then place real petals around the edge in overlapping layers, with each layer slightly higher than the last. Use pink petals for the outer ring and white petals for the inner ring. Add a small diya at the very center. This design looks beautiful near an entrance or on a puja thali.
Geometric Hexagon with Raised Lines
This is a great option for those who prefer clean, modern patterns over floral designs. Draw a hexagon outline using chalk or a stencil. Fill each section with a different color of rangoli powder. Then use rice or coarse sand to build up the border lines between sections, creating visible ridges. The raised lines give the illusion of depth and make each color section stand out clearly. This approach works especially well for beginners who want quick and practical ideas to try at home.
Concentric Circles with a Diya Center
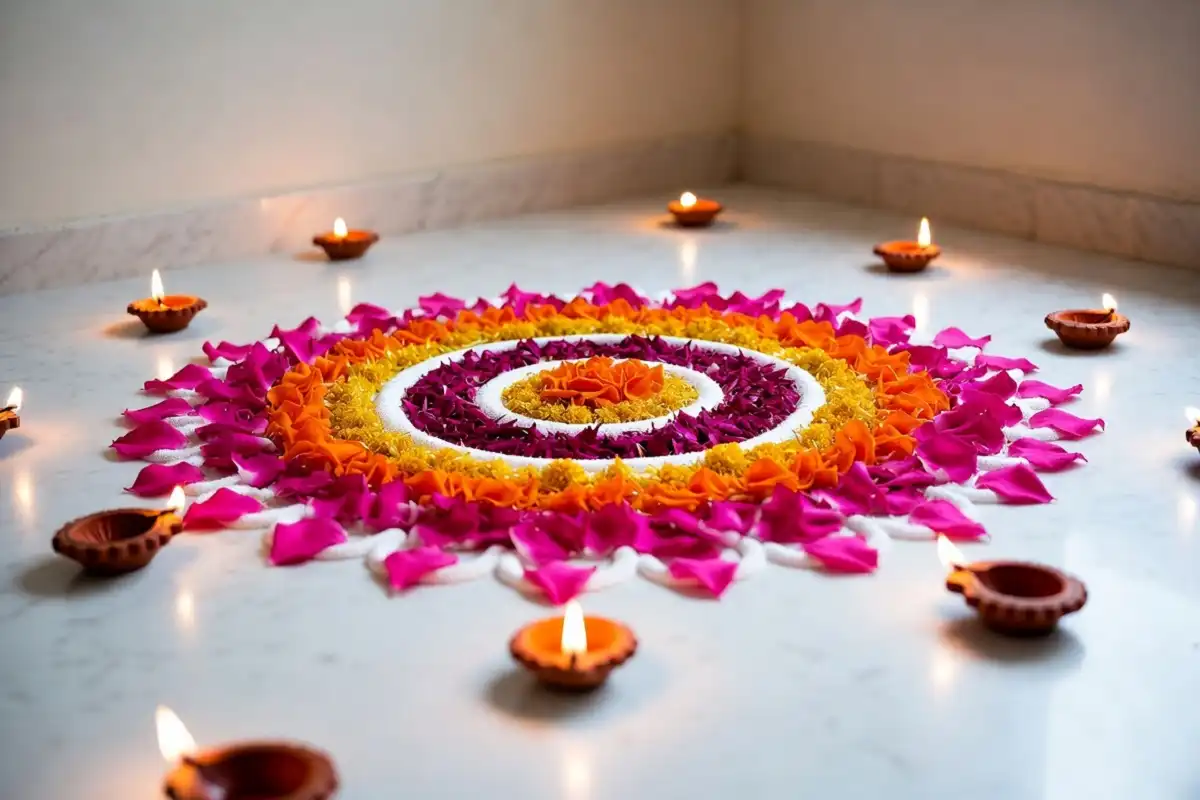
Concentric circle designs are timeless and easy to adapt for a 3D effect. Draw three or four circles inside each other. Fill the outer ring with flower petals laid flat. Fill the next ring with petals placed upright or lightly folded. Continue inward with each ring slightly more raised than the one before. Place a burning diya or small candle at the center. The graduating layers create a dome-like effect that photographs beautifully.
Peacock Feather Design
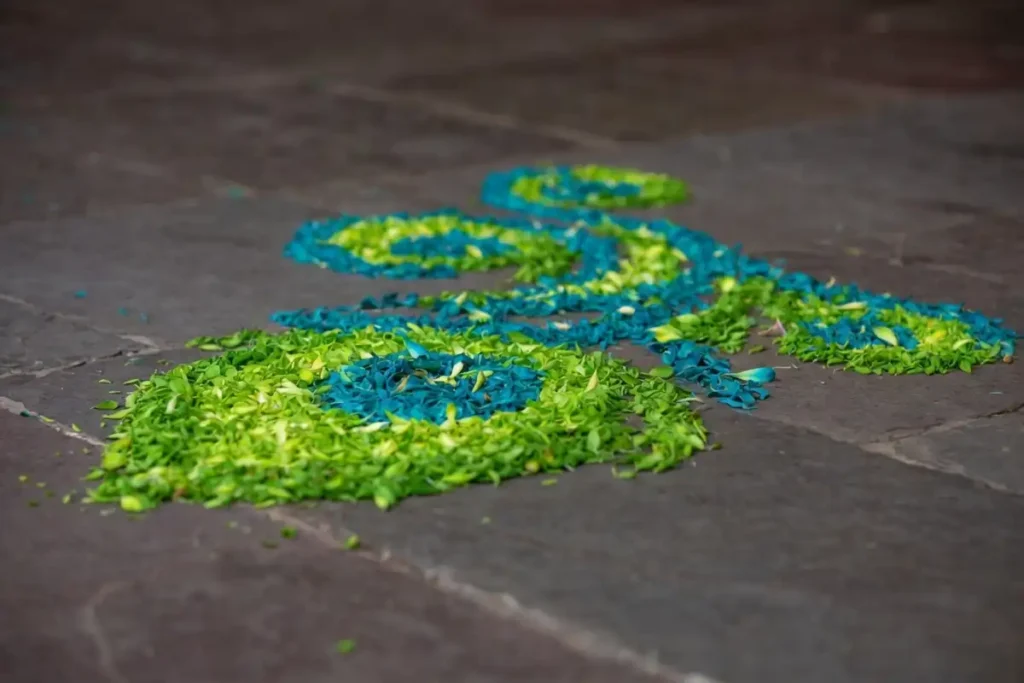
A peacock feather motif translates elegantly into small 3D rangoli ideas. Sketch the basic feather shape, then use folded green and blue petals to fill the spine and eye of the feather. Layer the petals at slightly different angles to mimic the real texture of a feather. This design works well as a standalone piece on a small surface or as a symmetrical pair placed near a door.
Star Pattern with Foam Layers
⚡ Fastest to makeCut two triangles from thin foam or thick cardstock and overlap them to create a six-pointed star. Cover this raised base with colored powder or petals. Because the foam lifts the center, the design has a natural 3D quality even with minimal additional effort. Fill the points of the star in alternating colors for contrast. This is one of the fastest small 3D rangoli ideas to assemble during busy festival days.
Kolam-Inspired Design with 3D Petal Clusters
A kolam-style pattern with curved lines and dots can also be made three-dimensional by adding small petal clusters or sand ridges along its curves. If you enjoy this style, you will find a great starting point in beautiful and easy daily kolam designs that can be adapted by simply layering petals along their lines to build height.
Simple Mandala with Raised Petals
A mandala is one of the most satisfying small 3D rangoli ideas to work through. Begin with a dot at the center and draw outward in equal sections, like slices of a circle. Fill alternating sections with different colors. Then add dried rose petals, folded upward at their tips, along the outer ring. The slight lift of the petals gives the whole mandala a three-dimensional crown that catches the light from every angle.
Tips for Getting the 3D Effect Right
Getting the depth to look realistic takes a little practice, but these tips will help from your very first attempt with small 3D rangoli ideas.
- Work from the outside in. Start placing your base layer at the outer edges and gradually build height as you move toward the center. This creates a natural rise that looks intentional and graceful.
- Use tweezers for small petals. Handling tiny petals with your fingers can crush or flatten them before they are placed. Tweezers give you more control and keep each petal intact.
- Mist lightly with water. A very fine mist over fresh petals helps them hold their shape and prevents them from curling too quickly. Dampen them slightly; do not soak them.
- Keep the base dry and clean. Moisture on the floor will cause powder rangoli to spread and blur. Wipe the surface before you begin and keep it dry throughout the process.
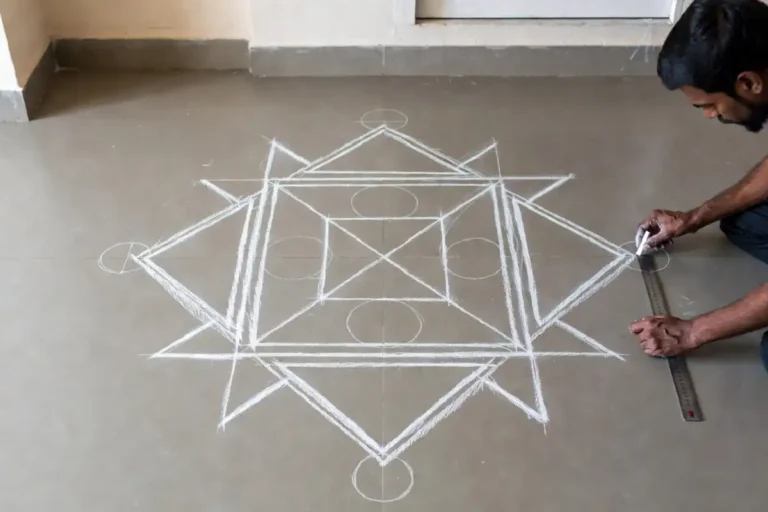
- Use a white outline first. Sketching your design in white chalk or white rangoli powder before adding color gives you a clear guide without wasting materials.
- Plan your height gradient before you start. Decide in advance which areas will be flattest and which will be tallest. Having that plan in mind makes the layering process faster and more consistent.
How Long Does a Small 3D Rangoli Last
hours
A small 3D rangoli made from fresh petals will typically last between 6 and 12 hours before the petals begin to wilt. Powder-based designs with raised sand ridges can last a full day indoors if left undisturbed. Designs made with foam or clay bases last even longer since only the decorative covering is perishable.
To extend the life of your design, keep it away from direct fan airflow and foot traffic. Avoid placing it near a door that opens frequently, as moving air will disturb the petals.
For occasions where durability matters, consider using artificial flower petals or dried botanicals instead of fresh blooms. According to home decor guides published on Architectural Digest India, combining natural and artificial elements is a practical approach that maintains visual impact while improving how long the design holds together.
Small 3D Rangoli Ideas for Festivals and Special Occasions
Small 3D rangoli ideas can be adapted for almost any celebration. Here are some of the most common occasions and how to tailor your design for each one.
Common Mistakes to Avoid
Even experienced rangoli makers can run into trouble when working on small 3D rangoli ideas. Here are the most common errors and how to avoid them from the start.
Adapting Small 3D Rangoli Ideas for Different Spaces
Not every home has the same kind of floor space, lighting, or surface type. Here is how to adjust small 3D rangoli ideas based on where you plan to place your design.
Small 3D Rangoli Ideas for Beautiful Home Decor
Small 3D rangoli ideas prove that you do not need a large canvas to create something truly impressive. With the right materials, a clear plan, and some patient layering, even a compact design can light up an entrance and express real artistry.
From lotus flowers to peacock feathers and geometric stars, the options are endless and accessible to anyone willing to try.
The next time you want to add something special to your home, give one of these designs a go and see how much warmth a small but thoughtful rangoli can bring. For more creative directions, modern and simple rangoli designs are also worth exploring whenever you are ready for fresh inspiration.
FAQs
Q. What are small 3D rangoli ideas exactly?
Small 3D rangoli ideas are compact floor or surface decorations that use layered materials to create a raised, three-dimensional appearance within a limited size, typically between 10 and 20 inches. They rely on fresh petals, colored powder, foam bases, or clay elements stacked at different heights to produce visible depth and shadow.
Q. Can a complete beginner try small 3D rangoli ideas at home?
Yes, a beginner can absolutely try small 3D rangoli ideas at home without any prior experience. Starting with a basic lotus or concentric circle requires no special skills. The key is to layer materials from flat at the outer edges to raised at the center, which creates the 3D effect naturally.
Q. What materials are best for creating a 3D rangoli at home?
Fresh flower petals like marigold and rose, colored rangoli powder, small diyas, rice, craft foam, and clay shapes are all excellent choices. Marigold petals are especially popular because they hold their shape well and come in vibrant shades that make any design stand out immediately.
Q. How do I stop my 3D rangoli from falling apart during the day?
Keep the design away from fans, open windows, and foot traffic. A light mist of water over petal designs helps them stay in place. For longer events, use artificial petals or mix in slightly damp sand along the borders to give the design more stability throughout the day.
Q. How much time does it take to complete a small 3D rangoli?
Most compact 3D rangoli designs can be completed in 20 to 45 minutes depending on the pattern and materials used. Simple lotus or star designs take closer to 20 minutes, while detailed peacock feather or mandala designs may take up to an hour for a clean and careful finish.
Q. Do I need special tools to make 3D rangoli?
No special tools are required. A chalk pencil or white rangoli powder for sketching the outline, a small spoon or cone for applying colored powder, and a pair of tweezers for handling small petals are all you need. Stencils are optional but helpful for keeping shapes consistent when you are starting out.
🌸 Ready to try more compact designs?
Explore Modern Simple Rangoli Designs to Try at Home