Simple 3D Rangoli For Home: Easy Beginner Ideas
A flat rangoli is lovely, but a raised one feels almost magical. With a few shading tricks, your floor design can look like it lifts off the ground. The good news is that a simple 3D rangoli for home does not need expert skills or costly tools. You only need basic colors, a steady hand, and a little patience. In this guide you will learn the core method, beginner-friendly patterns, and festival ideas. By the end, you will feel ready to draw a design that surprises every guest who walks in.
What Makes a Rangoli Look 3D?
The 3D look comes from shading, not from any special powder. When one side of a shape is dark and the other side is light, our eyes read it as depth. That single idea drives almost every raised design.
Three things create the illusion:
- Light and dark colors placed side by side
- Soft blending between shades so there is no hard edge
- A clear light direction, meaning the same side stays bright in every shape
Once you understand this, a simple 3D rangoli for home becomes far less scary. You are simply painting light and shadow on the floor.
Materials You Will Need
You likely have most of these at home already. Keep them ready before you start so your flow is not broken.
- Rangoli powder in light, medium, and dark shades of one color
- White powder for highlights
- A small cone or a folded paper for fine lines
- A flat brush or your fingertips for blending
- A pinch of chalk to mark the outline
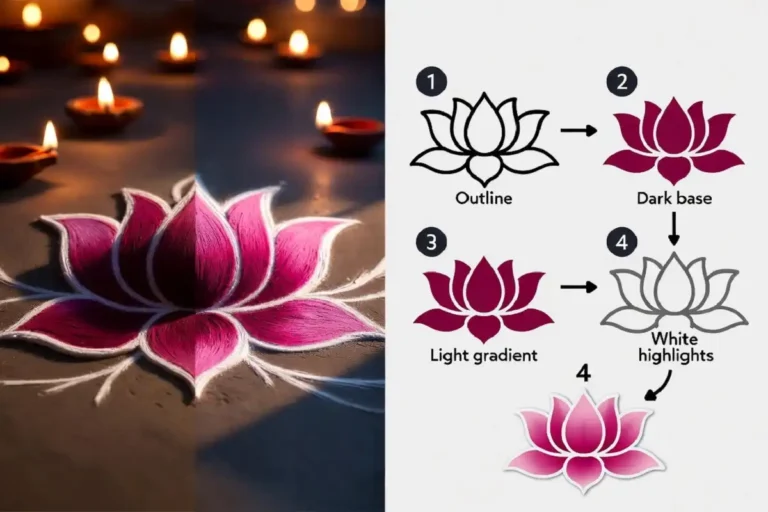
Using shades from the same color family is the easiest path. For example, light pink, rose, and deep maroon together give a smooth gradient that reads as 3D.
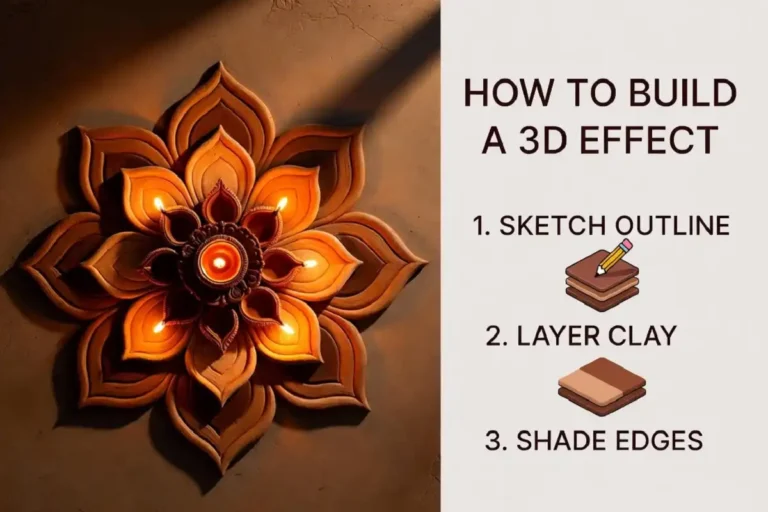
How to Make a Simple 3D Effect
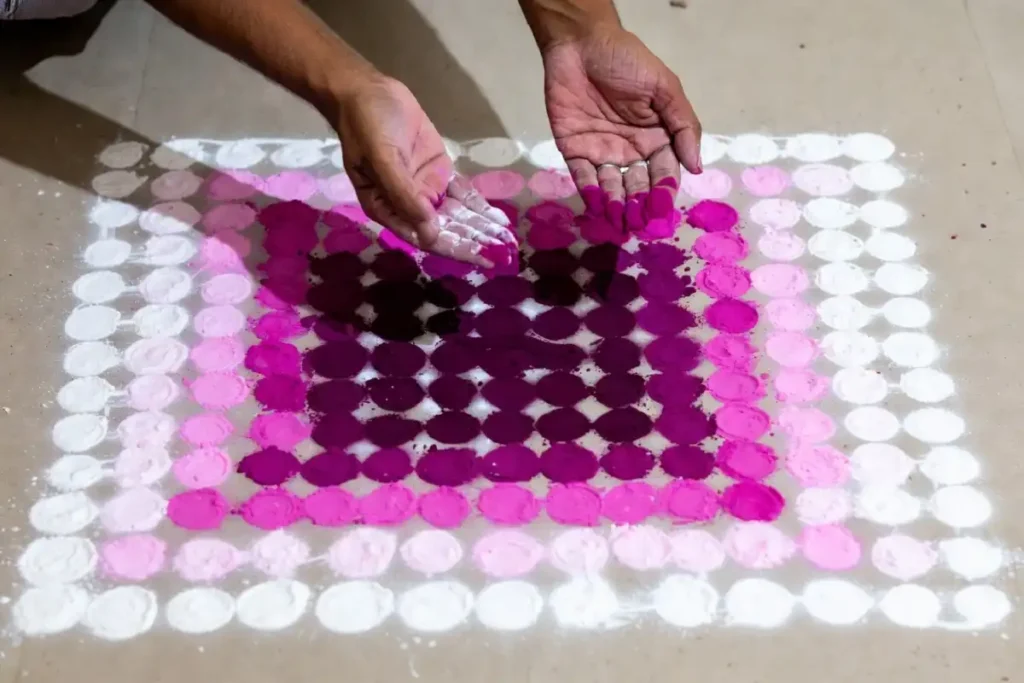
This is the heart of the whole design. Follow these steps slowly the first time.
- Draw the outline with chalk. A circle, a single petal, or a small square is enough to begin.
- Add the darkest shade along one edge of the shape.
- Place the medium tone in the middle area.
- Fill the lightest tone on the opposite edge.
- Blend gently where two shades meet so the change looks smooth.
- Add a thin white line on the brightest edge for a glowing highlight.
That sequence turns a flat petal into one that seems to curve upward. Repeat the same shading on every petal or curve, and a full simple 3D rangoli for home starts to appear.
If you are still building confidence with floor art in general, you may enjoy these beginner entrance design ideas before moving to raised effects.
Easy 3D Patterns for Beginners
You do not need a complex layout to impress people. A few simple shapes carry the 3D look beautifully.
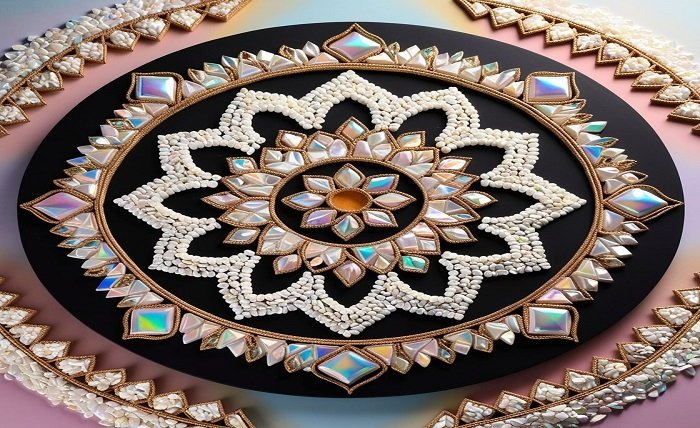
Floating Petals
Draw five or six petals around a center dot. Shade each petal with the same light direction. The petals will look like they hover above the floor.
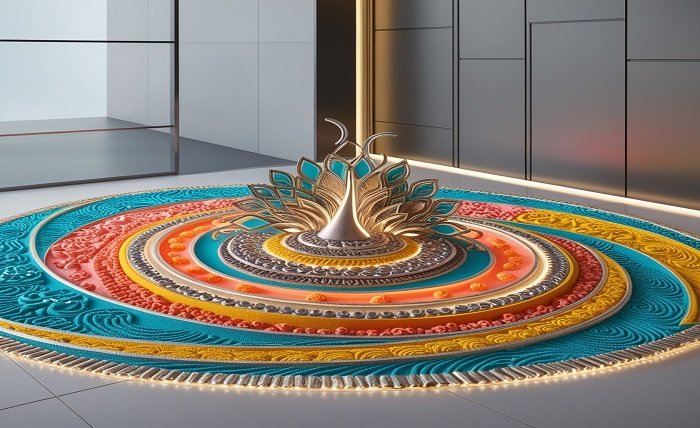
Spiral Tunnel
Make rings of color from light in the center to dark at the edge. This creates a sense of a deep tube going into the floor. It looks advanced but uses only one shape repeated.
Cube Cluster
Three diamonds joined at a point form a cube. Shade the top face light, one side medium, and the other side dark. A few cubes together make a striking modern design.
These three patterns are perfect practice. They teach shading without demanding fancy line work, which is exactly what a simple 3D rangoli for home should feel like.
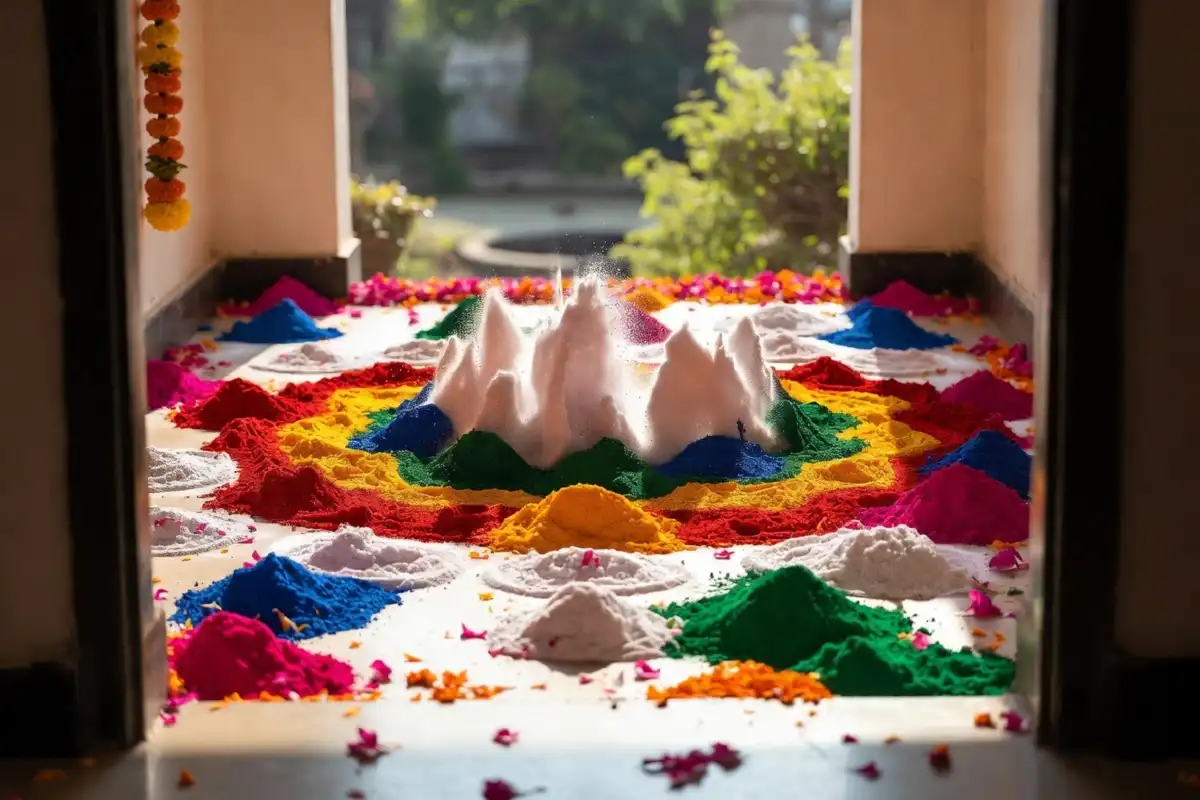
Best Designs for Festivals
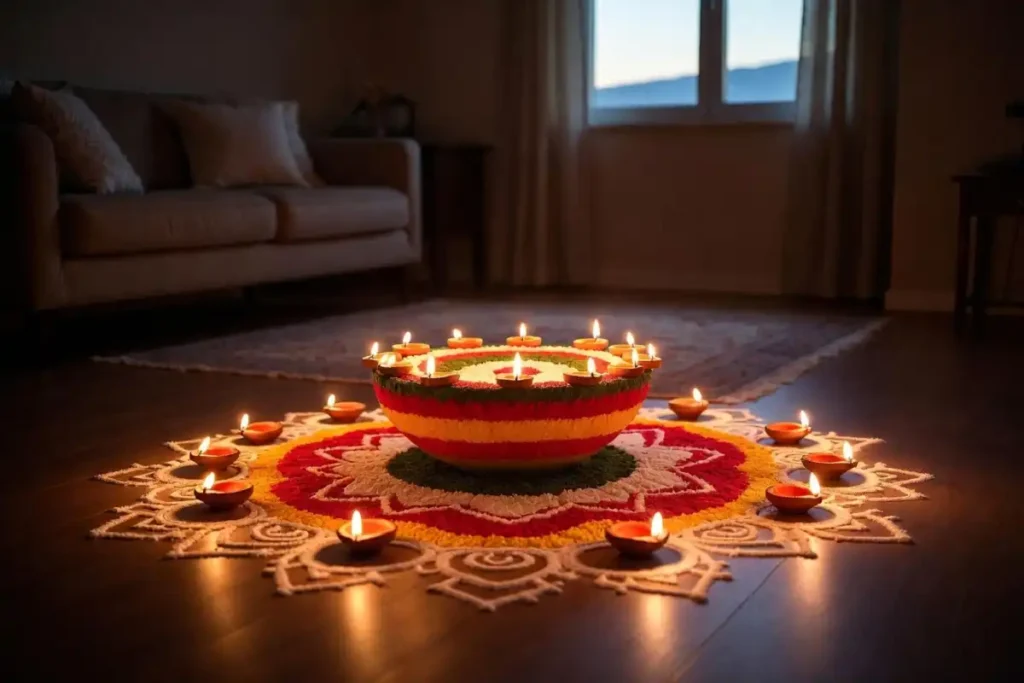
Festivals are the perfect time to bring out a raised design, since guests notice it instantly. A glowing bowl shape, a deep lotus, or a rising star all suit a celebration mood.
For a warm festive scene, place diyas around the edge of your design. The light from the flames deepens the shadows and makes the 3D effect even stronger after dark.
If you like adding meaningful symbols, you can pair your raised pattern with a small auspicious motif. These festive swastik patterns sit nicely in the corners of a larger 3D layout. You can also place a sacred symbol in the center using this easy om design guide and then add shading around it for a raised frame.
Rangoli itself carries deep cultural meaning across India, and you can read more about its history and regional styles on Wikipedia or in this overview from Britannica.
Tips to Keep Your Design Clean
Small habits make a big difference in the final result.
- Work from the center outward so you never smudge finished areas
- Keep a dry cloth nearby to wipe your fingers between shades
- Press lightly when blending, since heavy hands flatten the gradient
- Step back often to check that the light direction stays the same
- Practice one petal on paper first if you feel unsure
A common mistake is using too many colors. A simple 3D rangoli for home actually looks cleaner with just one color family and a single white highlight.
Where to Place a 3D Rangoli at Home
Placement decides how much impact your work has. Choose a spot where people pause and look down.
- Main entrance: the first thing guests see
- Pooja room: adds focus and devotion
- Living room center: great for gatherings
- Balcony corner: a quiet, personal touch
A smooth tile or cement floor gives the best surface, since rough ground breaks the gentle blending that the 3D effect depends on.
FAQs
Is a 3D rangoli hard for beginners?
What colors work best for a 3D effect?
How long does it take to make one?
Can I make a 3D rangoli without special powder?
Do I need to draw straight lines perfectly?
Conclusion
Creating a raised floor design feels far easier once you see that it is all about light and shadow. With a few shades of one color and gentle blending, a simple 3D rangoli for home turns an ordinary corner into a small piece of art. Start with floating petals or a spiral, keep your light direction steady, and add a white highlight to finish. As you practice, your hands will grow steadier and your designs bolder. For your next celebration, give it a try and let your floor welcome guests with a touch of depth and charm.