Easy 3D Rangoli With Colors: A Simple Guide for Beautiful Floor Art
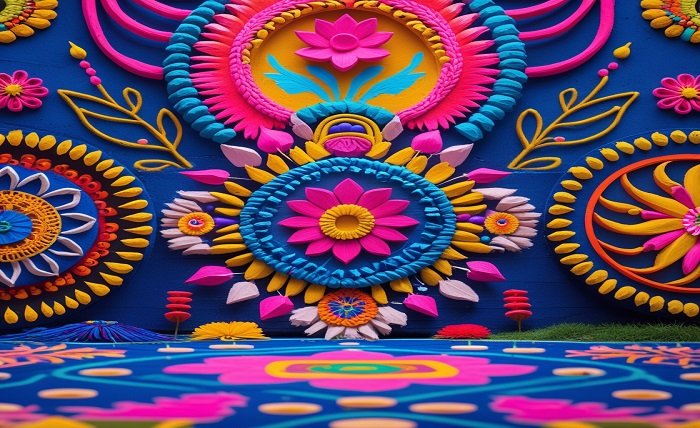
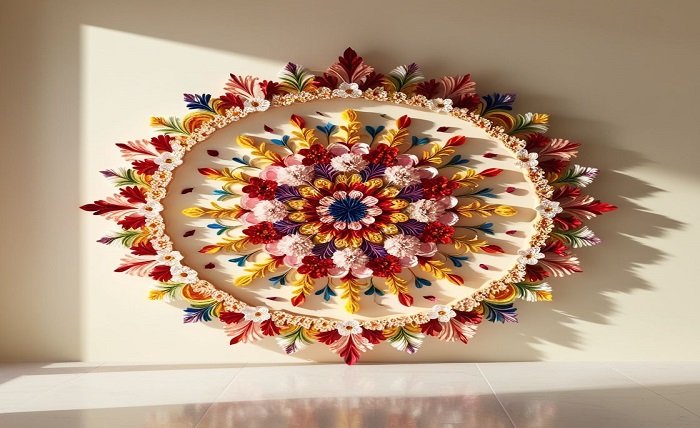
Floor art has always been part of joyful celebrations across many homes. A flat design looks lovely, but adding depth gives it a fresh and modern touch. That is why easy 3D rangoli with colors has become a favorite for festivals, weddings, and family gatherings. The idea is simple. You use light and shade to make patterns appear raised or sunken. With a few basic tools and bright powders, anyone can try it. This guide breaks the process into clear steps so beginners feel confident from the very first attempt.
What Makes a Rangoli Look 3D
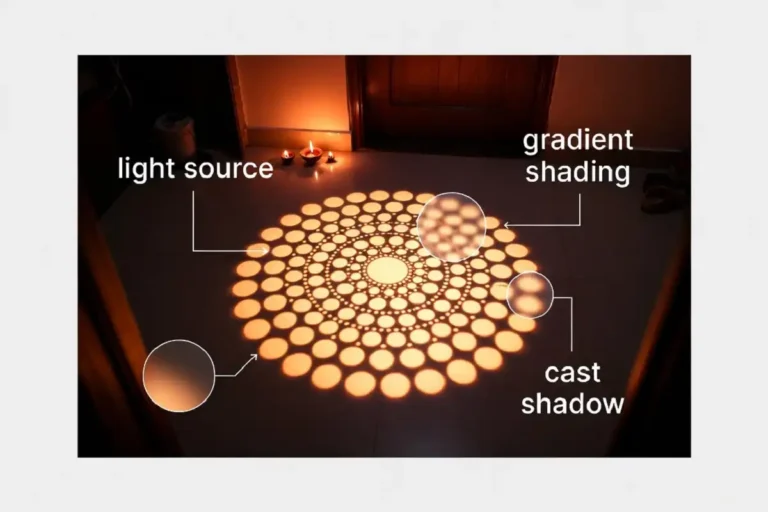
A three dimensional look comes from the way colors are placed next to each other. Your eyes read light and dark areas as height and depth. When one side of a shape is bright and the other side fades into a darker tone, the brain sees a curve or a rounded surface.
Three things create this effect:
- Shading from light to dark across a single shape
- A clear shadow placed on one side of the pattern
- Smooth blending so colors flow without harsh lines
Once you understand this, easy 3D rangoli with colors stops feeling difficult. You are simply painting with powder the same way an artist shades a drawing.
Tools and Materials You Will Need
Gathering the right supplies makes the whole task smoother. Most items are already in your home or easy to buy.
- Fine rangoli powder in several shades
- White powder or rice flour for highlights
- A dark shade like deep blue or black for shadows
- A small cone or squeeze bottle for outlines
- A flat brush and a soft cloth for blending
- Chalk or a pencil for the rough sketch
Keep a damp cloth nearby to clean your hands. Clean fingers help you control the powder better and keep the design neat.
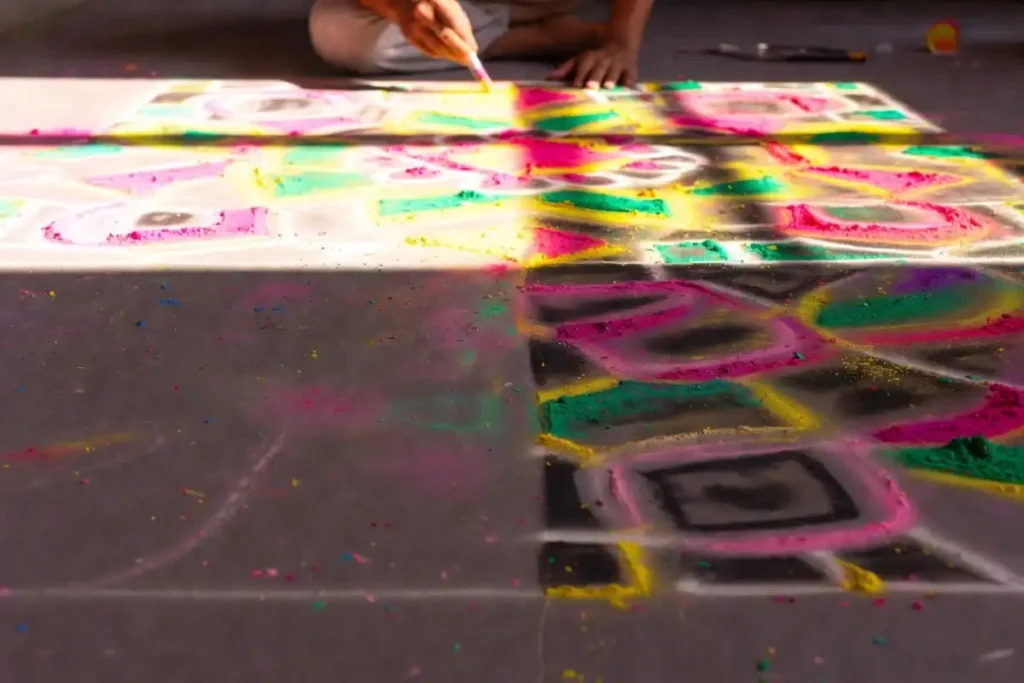
Step by Step Method for Beginners
Follow these steps slowly. There is no rush, and a calm pace gives a cleaner result.
Step 1: Plan and Sketch
Pick a simple shape first. A single flower, a diya, or a round ribbon pattern works well. Draw a light outline with chalk. Beginners often try too much at once, so start small and grow your design later.
Step 2: Lay the Base Colors
Fill each section with its main color. Do not worry about depth yet. Keep the powder even and smooth. This base is the foundation of your easy 3D rangoli with colors, so take your time here.
Step 3: Add Light and Dark Tones
Now the magic begins. Choose one direction as your light source, such as the top left. Add lighter powder on that side of each shape and darker powder on the opposite side. This contrast is what tricks the eye into seeing height.
Step 4: Blend the Edges
Use a soft brush or your fingertip to gently merge the light and dark areas. Smooth blending removes hard borders and makes the curve look natural. This single step often separates a flat design from a raised one.
Step 5: Place the Shadow
Add a thin band of dark powder just outside the shape on the shadow side. A shadow on the floor makes the pattern feel like it is lifting off the surface. Keep it soft and narrow.
Step 6: Finish With Highlights
Drop a few touches of white or very light powder on the brightest points. These highlights act like small reflections and complete the depth effect.
If you enjoy simple festive patterns, you can also explore a beginner friendly Om design and practice the same shading idea on it.
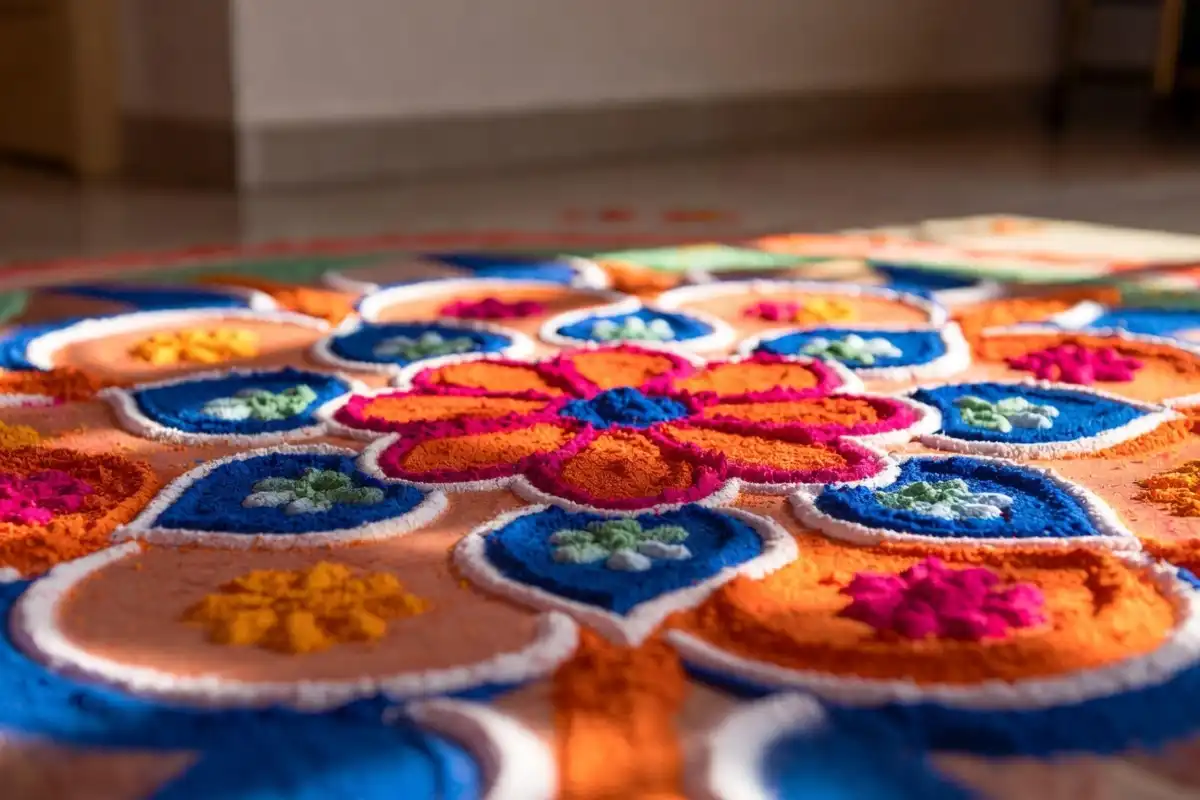
Best Color Combinations for a 3D Effect
Color choice changes how strong your depth looks. Pairs with a clear difference in brightness work best.
- Orange with deep maroon for petals and diyas
- Sky blue with navy for water or sky themes
- Pink with purple for soft floral curves
- Yellow with brown for earthy patterns
- Green with dark teal for leaves and vines
Always keep one shade much lighter and one much darker within the same family. This range is the heart of any easy 3D rangoli with colors because depth needs contrast to show.
Simple Pattern Ideas to Try
You do not need complex art to impress guests. These themes look striking even in a basic form.
Floating Diyas
Round lamp shapes with a glowing center are easy to shade and feel very festive. A soft shadow under each diya makes it look like it is resting above the floor.
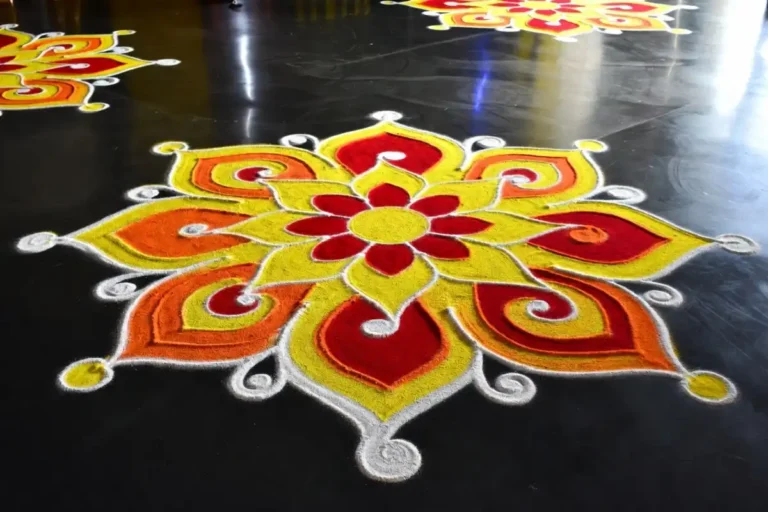
Layered Flower
Draw a flower where each petal sits slightly over the next. Shade the lower edge of every petal to build a stacked, raised look.
Spiral Tunnel
Concentric circles that grow darker toward the center create a sense of a deep hole or a glowing well. This is one of the most loved patterns in easy 3D rangoli with colors for new artists.
For more compact festive options, this set of small Swastik ideas pairs nicely with raised borders, and a simple beginner 3D guide offers extra practice patterns.
Helpful Tips for Cleaner Results
Small habits improve your final design more than you might expect.
- Work in good lighting so you can judge your shading
- Add color in thin layers instead of one heavy pour
- Step back often to check the depth from a distance
- Fix mistakes early before the powder spreads
- Keep your shadow direction the same across the whole design
A study of color and visual perception explains how contrast shapes the way we read depth, and you can read more through the Smithsonian. For broader background on this folk art tradition, the entry on rangoli at Britannica gives useful context.
Common Mistakes to Avoid
Beginners often repeat a few simple errors. Knowing them in advance saves time.
- Using two colors that are too similar, which kills the depth
- Forgetting the shadow, which leaves the design looking flat
- Blending too hard and turning bright tones muddy
- Choosing a light source on multiple sides at once
- Making the first design too large to control
Each fix is small, and your next easy 3D rangoli with colors will look sharper because of it.
FAQs
Is easy 3D rangoli with colors hard for total beginners?
What colors work best for a 3D look?
How long does a colorful 3D rangoli take?
Can I make 3D rangoli without special powder?
How do I keep the design from smudging?
Conclusion
Creating depth on the floor is simpler than it first appears. Once you understand how light and shadow guide the eye, easy 3D rangoli with colors becomes a relaxing and rewarding craft. Start with a small shape, focus on smooth shading, and add a soft shadow to lift your pattern off the ground. Choose color pairs with clear contrast, and remember that practice quickly improves your control. Whether you are decorating for a festival, a wedding, or a quiet family evening, these steps help you make floor art that feels alive and joyful. Gather your powders, pick a single shape, and enjoy the process from the very first try.