Quick 3D Rangoli Pattern: Easy Pop-Up Ideas
A floor design that looks like it lifts off the ground always draws a second glance. That visual depth is exactly why a quick 3D rangoli pattern has become a favorite for busy homes during festivals and family gatherings.
The good news is that you do not need to be an artist to make one. With a little shading and the right color order, even a beginner can finish a striking design in under 30 minutes.
In this guide, you will learn the core idea behind a quick 3D rangoli pattern, simple shapes to try, and a clear step-by-step method. If you are completely new to floor art, start with these beginner-friendly mandala rangoli basics before adding depth and shadow.
What Makes a Rangoli Look 3D?
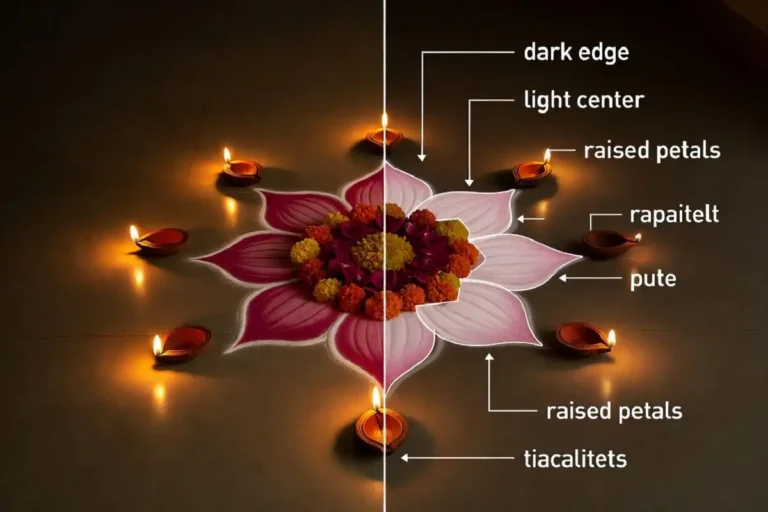
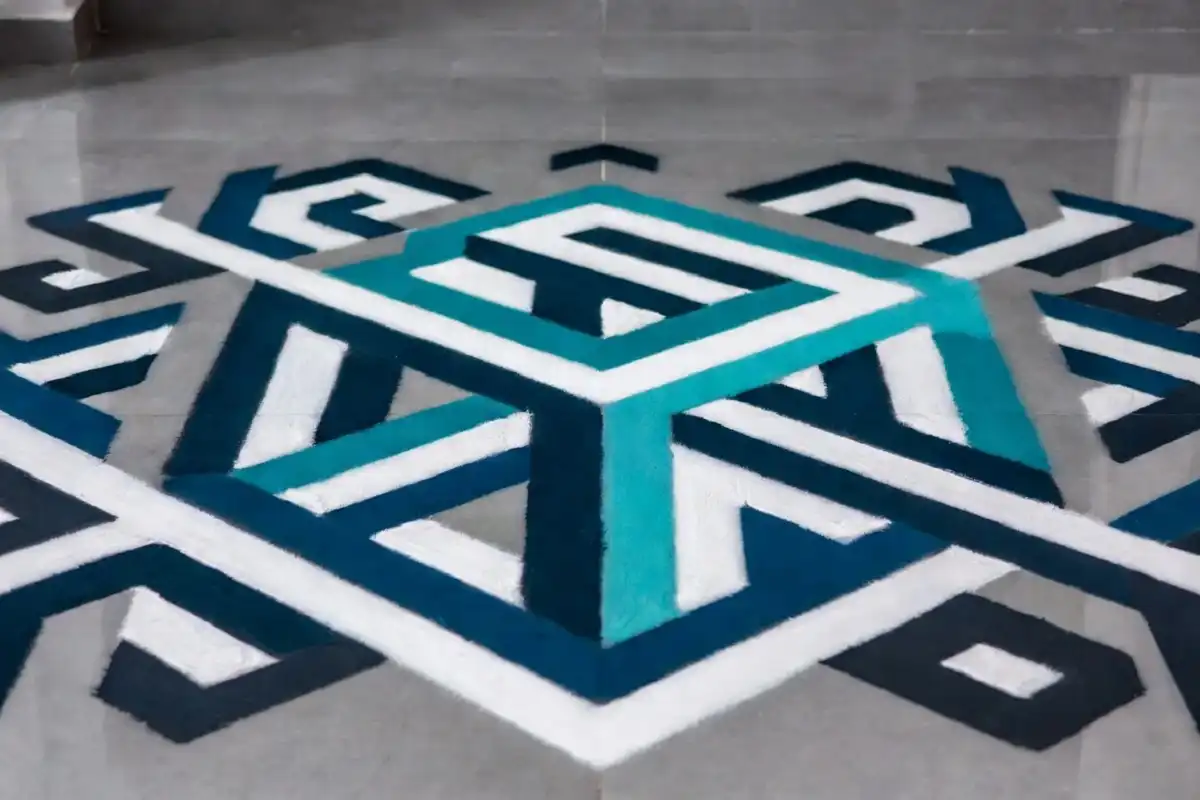
A 3D rangoli is not built up in physical layers. The “pop-out” effect is an optical illusion created with color and light.
The trick is shading. By placing dark tones on one side of a shape and light tones on the other, you fool the eye into reading flat powder as raised or sunken. This is the same logic painters use to make a circle look like a sphere.
Three elements do most of the work: contrast, gradient, and a clean outline. When dark and light sit side by side with a crisp edge between them, the shape appears to rise from the floor.
This shift from flat patterns to depth-driven designs is one of the biggest changes in modern rangoli. The art form itself is ancient, but the 3D approach gives it a fresh, contemporary feel that suits today’s home décor.
Easy Quick 3D Rangoli Pattern Ideas
You do not need a complex theme to start. The best quick 3D rangoli pattern ideas use one strong shape and bold shading. ⟵ (8)
3D Cube Stack
Draw three or four overlapping cubes in a cluster. Shade the top face light, one side medium, and one side dark. The blocks instantly look solid and stacked, like a small geometric tower on your floor.
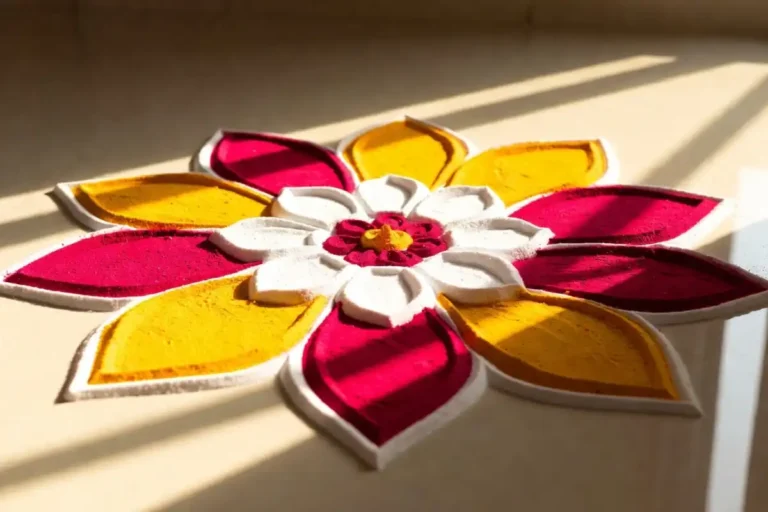
Pop-Out Lotus
A lotus is forgiving for beginners. Use soft pink and white gradients on the petals, keeping the center bright and the petal edges darker. The flower seems to float above a shadow.
Sinking Spiral Tunnel
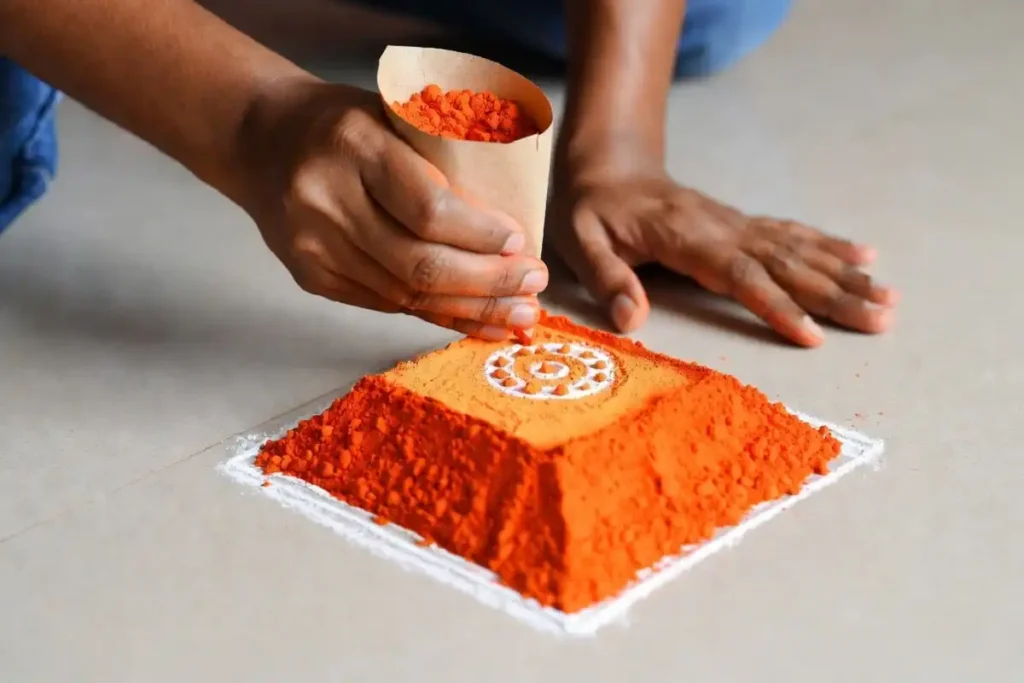
Concentric circles in alternating warm and cool colors create a tunnel that appears to dip into the ground. This is one of the most eye-catching designs and takes very little drawing skill.
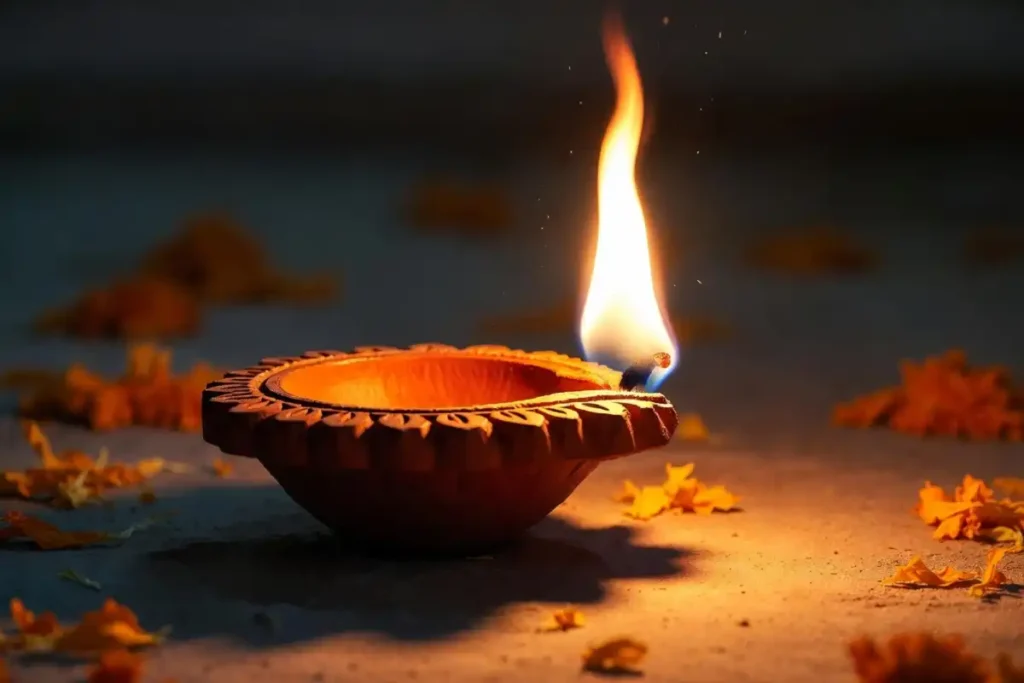
Diya That Rises
Perfect for Diwali. A glowing diya is a beginner’s favorite quick 3D rangoli pattern, using deep orange at the base and a yellow-white tip so the lamp looks like it stands upright on the floor. ⟵ (9)
If you enjoy flower-based looks, these simple petal rangoli designs pair beautifully with light shading to add a gentle 3D touch.
Step-by-Step Guide to a Quick 3D Rangoli Pattern
Follow these steps to make a clean quick 3D rangoli pattern at home.
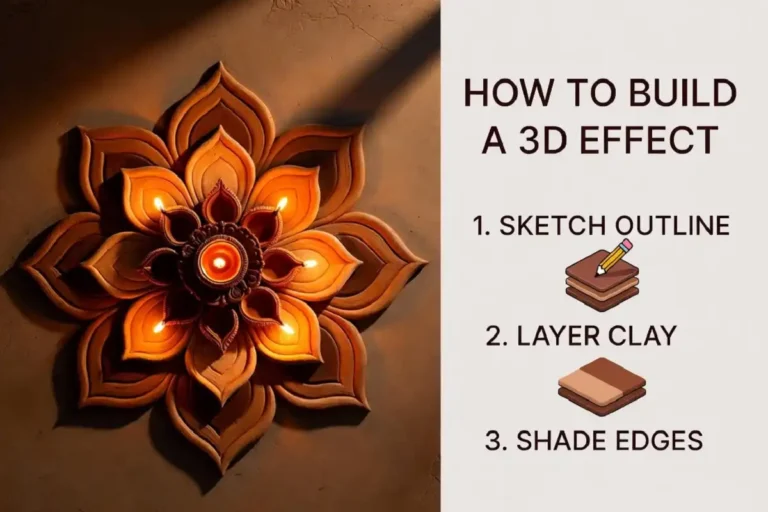
Step 1: Prepare the surface. Sweep and wipe the floor so powder sits evenly. A smooth, dry surface holds crisp lines.
Step 2: Sketch the outline. Use white chalk to draw your basic shape. Keep it simple, a single cube, flower, or spiral works best for speed.
Step 3: Pick three shades of one color. You need a light, medium, and dark version. This trio is what builds the 3D effect.
Step 4: Fill with gradient. Apply the dark shade on one edge, medium in the middle, and light on the opposite edge. Blend gently where they meet.
Step 5: Add the shadow. Place a thin band of gray or dark powder along one outer edge of the shape. This grounded shadow is what sells the illusion of height.
Step 6: Sharpen the outline. Trace the final border in white or black. A clean edge makes the whole design look intentional and polished.
Done carefully, a quick 3D rangoli pattern like this takes 20 to 30 minutes.
Design Tips and Best Practices
Light direction matters. Decide where your imaginary light source is and keep shadows on the same side for every shape. Consistency is what makes a quick 3D rangoli pattern believable.
Work from dark to light. Laying down darker powder first lets you blend lighter tones over the edges without muddying your colors.
Use a cone or spoon for control. A rolled paper cone gives you thin, steady lines that are hard to achieve with bare fingers alone.
Keep contrast high. Soft, similar tones flatten the effect. Bold jumps between dark and light create the strongest depth.
Practice the shape on paper first. A two-minute sketch helps you plan where shadows and highlights go before you commit to the floor.
Cultural Importance of Rangoli
Rangoli is far more than decoration. The word comes from the Sanskrit rangavali, meaning “line of color,” formed from ranga (“color”) and avali (“line” or “row”). Google Translate
This floor art carries deep meaning across India. It serves as a symbol of good fortune, a welcoming sign, and a means of averting misfortune, and is traditionally made using materials such as colored powders, flowers, rice flour, chalk, and colored sand. Britannica
The references to it are remarkably old. The earliest clear mention of an art form like rangoli appears in the Kamasutra, written in the 3rd century CE, which lists “making lines of rice powder and flowers” among 64 art forms. You can read more about its long history on Britannica. Google Translate
Even a quick 3D rangoli pattern keeps this tradition alive while giving it a modern, attention-grabbing form, blending heritage with today’s home décor sensibilities.
Common Mistakes to Avoid
These are the slip-ups that flatten a quick 3D rangoli pattern, so watch for them as you work. ⟵ (14)
Skipping the shadow. Without a grounded shadow along one edge, even good shading looks flat. The shadow is non-negotiable for 3D.
Using too many colors. Beginners often reach for every shade available. Stick to one color family in three tones for a clean result.
Inconsistent light direction. If shadows fall on different sides, the eye gets confused and the depth disappears.
Rushing the outline. A blurry border ruins an otherwise good design. Save a minute at the end to sharpen every edge.
Working on a dirty floor. Dust and bumps break your gradient. Always clean the surface first.
Latest Trends in 3D Rangoli for 2026
Floor art is leaning bold and modern this year, and the quick 3D rangoli pattern is right at the center of it. In 2026, minimalist geometric 3D designs are popular, with single-shape cubes and pyramids replacing crowded patterns for a cleaner, gallery-like look.
Reusable options are also rising. Washable fur and rexine rangoli mats with 3D-style prints are trending for people who want the effect without redrawing it daily.
Eco-friendly materials remain a strong theme. Flower petals, colored rice, and sawdust are favored over synthetic powders, and many artists feed grain-based designs to birds afterward.
Optical-illusion “tunnel” and “floating” patterns continue to dominate festival and competition designs, prized for how dramatically they pop off the floor. For more contemporary styling ideas, design platforms like Architectural Digest track how traditional crafts are blending into modern interiors.
FAQs
How long does a quick 3D rangoli pattern take?
Do I need special powders for a 3D effect?
Can beginners make a quick 3D rangoli pattern?
What is the most important step for the 3D look?
Are 3D rangoli designs suitable for small spaces?
Conclusion
A quick 3D rangoli pattern is one of the most rewarding designs you can learn, because the dramatic depth comes from simple shading rather than hours of work. With three tones, a clean outline, and one well-placed shadow, you can transform a plain floor into eye-catching festive art in under half an hour.
Start small, keep your light direction consistent, and practice the shadow technique until it feels natural. For more festive ideas you can finish fast, explore these quick festival rangoli looks and bring depth to every celebration.