Traditional Rangoli Designs Step by Step: A Complete Beginner’s Guide
There’s a reason grandmothers wake up before sunrise to draw patterns on the doorstep, and it isn’t just habit.
Rangoli is one of the few art forms that turns an ordinary floor into a welcome mat for good fortune. Once you learn traditional rangoli designs step by step, you’ll never look at a bare entrance the same way again.
If you’ve ever admired a neighbour’s doorstep during Diwali and wondered how they created those clean lines and bold colours, this guide is for you.
We’ll walk through the meaning behind rangoli, the materials real artists use, and a simple, repeatable process for creating a beautiful traditional design.
What Is Rangoli? Meaning and Cultural Significance
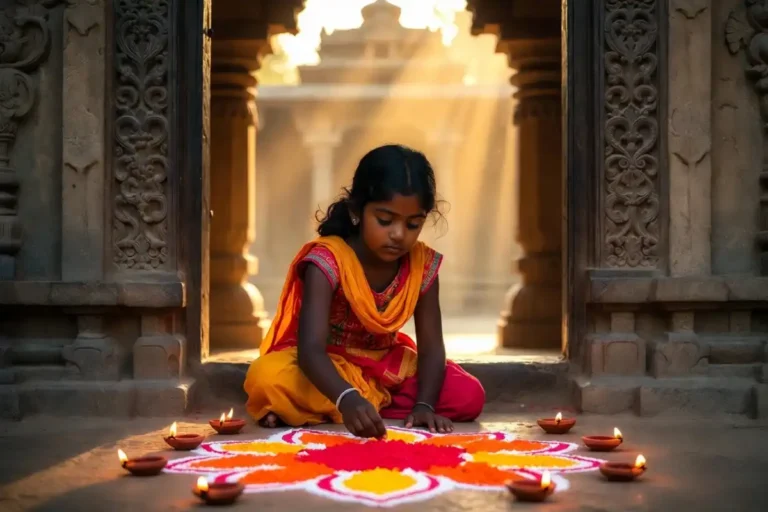
Rangoli is a floor art tradition from India, made by arranging coloured powders, rice flour, flower petals, or sand into patterns on the ground, usually right at the entrance of a home.
The word itself comes from a Sanskrit term meaning “rows of colours.” Depending on the region, you’ll hear it called kolam in Tamil Nadu, muggu in Andhra Pradesh, alpona in Bengal, or aripana in Bihar.
Different name, same spirit: colour, symmetry, and welcome.
Families traditionally draw rangoli near the doorway to invite Lakshmi, the goddess of wealth, into the home. That is why the art form is closely associated with Diwali, although it also appears during Pongal, Onam, Navratri, housewarming ceremonies, and other festive occasions.
According to Pinterest , rangoli patterns are commonly created during festivals, auspicious occasions, and similar celebrations across different Indian regions.
What makes rangoli special is that it isn’t meant to last forever.
A gust of wind, a curious pet, or the next morning’s foot traffic can undo hours of work — and that impermanence is part of the charm.
Learning traditional rangoli designs step by step teaches patience as much as it teaches art.
Materials You Need for Traditional Rangoli Designs Step by Step
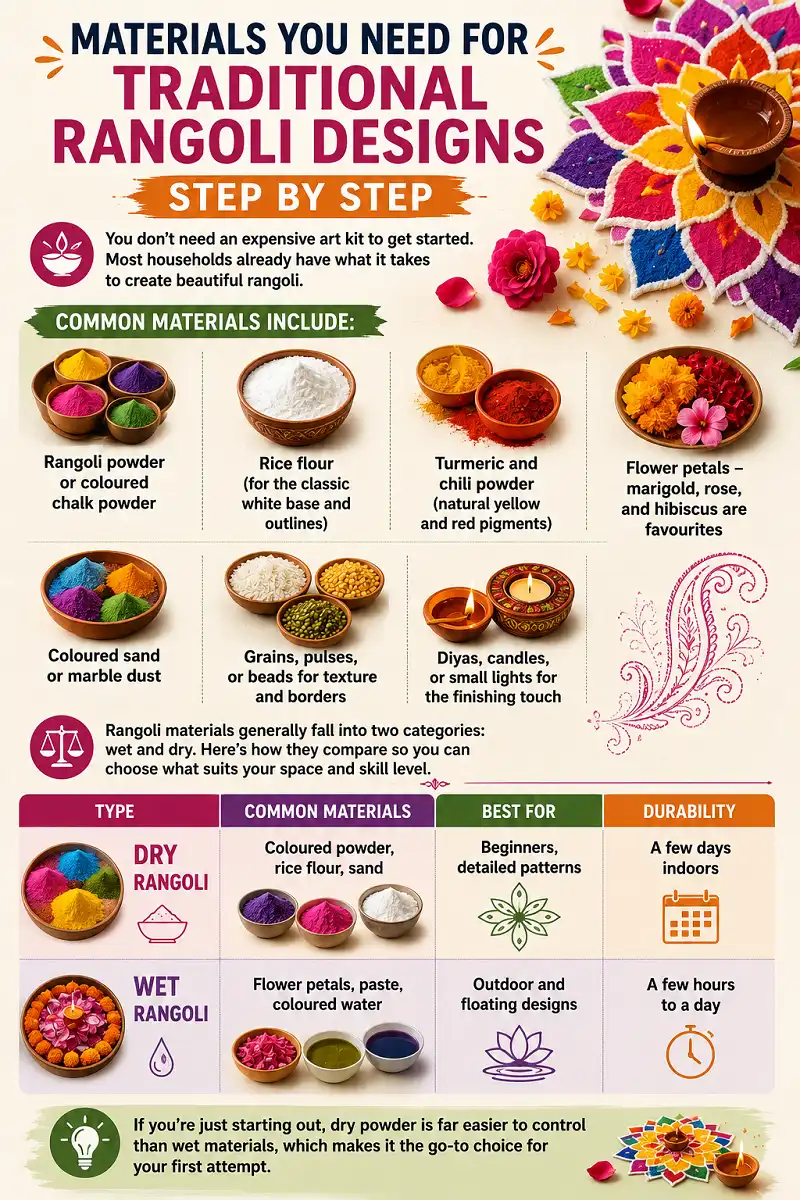
One of the best things about rangoli is that you don’t need an expensive art kit to get started. Most households already have what it takes.
Rangoli materials generally fall into two categories: wet and dry. Here’s how they compare.
| Type | Common Materials | Best For | Durability |
|---|---|---|---|
| Dry Rangoli | Coloured powder, rice flour, sand | Beginners and detailed patterns | A few days indoors |
| Wet Rangoli | Flower petals, paste, coloured water | Outdoor and floating designs | A few hours to a day |
Beginner tip: If you’re just starting out, dry powder is generally easier to control than wet materials, making it a practical choice for your first design.
How to Make Traditional Rangoli Designs Step by Step
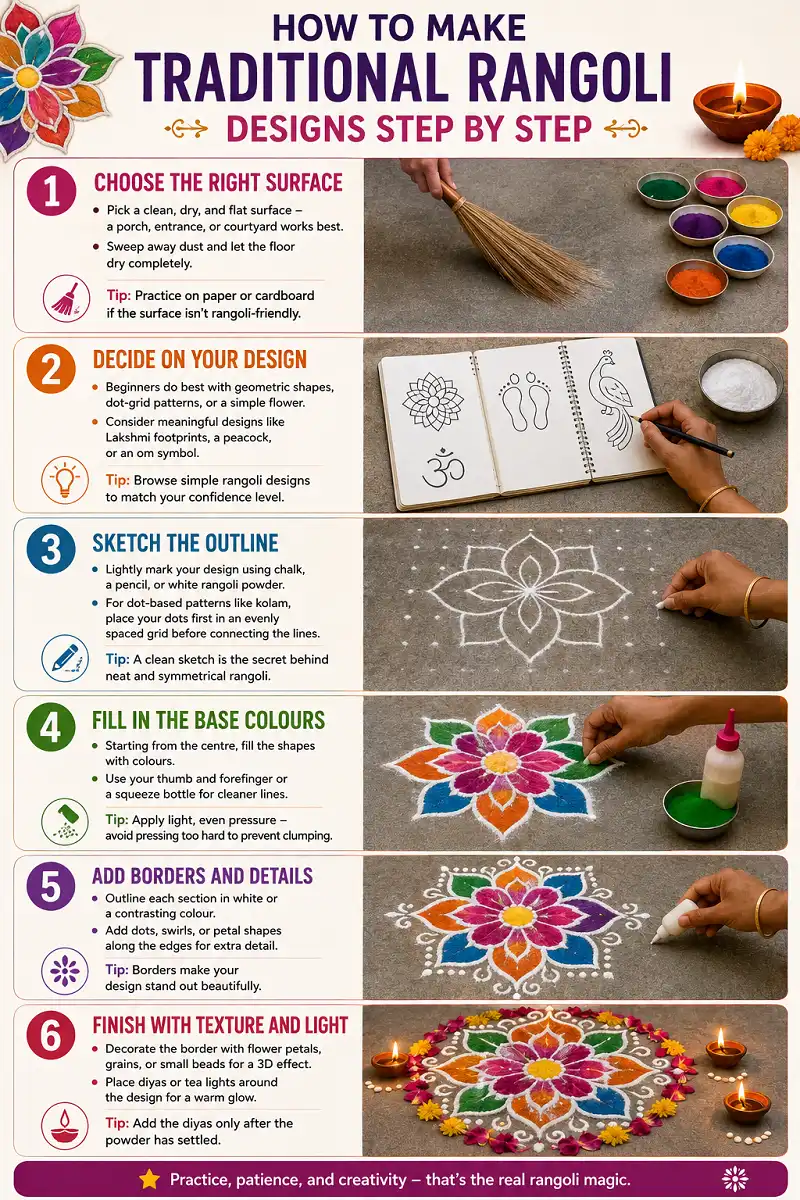
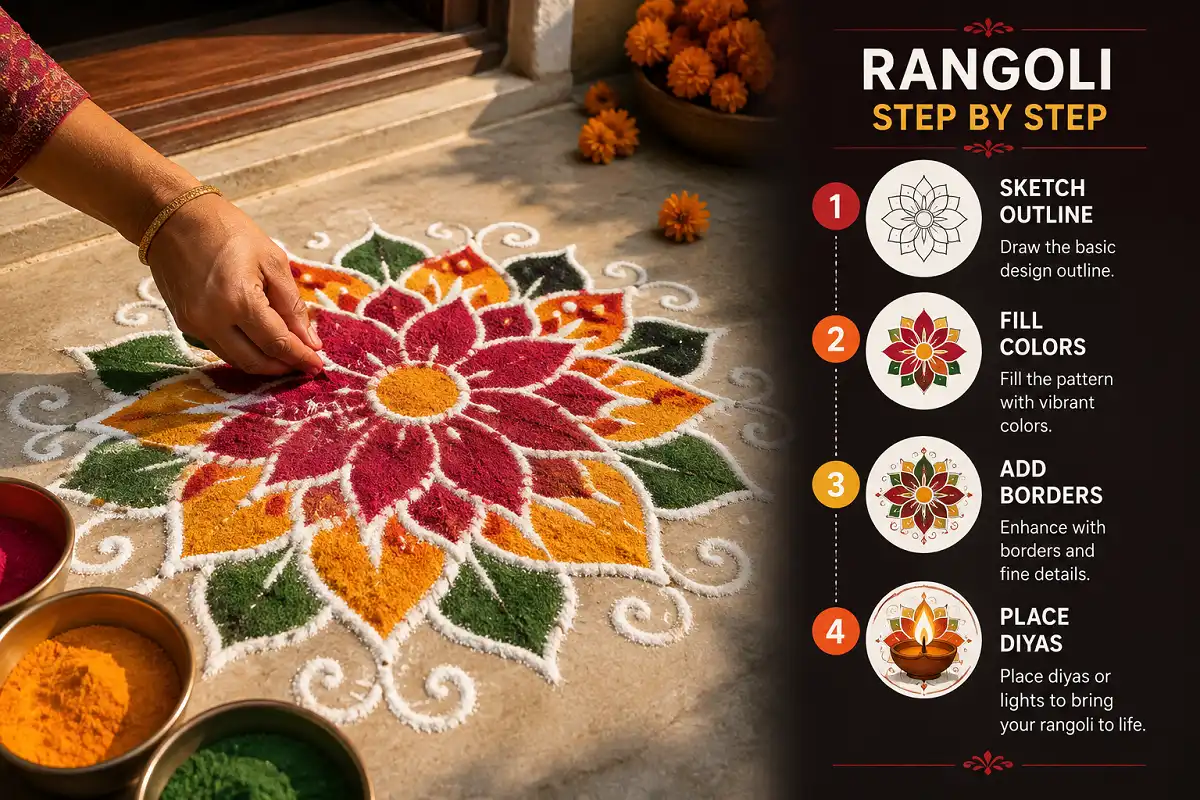
Here’s the part you’ve been waiting for — the actual process. Follow these traditional rangoli designs step by step instructions to create a neat, symmetrical pattern.
Choose the Right Surface
Pick a clean, dry, and flat surface. A porch, entrance, or courtyard works well. Sweep away dust and make sure the floor is completely dry because damp or uneven ground can cause powder to clump and lines to blur.
If you’re practising indoors, use paper or cardboard before moving to the actual floor.
Decide on Your Design
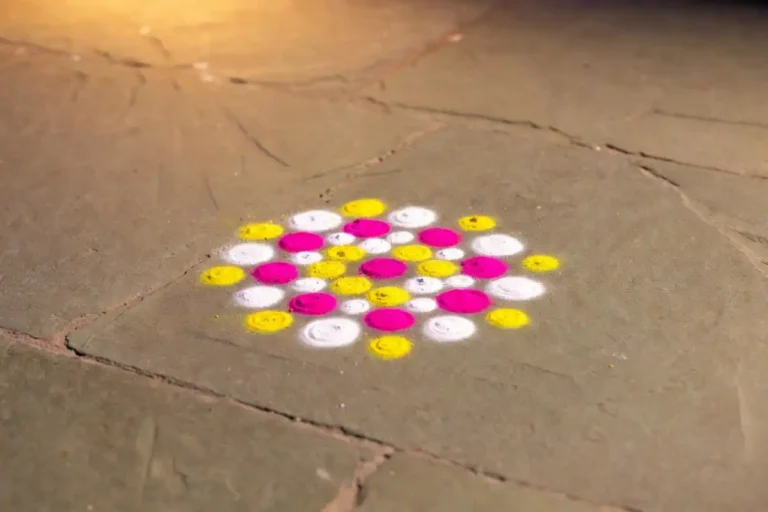
Before touching any powder, decide what you want to create. Beginners can start with geometric shapes, dot-grid patterns, or a simple flower.
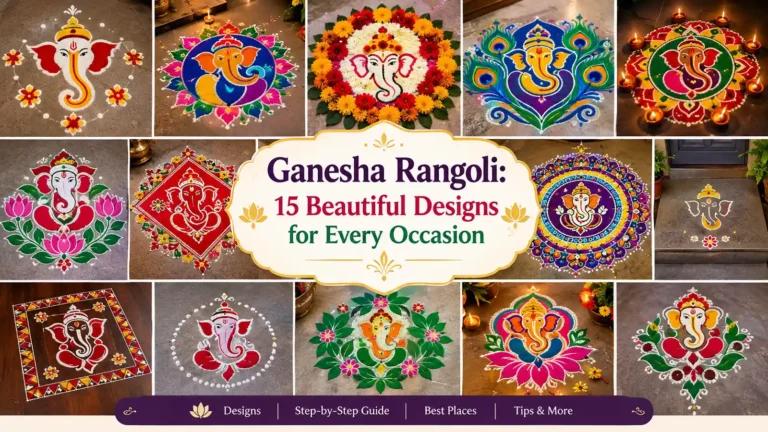
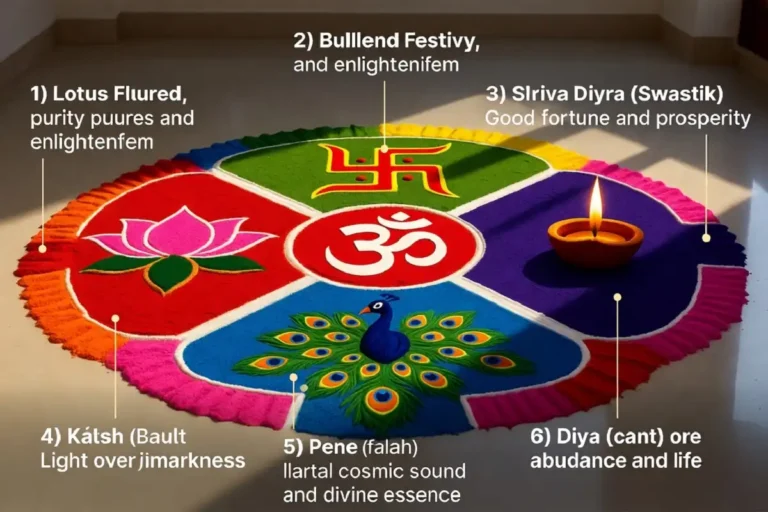
For a meaningful motif, consider Lakshmi’s footprints, a peacock, or an Om symbol.
Browse simple rangoli designs for beginners to find a pattern that matches your confidence level.
Sketch the Outline
Lightly mark your design using chalk, a pencil, or white rangoli powder. The outline acts as your guide and helps maintain clean proportions.
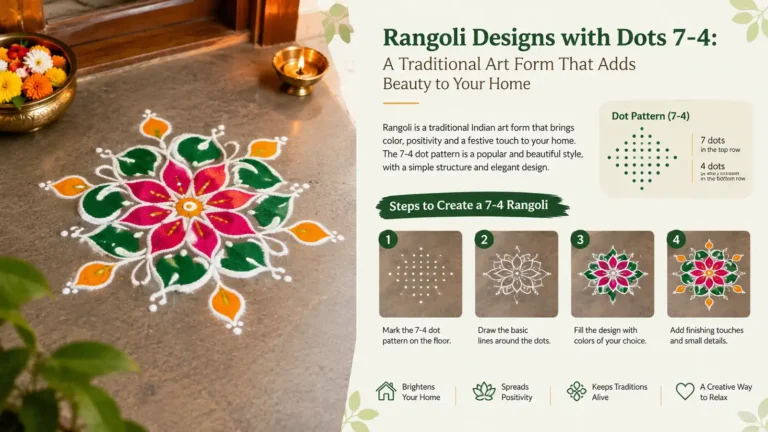
For dot-based patterns such as kolam, place the dots first in an evenly spaced grid before connecting the lines.
Fill in the Base Colours
Start from the centre and work outward. Gently sprinkle or apply colour inside your outline.
Use your thumb and forefinger to control the flow of powder, or use a squeeze bottle when you want cleaner lines.
Apply light, even pressure because pressing too hard can cause the powder to clump.
Add Borders and Details
Once the main shapes are filled, outline each section in white or another contrasting colour to make the pattern stand out.
Add small dots, swirls, or petal shapes around the edges for extra detail.
Finish With Texture and Light
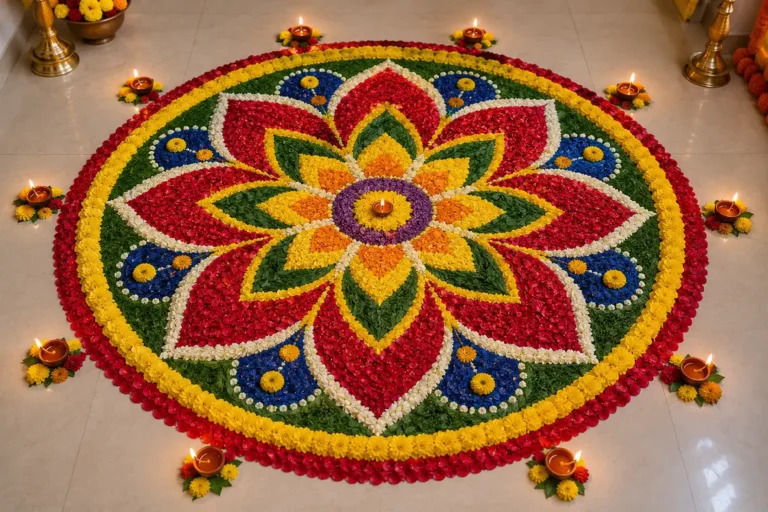
Add flower petals, grains, or small beads around the border for extra texture.
Once the powder has settled, place diyas or tea lights near the design for the final festive touch.
Popular Rangoli Design Ideas to Try
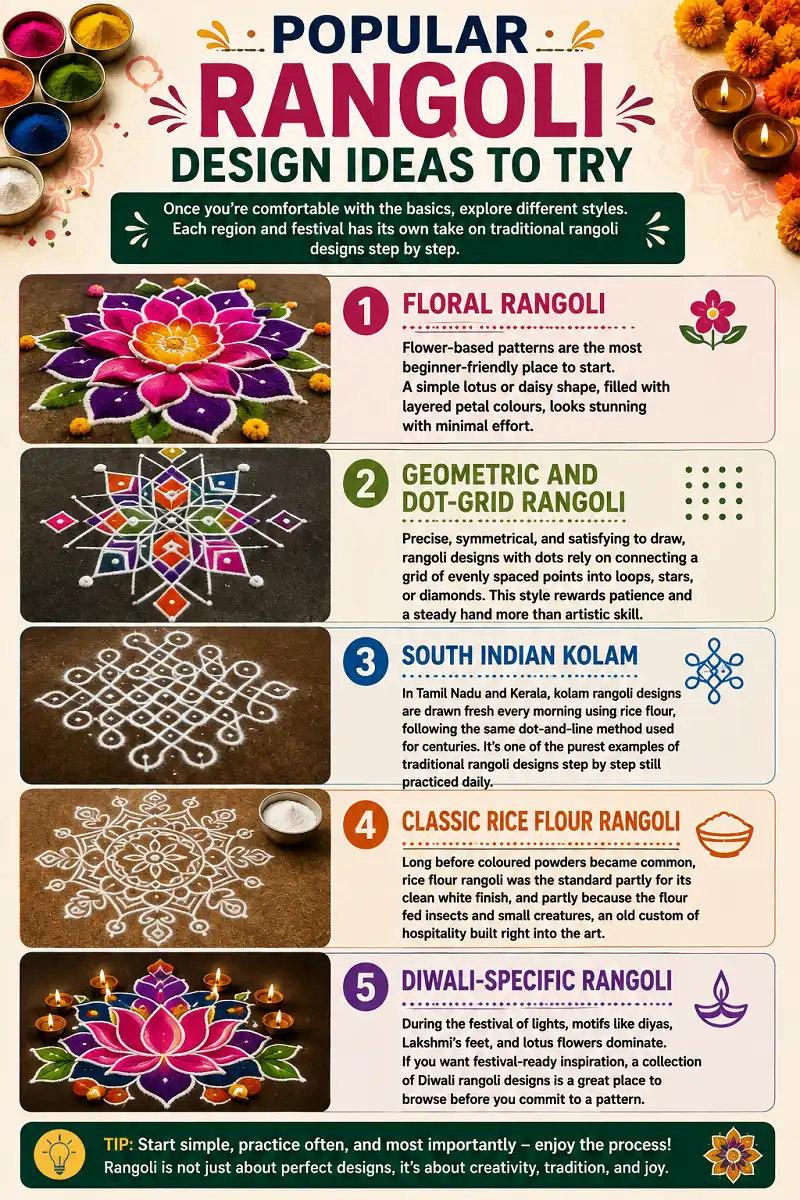
Once you’re comfortable with the basics, it’s worth exploring different styles. Each region and festival has its own take on traditional rangoli designs.
Floral Rangoli
Flower-based patterns are beginner-friendly. A simple lotus or daisy shape filled with layered petal colours can look impressive with relatively little effort.
Geometric and Dot-Grid Rangoli
Precise and symmetrical, these designs rely on evenly spaced points connected into loops, stars, diamonds, and other forms.
Explore rangoli designs with dots for more inspiration.
South Indian Kolam
In Tamil Nadu and Kerala, kolam designs are traditionally drawn fresh using rice flour and dot-and-line patterns.
Explore South Indian kolam rangoli designs .
Classic Rice Flour Rangoli
Rice flour creates a clean white finish and has long been associated with traditional rangoli practices.
Browse traditional rangoli with rice flour .
Diwali-Specific Rangoli
During Diwali, diyas, Lakshmi’s feet, and lotus flowers are especially popular motifs.
Explore Diwali rangoli designs for festival-ready ideas.
Tips for Perfecting Traditional Rangoli Designs Step by Step
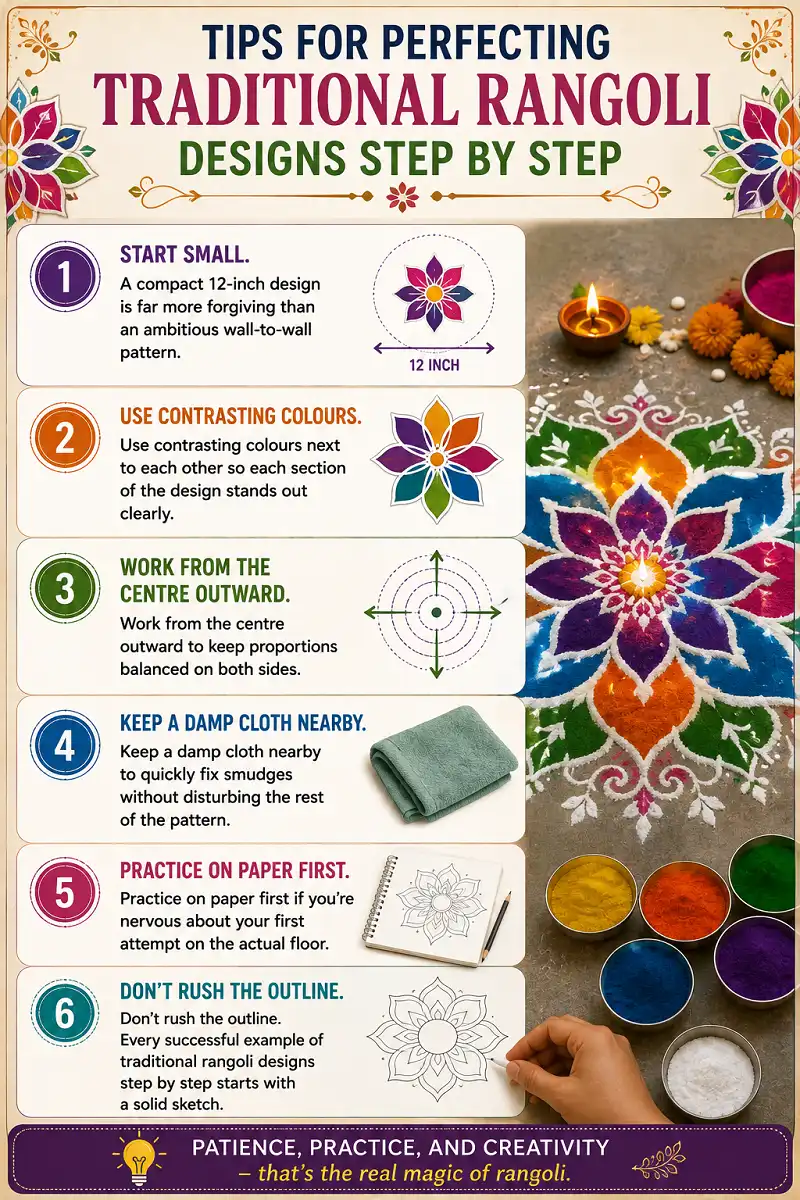
- Start small. A compact 12-inch design is more forgiving than a large, wall-to-wall pattern.
- Use contrasting colours. Place contrasting shades next to each other so each section remains clearly visible.
- Work from the centre outward. This helps keep proportions balanced.
- Keep a damp cloth nearby. It can help you quickly correct smudges.
- Practice on paper first. This is useful if you feel nervous about working directly on the floor.
- Don’t rush the outline. A solid sketch provides the foundation for a neat design.
Common Mistakes Beginners Make
Even with a plan, a few small errors can throw off the finished piece. Watch out for these common problems.
Avoiding these mistakes can make the difference between a rushed attempt and a clean, elegant finished pattern.
Where to Display Your Rangoli
The main entrance of the home is the traditional spot because it is associated with welcoming prosperity as guests enter.
If your flooring isn’t suitable — such as carpet, uneven tile, or a shared hallway — you can practise traditional rangoli designs step by step on paper, a wooden board, or a shallow tray of water for a floating design.
Mastering Rangoli Designs
Rangoli isn’t about perfection. It’s about showing up with colour, patience, and a bit of creativity.
Once you’ve practised traditional rangoli designs step by step a few times, the process becomes second nature. Each doorstep pattern then becomes a small, personal tradition worth repeating every festival season.
Start with a simple design.
Practise the outline.
Add colour slowly.
Let your own style develop with every rangoli you create.
FAQs About Traditional Rangoli Designs
What materials are used in traditional rangoli?
Rice flour, coloured powders, turmeric, flower petals, sand, and chalk are common materials. Many families prefer natural and biodegradable options over synthetic paints.
How long does a rangoli design last?
It depends on the material and location. Powder-based designs made indoors can last several days, while flower-petal or outdoor rangoli may last only a few hours to a day because of wind, rain, and foot traffic.
Can I make rangoli without a stencil?
Yes. Many experienced artists draw freehand. If you are new, sketching the outline with chalk first can make freehand attempts much more accurate.
What is the significance of rangoli colours?
Colours in rangoli are not random. Red and yellow are commonly considered auspicious and may be associated with prosperity, while white rice flour represents purity and is often used for outlines and borders.