Simple Rangoli Designs for Beginners Step by Step
Simple rangoli designs for beginners are a wonderful way to start exploring this traditional Indian floor art. You do not need advanced drawing skills or expensive materials. With a few basic shapes, a small color palette, and some patience, you can create a beautiful design even on your first attempt.
Rangoli can be made with colored powder, flower petals, rice flour, chalk, or other simple materials. It is commonly seen during festivals, weddings, housewarmings, and other auspicious occasions. This guide focuses on easy patterns and practical techniques that make the learning process comfortable and enjoyable.
What Is Rangoli and Why It Matters
Rangoli is a traditional Indian folk art in which decorative patterns are created on the floor, often near the entrance of a home. Different regions have their own related traditions and names, including Kolam in Tamil Nadu and Alpona in Bengal.
The designs are often associated with welcoming guests, creating an auspicious atmosphere, and celebrating important occasions. The art also has strong cultural and spiritual connections with festivals such as Diwali, Pongal, and Navratri. You can learn more about the history and cultural background of rangoli through Wikipedia’s Rangoli overview.
Do not aim for perfection on your first attempt. Rangoli rewards patience, repetition, and steady hand control. Starting with a small and structured design makes the learning process much easier.
Materials You Need to Get Started
One of the best things about simple rangoli designs for beginners is that you do not need a large collection of supplies. Most materials are inexpensive and easy to find at home or in local stores.
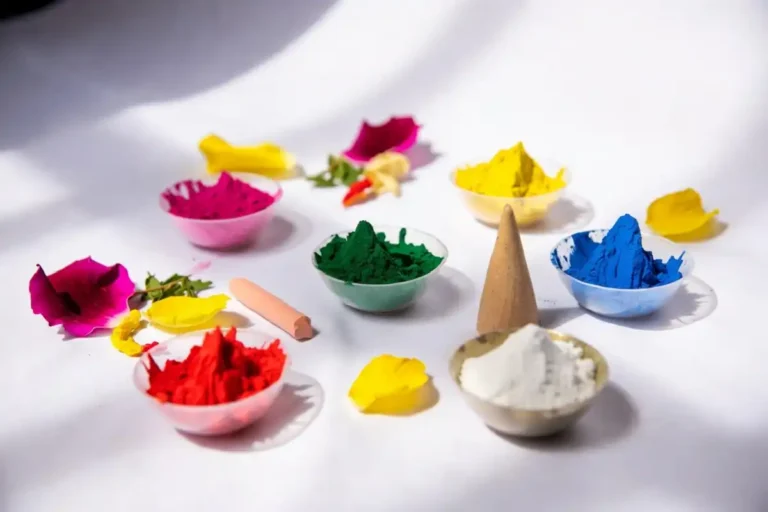
Colored Rangoli Powder
The most common material for filling and decorating rangoli patterns.
White Chalk
Useful for creating a light outline before adding colored powder.
Flower Petals
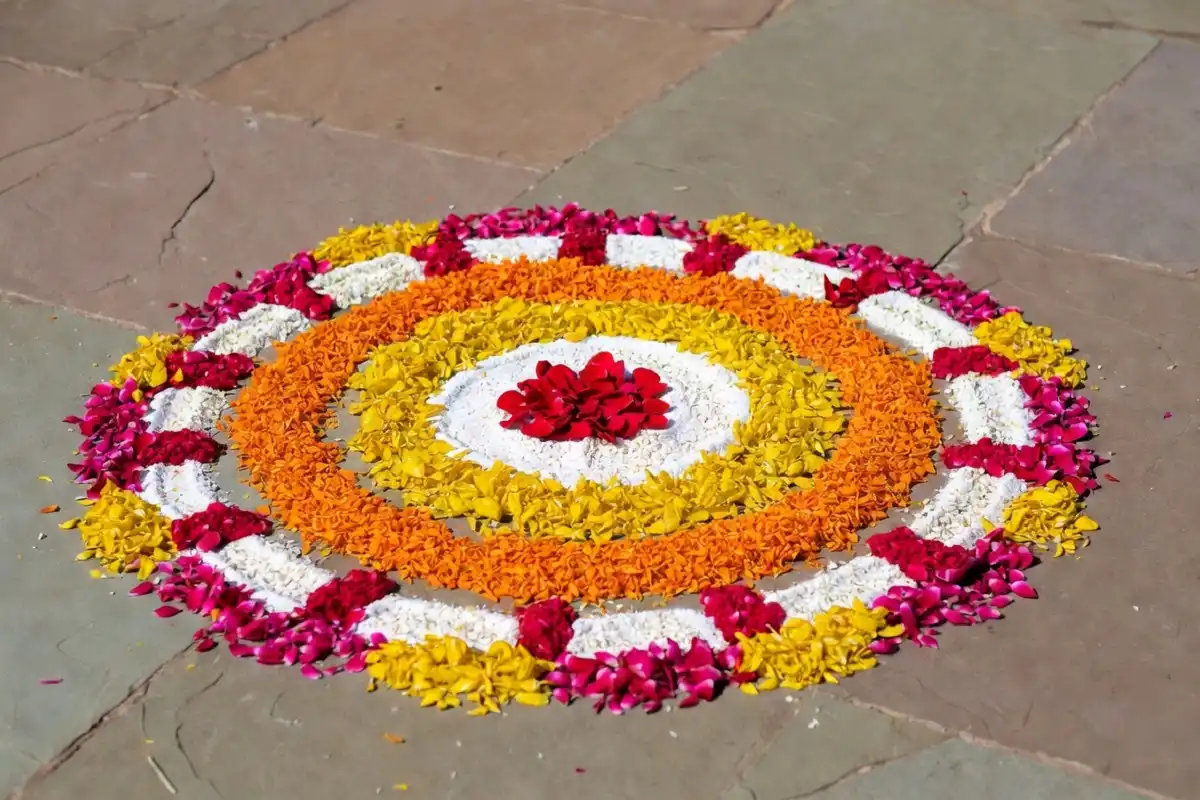
Marigold and rose petals can create natural and fragrant designs.
Rice Flour
A traditional choice, particularly for styles influenced by South Indian kolam traditions.
Fine-Tipped Cone
Helps create controlled lines, borders, and smaller decorative details.
Stencil
Helpful when you want symmetrical shapes while developing freehand skills.
Start with just two or three colors. A limited palette is easier to control and can still produce a bright, attractive rangoli.
Simple Rangoli Patterns to Try First
The easiest way to build confidence is to begin with patterns that have clear shapes and repeatable structures. These designs allow you to practice symmetry, spacing, line control, and color placement without becoming overwhelming.
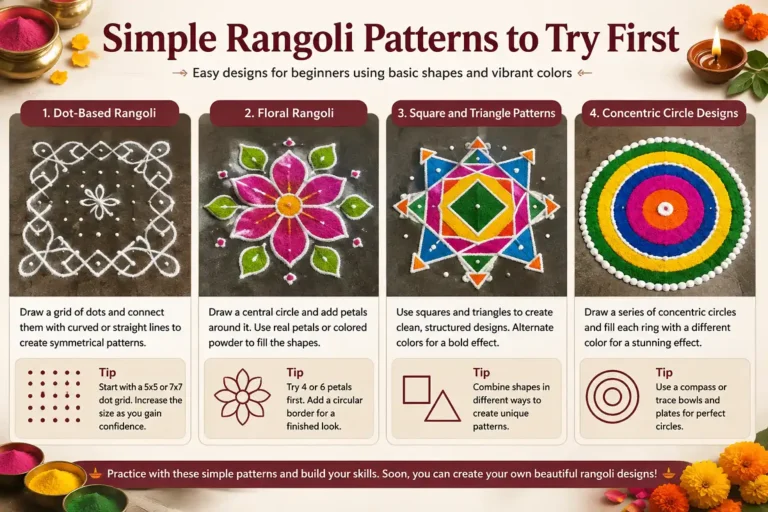
Dot-Based Rangoli
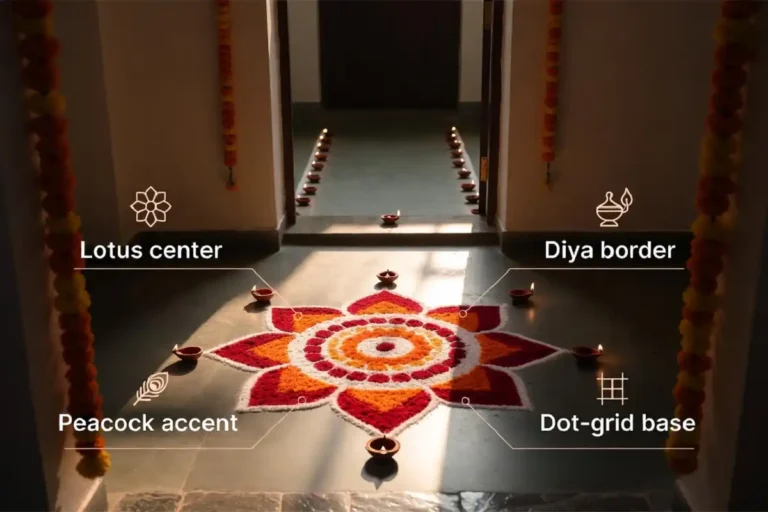
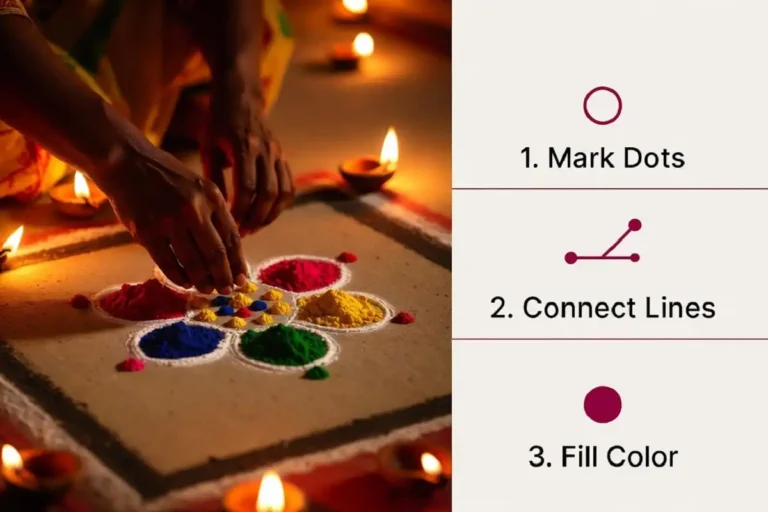
Dot-based rangoli, also known as pulli kolam in some traditions, is a practical starting point because the dots provide a ready-made framework. Arrange evenly spaced dots and connect them with curved or straight lines to create a balanced pattern.
A 5×5 or 7×7 dot arrangement is enough for early practice. Once you become comfortable connecting the dots, you can gradually experiment with larger layouts and more detailed patterns.
For more inspiration on using structured shapes, explore geometric shapes, their meaning, uses, and design ideas.
Floral Rangoli
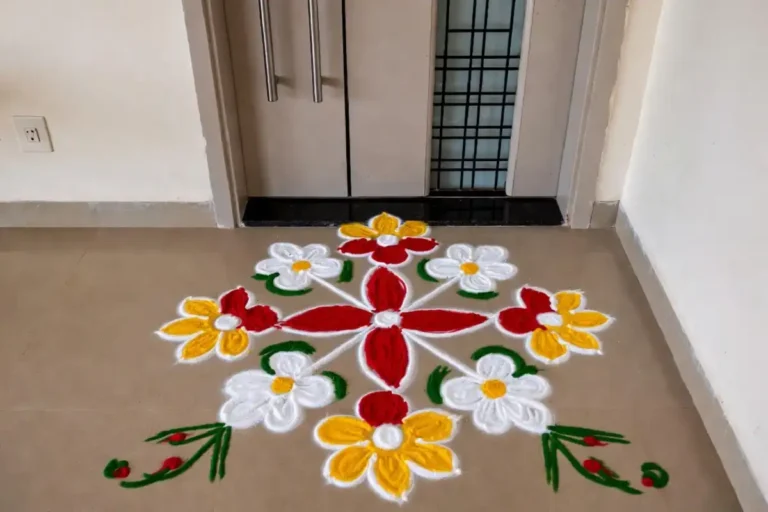
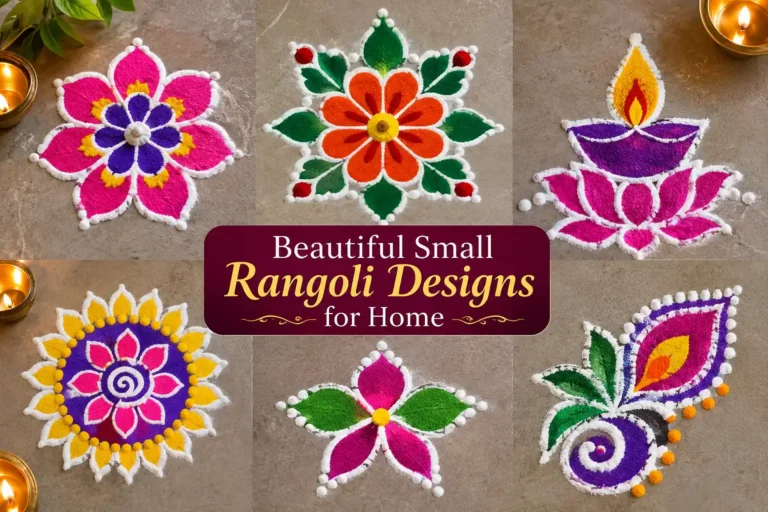
Floral designs are among the easiest freehand patterns because small imperfections often look natural. Begin with a central dot or circle and draw four or six petals around it.
Finish the design with a simple outer border. You can use colored powder for the entire pattern or decorate parts of it with real flower petals. Repeating the same flower in different sizes can also create a layered appearance.
Square and Triangle Patterns
Squares and triangles are clean geometric forms that are easy to repeat. They work particularly well when you want a neat, structured design.
Try alternating colors between neighboring sections to make the geometry more noticeable. For additional ideas, see this guide to geometric rangoli shapes, colors, and tips.
Concentric Circle Designs
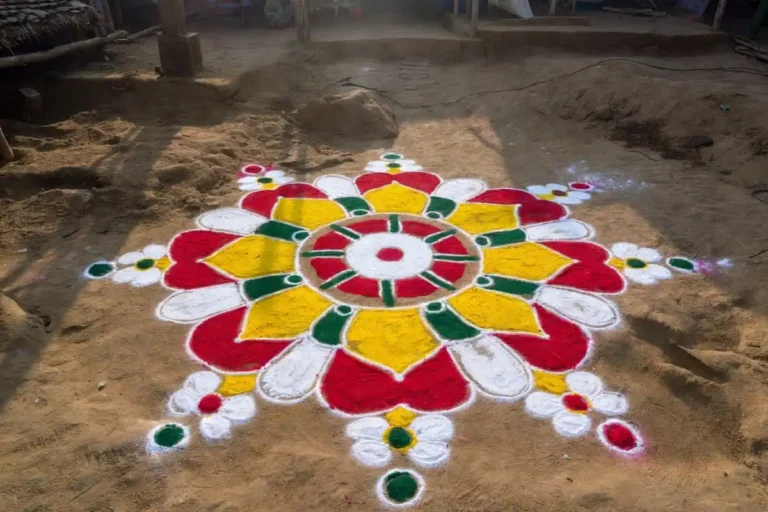
Concentric circles are one of the simplest ways to create a design that looks polished. Draw several circles, increasing the size of each ring, and fill different sections with contrasting colors.
If drawing circles freehand is difficult, trace around cups, bowls, or other round objects. This makes it easier to achieve clean and evenly spaced rings.
How to Draw Simple Rangoli Designs Step by Step
A simple process can make rangoli much easier to manage. The following method works for most beginner patterns, whether you are working with dots, flowers, geometric shapes, or circles.
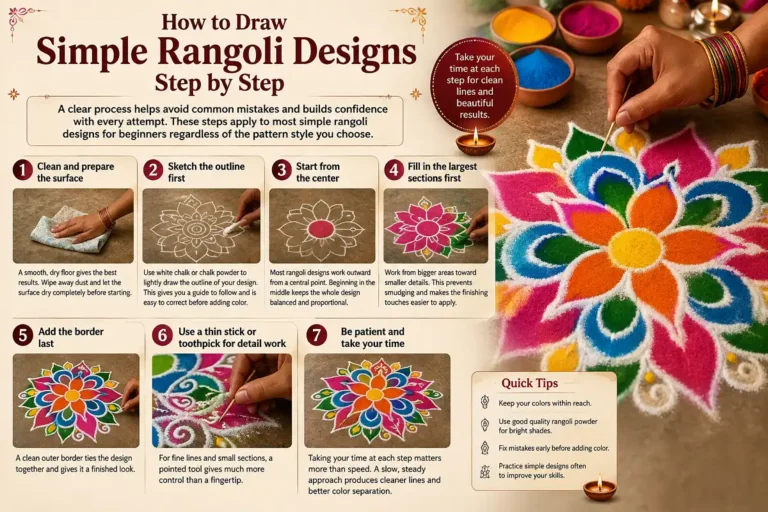
Clean and Prepare the Surface
Choose a smooth, dry area and remove dust or debris. Allow the surface to dry completely before beginning.
Sketch the Outline
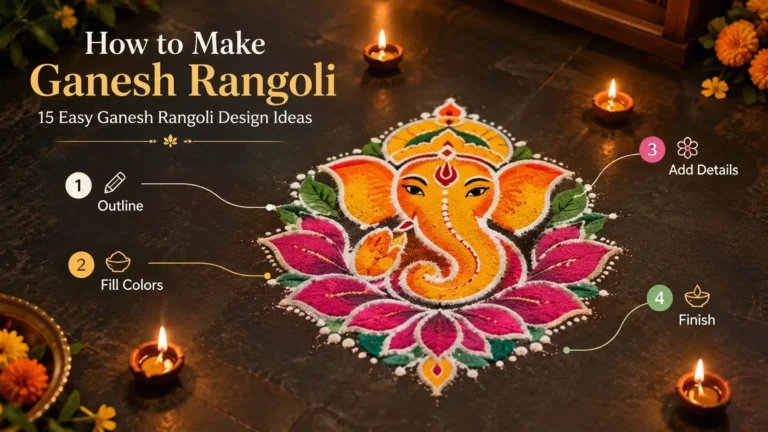
Lightly draw the main structure with white chalk or chalk powder. This gives you a guide that can easily be corrected before adding color.
Start From the Center
Begin with the central point or motif and gradually work outward. This helps maintain balance and makes it easier to keep the design proportional.
Fill the Largest Sections First
Complete the larger color areas before moving to tiny details. This reduces the chance of accidentally smudging finished sections.
Add the Border Last
A clean outer border brings the whole composition together and gives the rangoli a more finished appearance.
Refine Small Details
Use a thin stick, toothpick, or pointed tool to correct narrow sections and sharpen fine lines.
Speed is not the goal. Slow and controlled movements usually create cleaner lines, better spacing, and clearer color separation.
Color Tips for Your First Rangoli
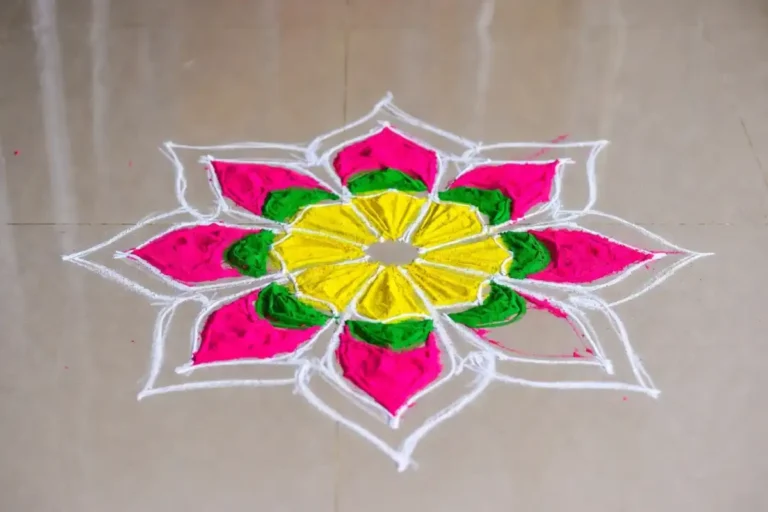
Color can make even a very simple pattern look attractive. You do not need a large palette; thoughtful contrast and clean separation are usually more important than the number of shades you use.
Choose contrasting colors. Pairings such as orange and blue or red and green can make the design stand out clearly.
Consider the floor color. Light backgrounds can work well with stronger shades, while darker surfaces benefit from brighter colors.
Keep the palette controlled. Three or four colors are enough for most first attempts.
Use white as a separator. White lines between neighboring color sections can make the pattern look sharper and cleaner.
Strongly contrasting colors tend to create more visual separation, which is especially useful in flat decorative art such as rangoli.
Common Mistakes to Avoid
Most beginner mistakes are easy to prevent once you know what to look for. Keeping the design small and working from an outline can make the process significantly easier.
Skipping the Outline
Without a guide, proportions can become uneven and difficult to correct once powder has been added.
Using Too Many Colors
A crowded palette can make a simple pattern appear messy rather than vibrant.
Working on a Damp Surface
Moisture can prevent powder from spreading evenly and reduce the sharpness of the finished design.
Starting Too Large
A first design around 30–40 cm across is much easier to manage than a very large composition.
Pressing Too Hard
Light and even pressure helps distribute powder smoothly without creating heavy patches or gaps.
As you become more comfortable with structure and repetition, you can explore broader pattern concepts through these geometric pattern ideas for art and design.
How to Improve Your Rangoli Skills
Once you can comfortably create a few basic designs, improvement comes mainly from repetition. Instead of immediately moving to complicated patterns, practice one skill at a time.
Practice Lines
Work on straight, curved, and circular lines before combining them into a complete pattern.
Repeat Shapes
Draw the same petal, triangle, or curve several times to improve consistency.
Work With Symmetry
Compare opposite sides as you work so the overall design remains balanced.
Increase Complexity Slowly
Move from small motifs to combinations of shapes only after the basic forms feel comfortable.
When and Where to Make Simple Rangoli
Rangoli is not restricted to major festivals. A small design can be used whenever you want to decorate an entrance, courtyard, room, or celebration space.
Diwali, Pongal, Navratri, and other festive occasions.
Decorative patterns can add a traditional touch to wedding spaces.
A rangoli near the entrance can create a welcoming atmosphere.
Small designs can also be created as part of regular home decoration.
Keep Your First Rangoli Simple
The easiest path for beginners is to start small, use a clear outline, choose a limited color palette, and build the design from the center outward. Basic flowers, dots, circles, squares, and triangles are more than enough to create an attractive first rangoli.
Let Practice Do the Work
Simple rangoli designs for beginners are not about creating a perfect masterpiece on the first try. They are about learning how lines, shapes, colors, and spacing work together.
Start with a small flower, a dot pattern, a few geometric shapes, or concentric circles. Each finished design improves your hand control and understanding of balance. With regular practice, the patterns that once seemed difficult become much easier and more natural.
Whether you are preparing for a festival, decorating your entrance, or simply learning a traditional art form, rangoli gives you plenty of room to experiment and develop your own style.
Explore more rangoli inspiration on Pinterest →Frequently Asked Questions
01 What is the easiest rangoli design for a complete beginner?
A simple four-petal flower around a central dot is an excellent starting point. It does not require a dot grid or stencil and can look complete with only two or three colors.
02 Can I use stencils for simple rangoli designs for beginners?
Yes. Stencils can be useful when you are learning because they help create consistent and symmetrical shapes. They also let beginners focus on color placement and powder control while gradually developing freehand skills.
03 How long does it take to make a simple rangoli?
A small rangoli measuring roughly 30–40 cm can take around 20–45 minutes. The actual time depends on the complexity of the pattern and how carefully you apply the colors and details.
04 What materials are best for outdoor rangoli?
Flower petals and rice flour are practical natural choices for outdoor designs. Colored powder can be affected by wind, so heavier materials or slightly dampened powder may hold their shape better depending on the surface and conditions.
05 Is rangoli only made during festivals?
No. Rangoli can be created for weddings, housewarmings, daily morning rituals, home decoration, and many other occasions. Festivals such as Diwali are especially well known for rangoli, but the tradition is not limited to a single event.