Beginner 3D Rangoli Design: Easy Steps to Start
Rangoli is one of the most loved art forms in Indian culture. It fills homes with color, warmth, and tradition during every festival season. If you have always wanted to try it but felt unsure where to begin, a beginner 3D rangoli design is the perfect starting point. It looks impressive, but it does not require years of practice. With the right approach and a little patience, anyone can create something truly beautiful and memorable.
What Is a 3D Rangoli Design?
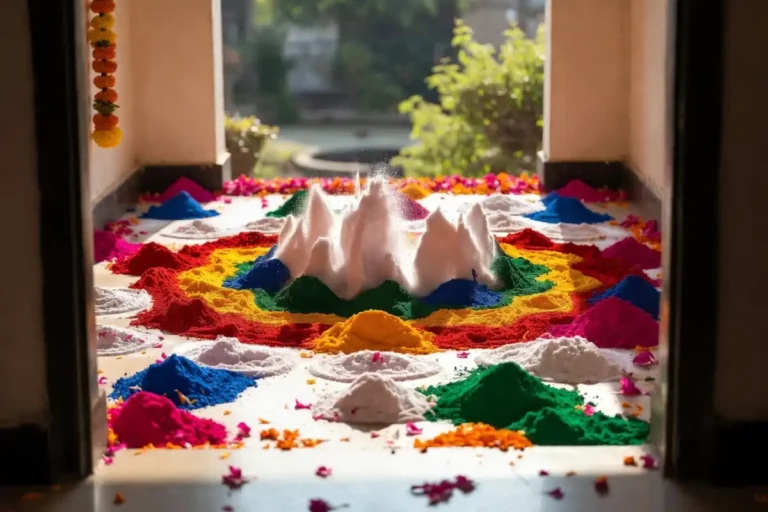
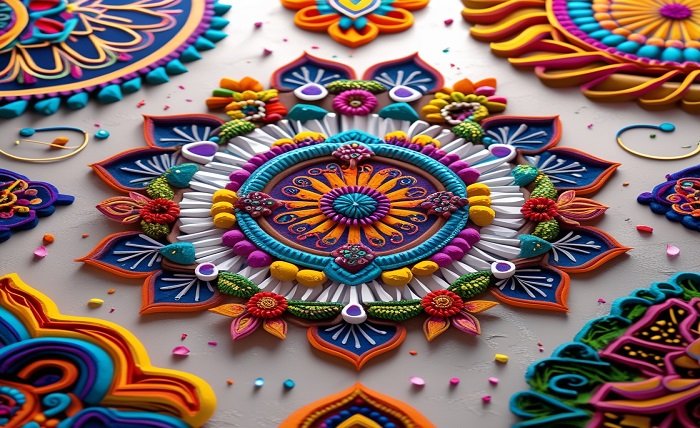
A beginner 3D rangoli design creates an illusion of depth and dimension on a flat surface. Unlike a regular flat rangoli, it uses layered colors, shading, and strategic placement of powder or materials to make shapes appear raised or curved. When done well, it looks like the design is lifting right off the floor.
This style is popular because it stands out visually and catches the eye instantly. It makes any space feel more festive and special. The three-dimensional effect is mainly created by:
- Using darker shades on one side of a shape to create a shadow effect
- Applying lighter or white powder on the opposite side for a highlight
- Layering colors gradually from the edges toward the center
Tools and Materials You Need
You do not need expensive supplies to get started with a beginner 3D rangoli design. Most materials are easy to find at local craft or festival stores.
Basic supplies include:
- Colored rangoli powder or dry color powder
- White chalk or a rangoli stencil for outlining
- Small squeeze bottles or cones for precision
- A flat, clean, dry surface
- A ruler or compass for symmetrical shapes
- A soft brush to blend edges
If you are completely new to this, starting with a stencil is a smart choice. It removes the pressure of freehand drawing and helps you focus on coloring and shading, which is the real skill behind every great beginner 3D rangoli design.
Choosing the Right Colors for a 3D Effect
Color selection is one of the most important parts of a convincing beginner 3D rangoli design. The goal is to mimic how light naturally falls on a three-dimensional object.
For each shape, pick three versions of the same color: a light shade, a medium base shade, and a dark shade. Place the light shade where you imagine a light source hitting the shape. Place the dark shade on the opposite side to create a shadow. The medium shade fills the rest of the area.
For beginners, some effective color combinations include:
- Red, light pink, and dark maroon for flower petals
- Yellow, cream, and deep orange for mango or leaf shapes
- Sky blue, white, and navy for circular or wave patterns
Avoid using too many colors in your first attempt. Limiting yourself to two or three shapes with clear shading will make your beginner 3D rangoli design look cleaner and far more professional.
Step-by-Step Guide to Your First 3D Rangoli
Step 1: Clean and Prepare the Surface
Start with a dry, flat floor area. Wipe it clean so the powder sticks properly and stays in place during and after application.
Step 2: Draw the Outline
Use white chalk to lightly sketch the basic shapes. Simple petals, circles, or diamond shapes work very well. You can also place a stencil and trace the edges lightly before removing it.
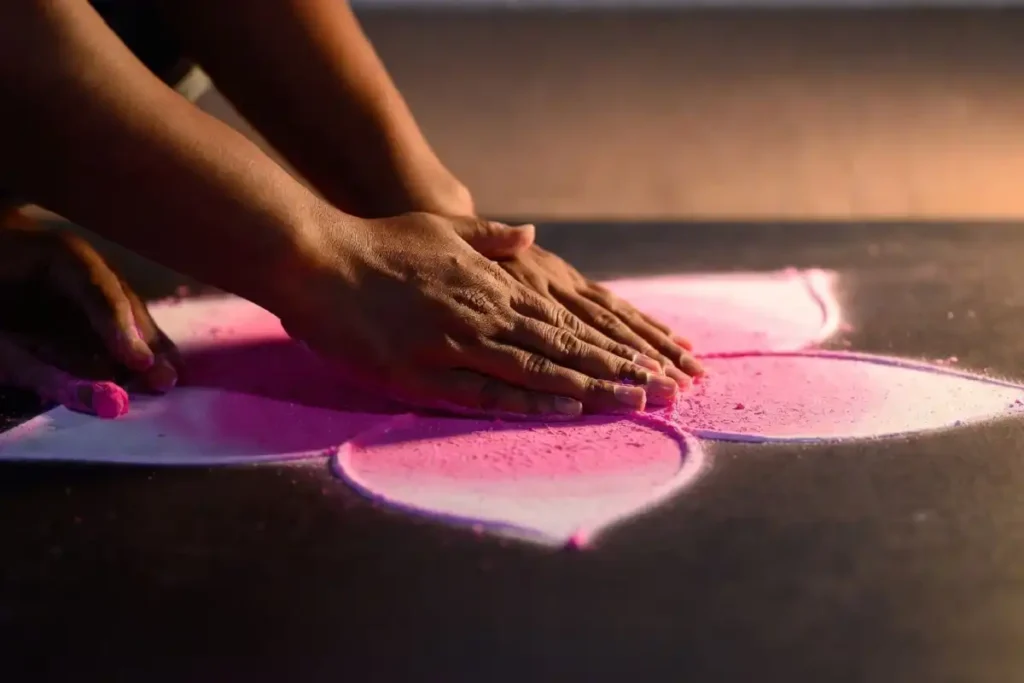
Step 3: Fill in the Base Color
Fill each shape with its medium base color first. Keep the layer even and thin. Do not press too hard when applying the powder.
Step 4: Add the Highlight
Using a lighter shade or white powder, apply color to one side of each shape. This is usually the top or left side, as if light is coming from that direction. Blend the edges slightly using a soft brush.
Step 5: Add the Shadow
On the opposite side of the shape, apply the darker shade. Blend softly into the base color so the transition looks smooth rather than sharp or abrupt.
Step 6: Define the Edges
Use a thin line of white or black powder along the outer edge of each shape to give it clear definition. This small detail adds significant visual impact to the overall design.
Step 7: Add Finishing Touches
Once the main design is done, add small decorative dots, petals, or symmetrical patterns around the border. These elements frame the beginner 3D rangoli design and complete the overall look beautifully.
If you need more ideas to build alongside this approach, explore these quick rangoli ideas for beginners to try at home to find shapes that pair well with a 3D style.
Common Beginner Mistakes and How to Avoid Them
Making mistakes is completely normal when learning a beginner 3D rangoli design. Knowing what to watch for can save a lot of frustration early on.
Blending too aggressively: Many beginners rub the colors together too much, which turns the shading muddy. Use a light touch with the brush and blend only at the edges where two shades meet.
Using too many colors: More colors do not always mean a better design. Stick to one or two color families per shape to keep the 3D effect clear and readable.
Skipping the outline: Working without a clear outline makes it hard to stay within shape boundaries. Even a faint chalk line helps maintain structure and clean edges.
Working on an uneven surface: Any bumps or cracks in the floor will break the uniformity of color application. Always choose the smoothest area available.
Not planning light direction: The entire 3D effect depends on consistent lighting logic. Decide where your imaginary light source is before starting, and keep that direction consistent across all shapes in your design.
Best Simple Shapes for a Beginner 3D Rangoli Design
Not all shapes are equally easy to make look three-dimensional. Some work much better because their natural curves support the shading technique in a beginner 3D rangoli design.
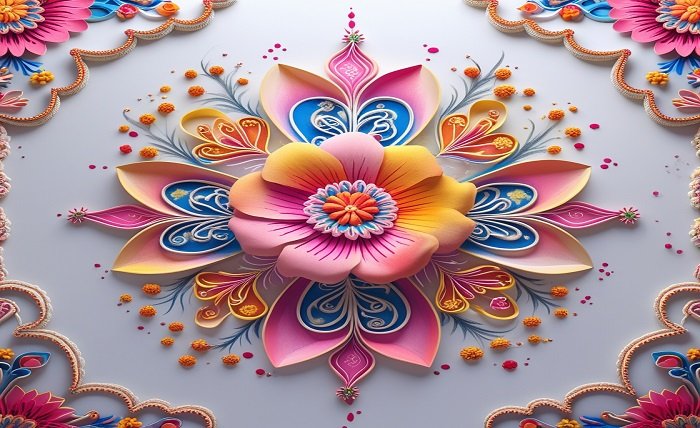
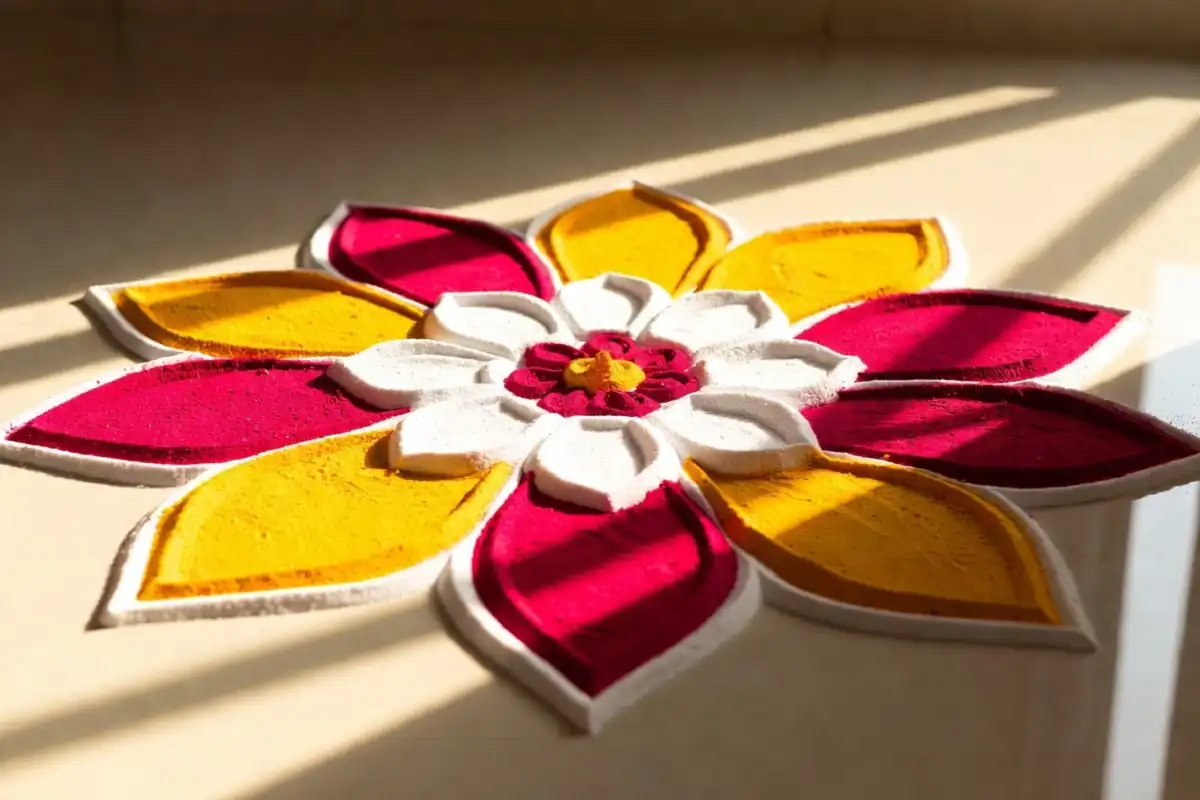
Flower petals are the most beginner-friendly shape. Their oval form makes the light-to-shadow transition feel natural and easy to apply without much practice.
Mango or paisley shapes are another excellent choice. Their tapered ends and rounded bodies allow for gradual shading that creates convincing depth.
Simple circles or ovals respond very well to 3D shading. A circle with a bright center fading to darker edges can look like a glowing sphere on the floor.
Diamond or leaf shapes work well for geometric styles. They create clean lines while still allowing for strong shading contrast.
If you want to keep things simple while still making an impact, these minimal rangoli design ideas can help you understand how simplicity and elegance work together in rangoli art.
Tips to Make Your 3D Rangoli Last Longer
One common concern with powder rangoli is how quickly it can get disturbed. A few small adjustments can help any beginner 3D rangoli design stay intact longer after completion.
Apply the powder slightly thicker in the center of each shape. This creates a gentle raised texture that reinforces the 3D illusion while also helping the colors sit more stably on the surface.
After finishing, avoid walking near the design and keep pets and children away from the area. A gentle perimeter made of flower petals or small diyas can visually mark the boundary without needing barriers.
If you are making the rangoli outdoors, check the weather before starting. Even a small breeze can scatter dry powder and disturb hours of careful work.
How to Practice Before the Main Event
Practice matters a great deal when learning a beginner 3D rangoli design. Instead of saving your first attempt for a big occasion, practice on paper or cardboard first.
Sketch shapes in pencil and practice shading with colored pencils or pastels. This gives you a low-pressure way to understand how light and shadow interact before working with actual powder on the floor.
Start with smaller designs. A single 3D flower petal or a small oval can teach you the core technique in just a few minutes. Once you feel confident with one shape, expand gradually to a three-petal or five-petal arrangement.
For variety and fresh inspiration, the modern simple rangoli designs available online show how traditional methods blend with contemporary styles, giving beginners a broader range of ideas to explore.
According to guidance shared by the Lalit Kala Akademi, understanding color contrast and spatial awareness are foundational skills in Indian decorative folk arts, which directly supports the shading technique central to a beginner 3D rangoli design.
When and Where to Make a 3D Rangoli
A beginner 3D rangoli design suits many occasions. You do not have to wait for a major festival to practice and display your work with pride.
Common occasions where a 3D rangoli looks especially beautiful include:
- Diwali and Navratri celebrations at home
- Entrance doorways during Pongal or Onam
- Wedding and engagement decorations
- Housewarming ceremonies
- School or community cultural events
The entrance of a home is the most traditional placement for rangoli. A welcoming design near the main door signals hospitality and positive energy. In larger spaces like halls or event venues, a bigger beginner 3D rangoli design can serve as a striking visual centerpiece that draws attention naturally.
Cultural references from resources like Drishti IAS confirm how deeply rangoli is embedded in everyday festive traditions across multiple Indian states, making it a meaningful art form worth learning at any level.

FAQs
Is a 3D rangoli hard for complete beginners?
What kind of powder works best for a 3D rangoli?
How long does it take to complete a beginner 3D rangoli?
Can I use a stencil for a 3D rangoli design?
What is the best surface for 3D rangoli?
How do I fix mistakes while making a 3D rangoli?
Conclusion
A beginner 3D rangoli design is one of the most rewarding creative projects you can bring into your home. The combination of color, light, and shadow transforms a flat surface into something that looks truly dimensional and alive. You do not need special training or expensive materials to get started. With simple shapes, a consistent imaginary light source, and a little patience, the results can genuinely impress everyone who sees them. Each attempt teaches you something new, and every design you make will be better than the last. Start small, enjoy the process, and let this beautiful tradition find its place in your home and heart.