Rangoli With Triangles and Circles: A Complete Step-by-Step Guide
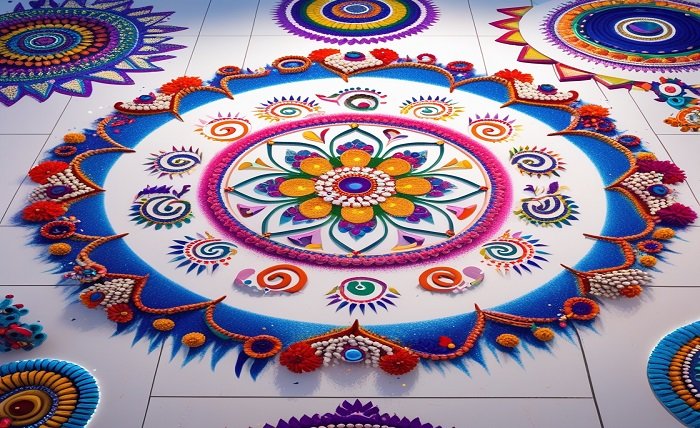
Rangoli with triangles and circles turns a plain floor into a sharp, balanced pattern using just two shapes. This style works often because it looks structured without needing freehand skill.
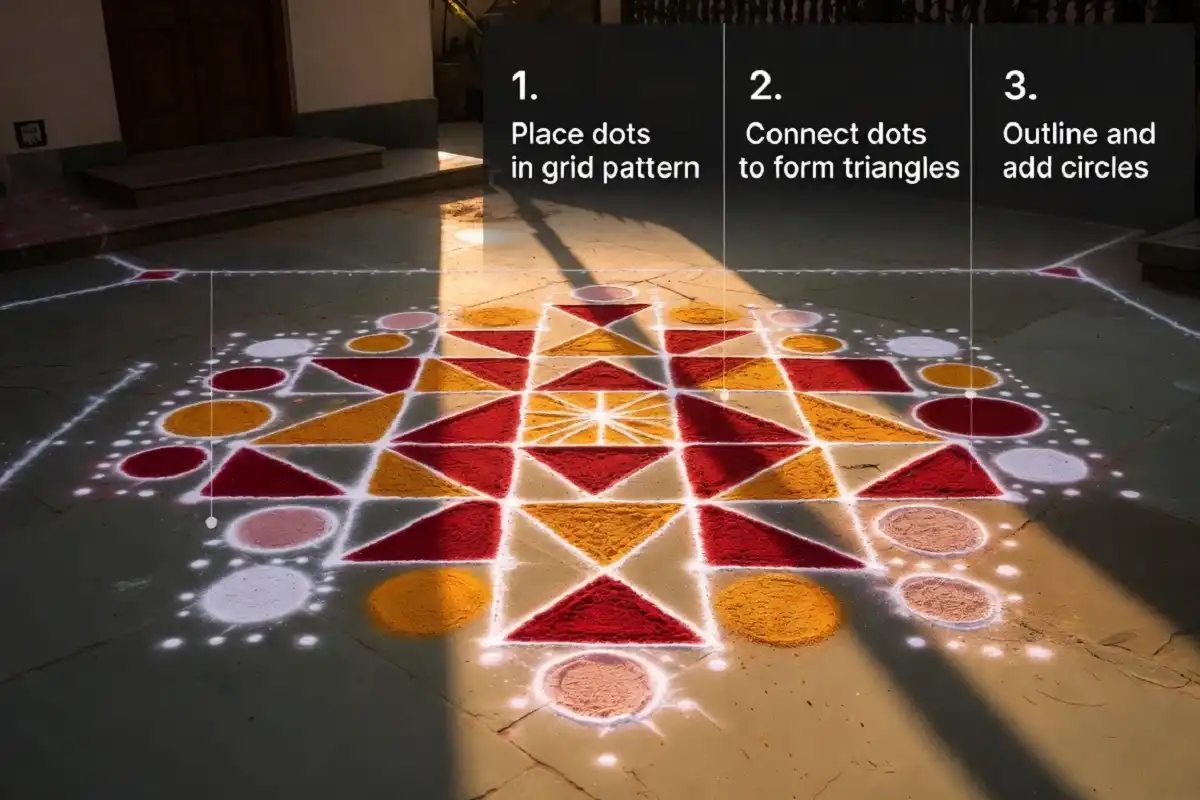
Rangoli with triangles and circles works by drawing a dot grid first, then connecting dots into triangles and framing them with circles.
This combination gives you sharp angles and soft curves in one design, ideal for entrances and festival floors.
Why Triangles and Circles Work So Well Together
Triangles give a design its structure. Circles soften the edges. Together, they balance sharp lines with smooth curves, so the pattern never looks stiff or overly rigid.
This pairing also mirrors traditional Indian design language. Temple floor art and Mughal-inspired floral motifs both use geometry as a base before adding color or petals.
Rangoli with triangles and circles follows the same logic: shape first, decoration second.
What You Need Before You Start
- Rangoli powder (gulal) in at least 3-4 colors
- A chalk pencil or white powder for the dot grid
- A ruler or thread for straight lines
- A compass, bottle cap, or bowl to trace circles
- A soft brush to clean stray powder
Keep your base surface dry and swept clean. Damp floors make powder clump and ruin sharp triangle edges.
How to Draw Rangoli With Triangles and Circles Step by Step
Start with a dot grid, then build triangles from the dots before adding circles around or inside them.
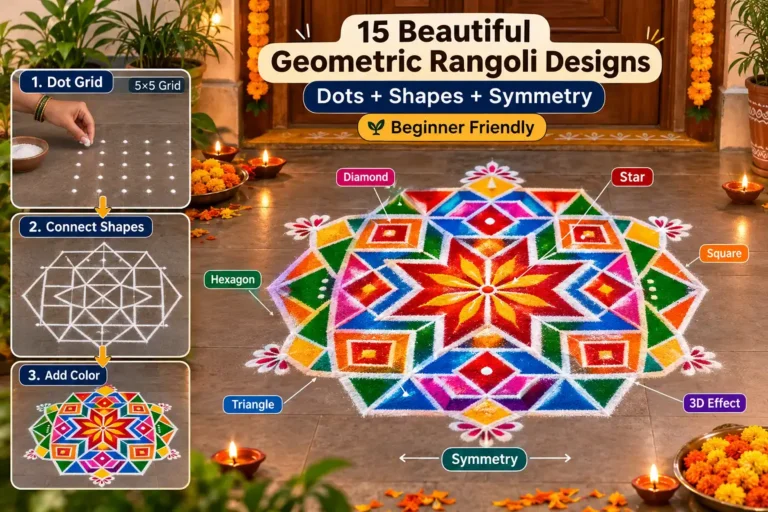
- Set Up the Dot GridPlace dots in even rows and columns, spaced about 1-1.5 inches apart. A 7×7 or 9×9 grid works well for a medium-sized design near an entrance. Consistent spacing is what makes triangles line up correctly later.
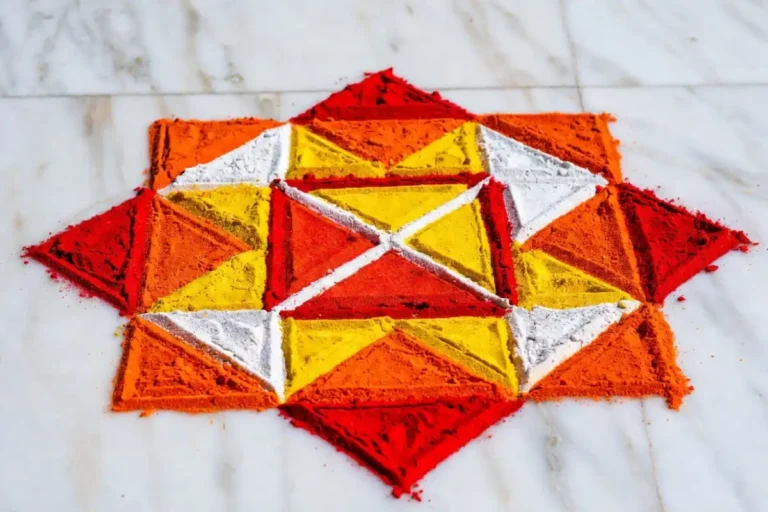
- Connect Dots Into TrianglesDraw straight lines between three dots to form a triangle. Repeat this around the grid, flipping alternate triangles upside down to create a zigzag or star pattern. This is the core technique behind most geometric rangoli shapes and coloring tips.
- Add Circles Around or Inside the TrianglesUse a bottle cap or compass to trace circles at the center of the grid, or around each triangle cluster. Circles at the outer edge frame the whole rangoli with triangles and circles design and stop it from looking scattered.
- Fill With ColorFill triangles with one shade and circles with a contrasting one. Red triangles with yellow circle borders, or white triangles with a single orange circle center, both read cleanly from a distance.
- Outline and Clean EdgesUse a fine brush or your fingertip to sharpen triangle points and smooth circle curves. Sharp outlines are what separate an average rangoli with triangles and circles from a professional-looking one.
Simple Patterns to Try
Star Pattern Using Alternating Triangles
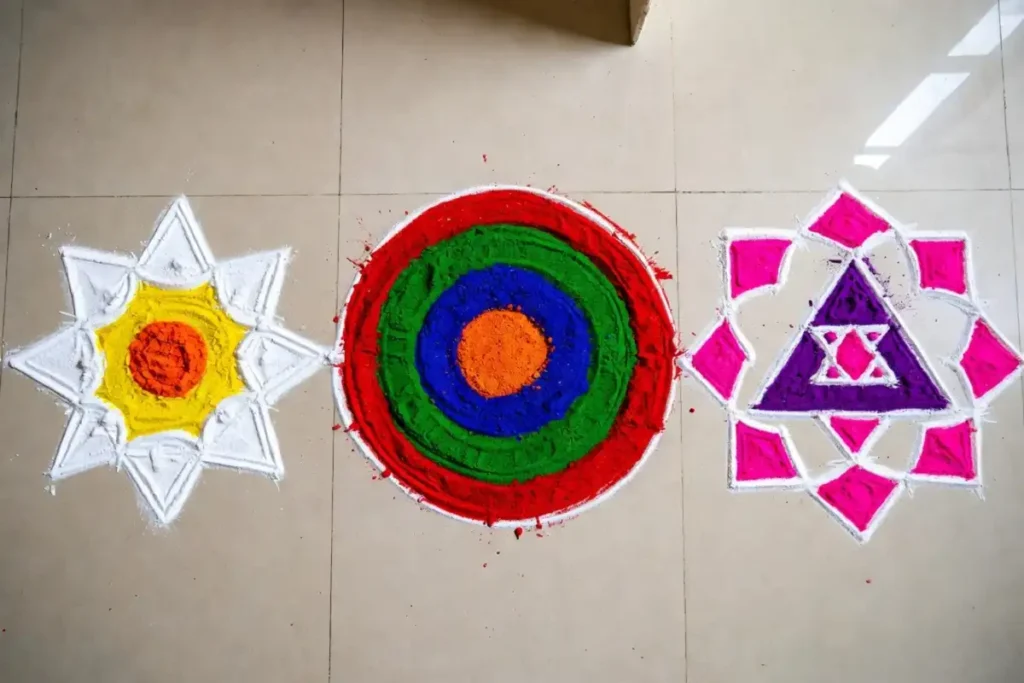
Flip every second triangle in a row upside down. This creates a six-pointed star look, then add a single circle at the center for a balanced festival design.
Concentric Circle and Triangle Border
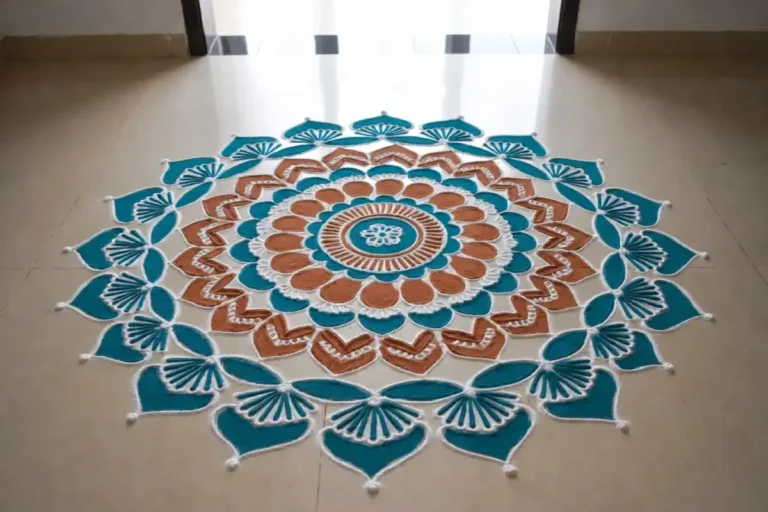
Draw two or three circles of increasing size around a central triangle cluster. This border style works especially well as an entrance frame, similar to the layouts in circle rangoli designs for festival decoration.
Mandala-Style Triangle Wheel
Arrange 8-12 small triangles pointing inward around one large central circle, like spokes on a wheel. Color each triangle differently for a mandala effect without needing curved freehand lines.
Color Combinations That Work Best
- Red and yellow: high contrast, easy to spot from a distance, common for Diwali
- White and orange: clean and festive, good for daytime events
- Green and pink: fresh look, suited to spring festivals like Onam or Pongal
- Single color with white outline: minimalist option for small apartment entrances
Keep triangle fill colors bold and circle borders lighter. This contrast keeps the geometry readable even in bright sunlight.
Common Mistakes to Avoid
Uneven dot spacing is the biggest issue to watch for. If dots drift even slightly, triangles come out lopsided and circles won’t align with the grid center. Measure once, mark lightly, then commit to the lines.
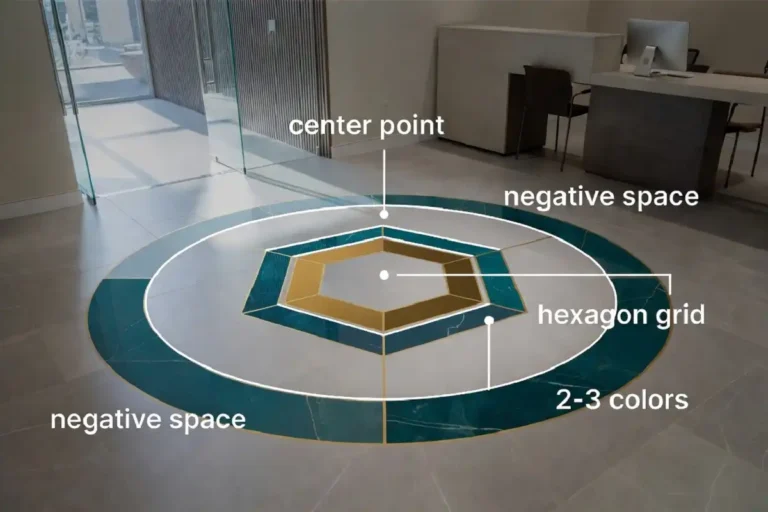
Overfilling with too many colors is another problem. Rangoli with triangles and circles reads best with 2-3 colors maximum. More than that, and the geometry gets lost in the color noise.
Skipping the outline step also weakens the final look. A thin white or black border around each triangle and circle makes the whole design pop, especially under artificial light.
Sizing Guide for Different Spaces
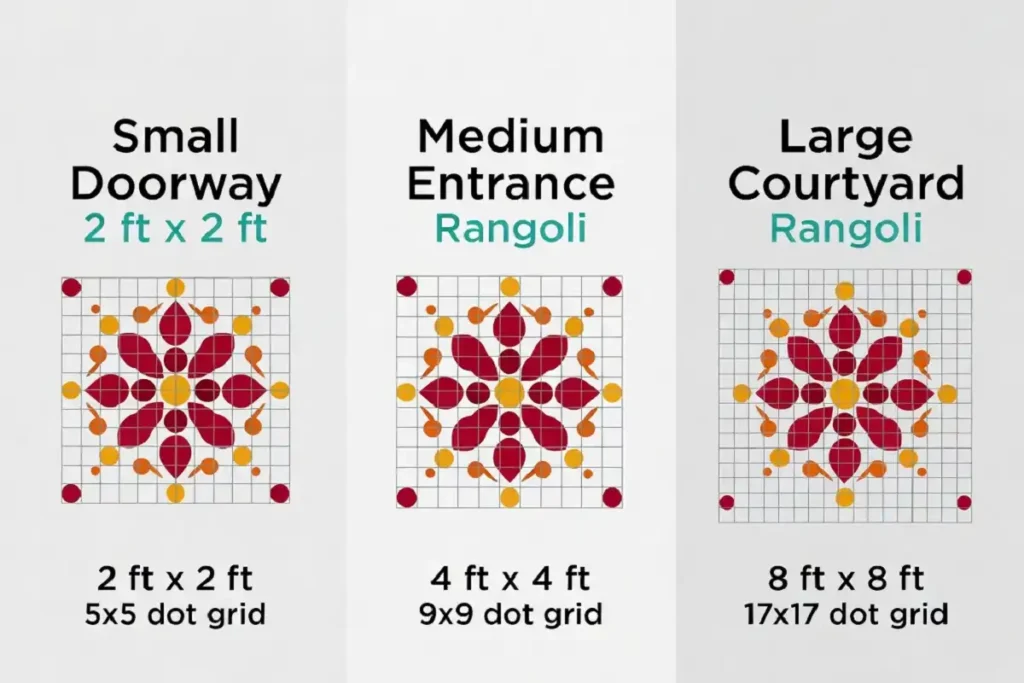
| Space | Grid Size | Best Use |
|---|---|---|
| Apartment doorway | 5×5 dots | Daily or quick festival use |
| House entrance | 9×9 dots | Diwali, Pongal, main events |
| Courtyard or hall | 15×15 dots | Competitions, large gatherings |
Smaller grids finish in under 20 minutes. Larger ones need two people for clean lines across the full width.
Tools That Make This Easier
A stencil helps beginners get consistent triangle angles before moving to freehand lines. For circles, a compass gives cleaner curves than tracing by hand, especially on larger square rangoli design layouts where triangles and circles sit inside a bordered frame.
If you’re new to geometric floor art in general, practicing basic shapes on paper first builds the muscle memory needed for accurate powder lines.
FAQs
Can I make rangoli with triangles and circles without a dot grid?
Yes, but accuracy drops. A dot grid keeps triangle points and circle centers aligned, which matters most for symmetrical, competition-style designs.
How long does a medium rangoli with triangles and circles take?
A 9×9 grid design usually takes 30-45 minutes, including outlining and color filling, once you’re familiar with the shape sequence.
What festivals suit this design style best?
Diwali, Pongal, and Onam all suit rangoli with triangles and circles, since the geometric structure photographs well and holds up outdoors for multiple days.
Final Words
Rangoli with triangles and circles rewards patience with the dot grid more than artistic skill. Get the spacing right, keep your colors to two or three shades, and outline every edge.
Once you’ve drawn it a few times, the shape sequence becomes second nature, and you can scale the same technique from a small doorway design to a full courtyard centerpiece.