Geometric Rangoli Designs: A Complete Guide to Patterns, Shapes, and Placement
Geometric rangoli designs turn simple shapes into striking floor art. I build mine with grids, symmetry, and repeating lines, and once you know the method, any shape becomes a pattern you control.
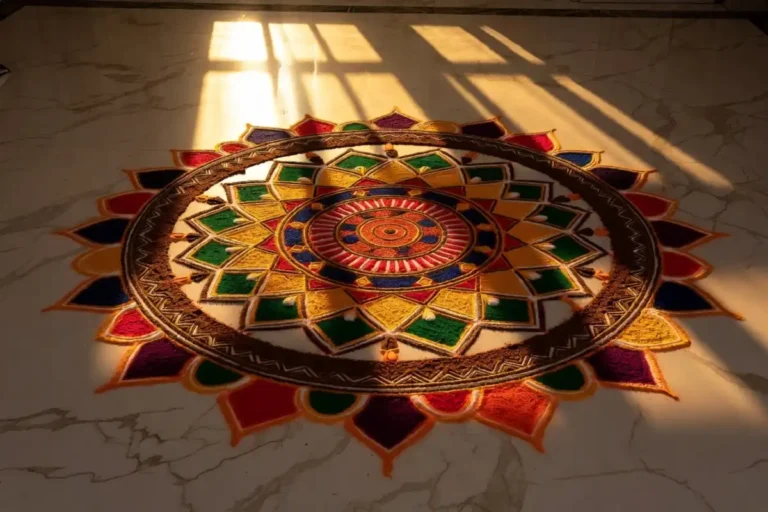
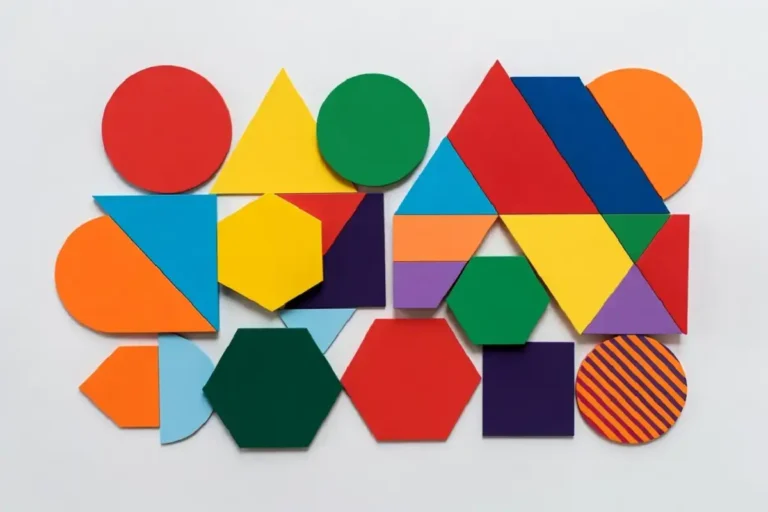
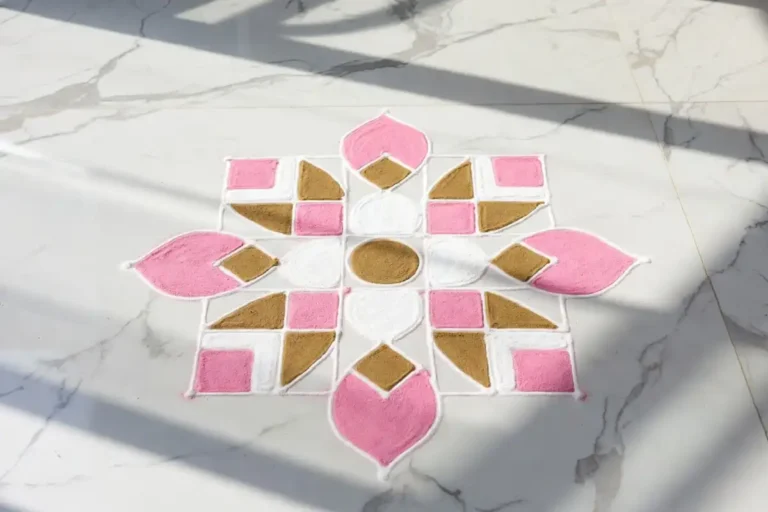
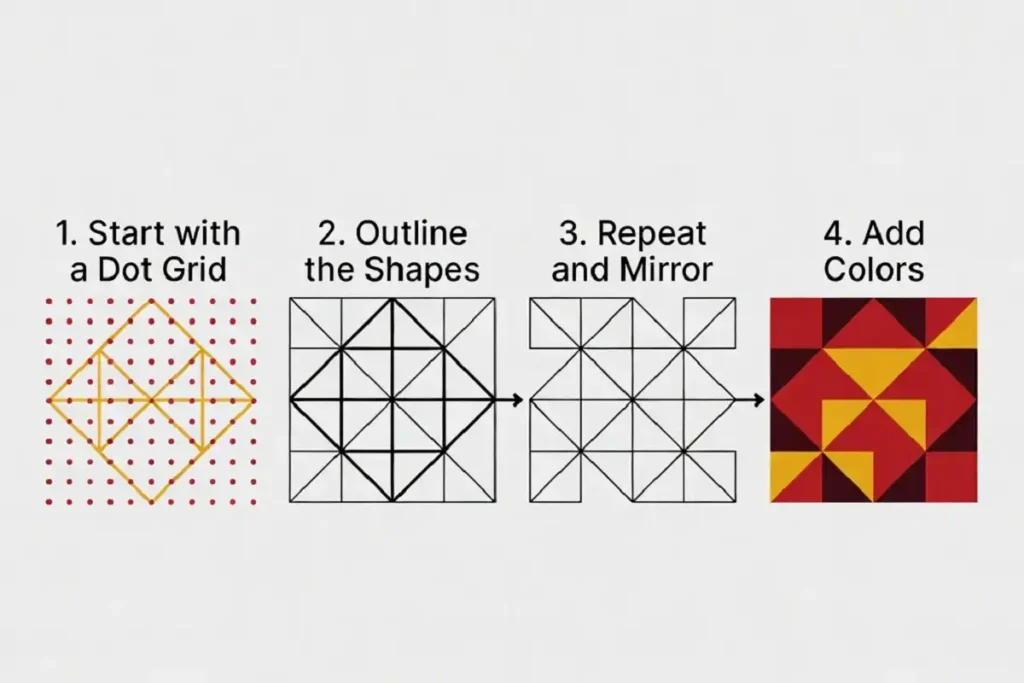
Geometric rangoli designs use shapes like circles, squares, triangles, and hexagons arranged in a symmetrical grid. Start with a dot grid, connect the dots into your chosen shape, then repeat it outward until the pattern fills your space evenly.
What Makes a Rangoli Design “Geometric”
Geometric rangoli designs rely on measured shapes instead of free-hand curves. Every line follows a grid. Every shape repeats at a fixed distance. This is different from floral rangoli, where petals and leaves flow without strict measurement.
I use geometric patterns when I want precision. They photograph well, they scale up for large spaces, and they never look messy, even when a beginner draws them. The structure does the work for you.
Why Geometric Patterns Work So Well for Rangoli
Symmetry is the reason these designs succeed. The human eye locks onto repeated shapes and even spacing. A geometric rangoli design looks balanced from any angle, which matters at entrances and courtyards where people view it from multiple sides.
Geometric patterns also scale. A hexagon grid that fits a small doorstep works just as well across an entire courtyard floor. You just add more repeats.
How Do You Make a Geometric Rangoli Design?
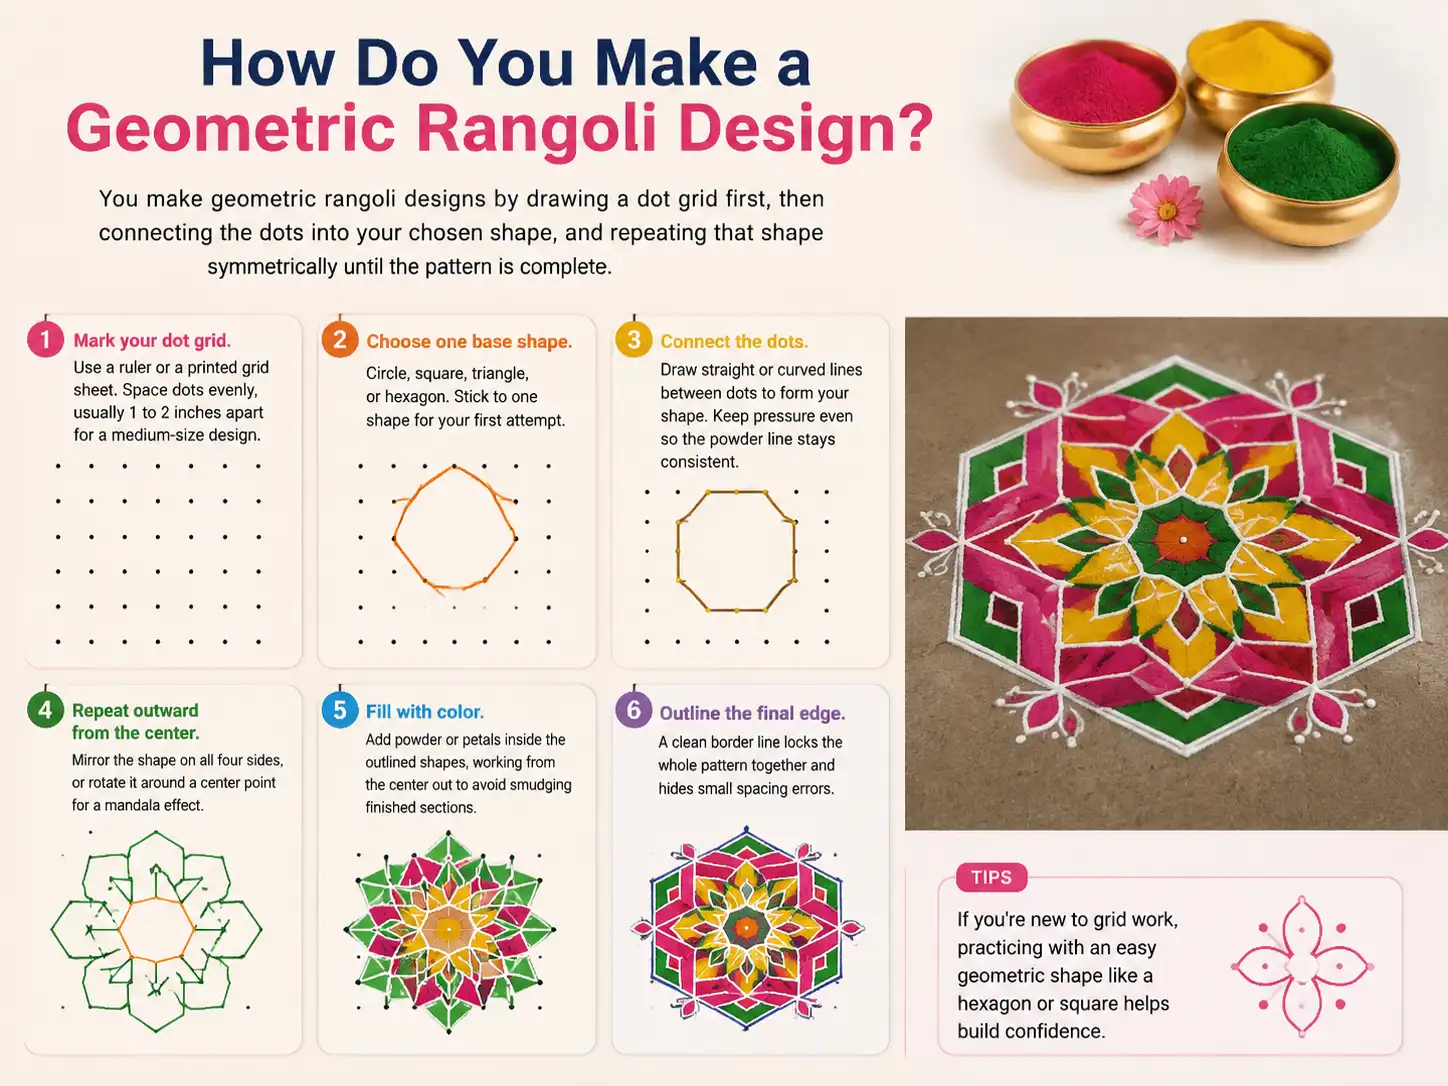
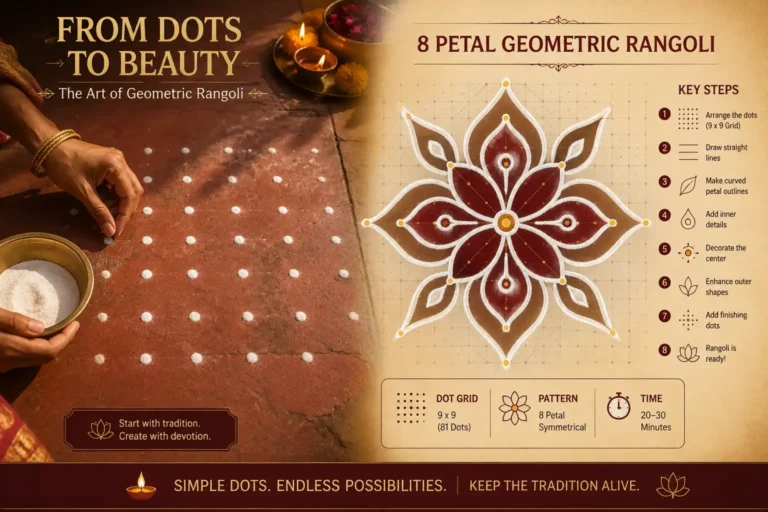
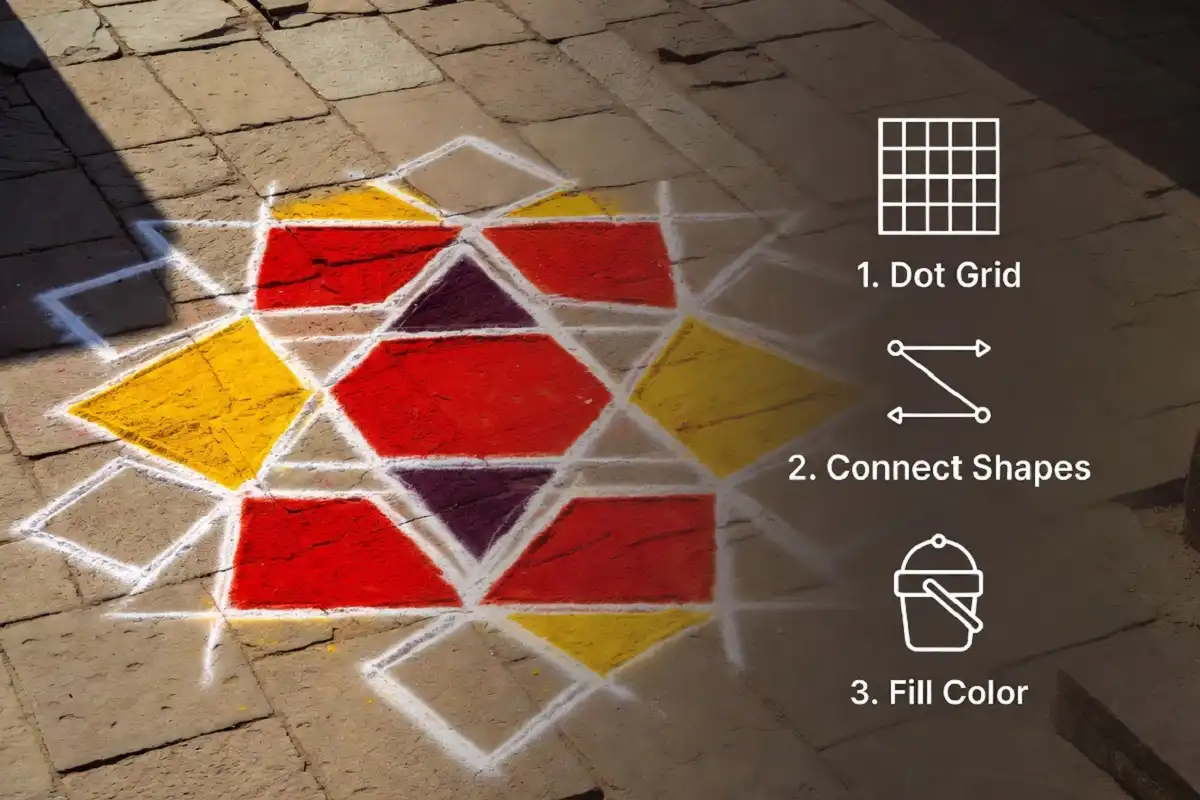
You make geometric rangoli designs by drawing a dot grid first, then connecting the dots into your chosen shape, and repeating that shape symmetrically until the pattern is complete.
Here is the exact method I follow every time:
If you’re new to grid work, practicing with an easy geometric rangoli pattern first builds the muscle memory before you try anything larger.
Common Shapes Used in Geometric Rangoli Designs
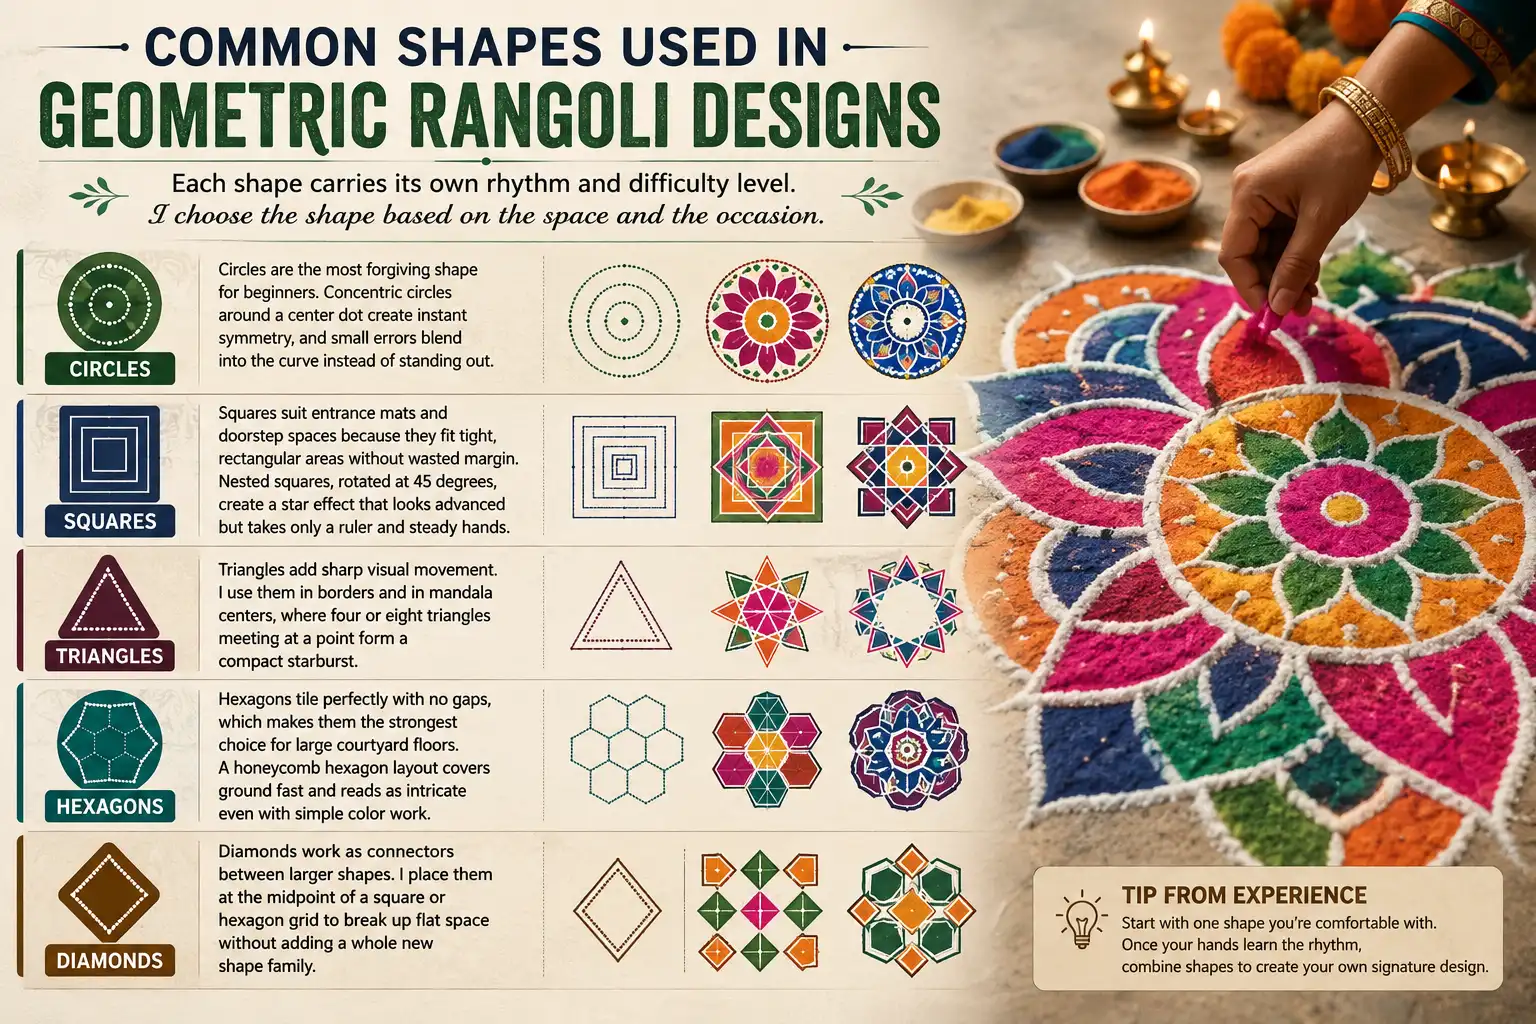
Each shape carries its own rhythm and difficulty level. I choose the shape based on the space and the occasion.
Circles
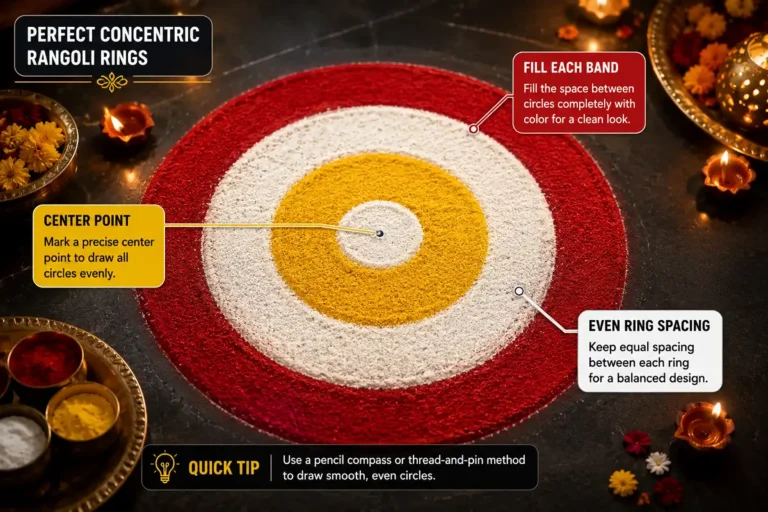
Circles are the most forgiving shape for beginners. Concentric circles around a center dot create instant symmetry, and small errors blend into the curve instead of standing out.
Squares
Squares suit entrance mats and doorstep spaces because they fit tight, rectangular areas without wasted margin. Nested squares, rotated at 45 degrees, create a star effect that looks advanced but takes only a ruler and steady hands.
Triangles
Triangles add sharp visual movement. I use them in borders and in mandala centers, where four or eight triangles meeting at a point form a compact starburst.
Hexagons
Hexagons tile perfectly with no gaps, which makes them the strongest choice for large courtyard floors. A honeycomb hexagon layout covers ground fast and reads as intricate even with simple color work.
Diamonds
Diamonds work as connectors between larger shapes. I place them at the midpoint of a square or hexagon grid to break up flat space without adding a whole new shape family.
How Do You Keep a Geometric Rangoli Symmetrical?
You keep a geometric rangoli symmetrical by marking a center point first and building every shape outward from that single point in equal, mirrored steps.
Mark the center with a single dot before anything else. From there, count grid points outward in equal numbers on every side. If you place three dots to the right of center, place three to the left, three above, and three below. This single habit prevents the lopsided look that trips up most beginners.
A dot rangoli design is the easiest starting point for practicing this centering technique, since the dots themselves force you to count and mirror before you draw a single line.
Colors That Suit Geometric Rangoli Designs
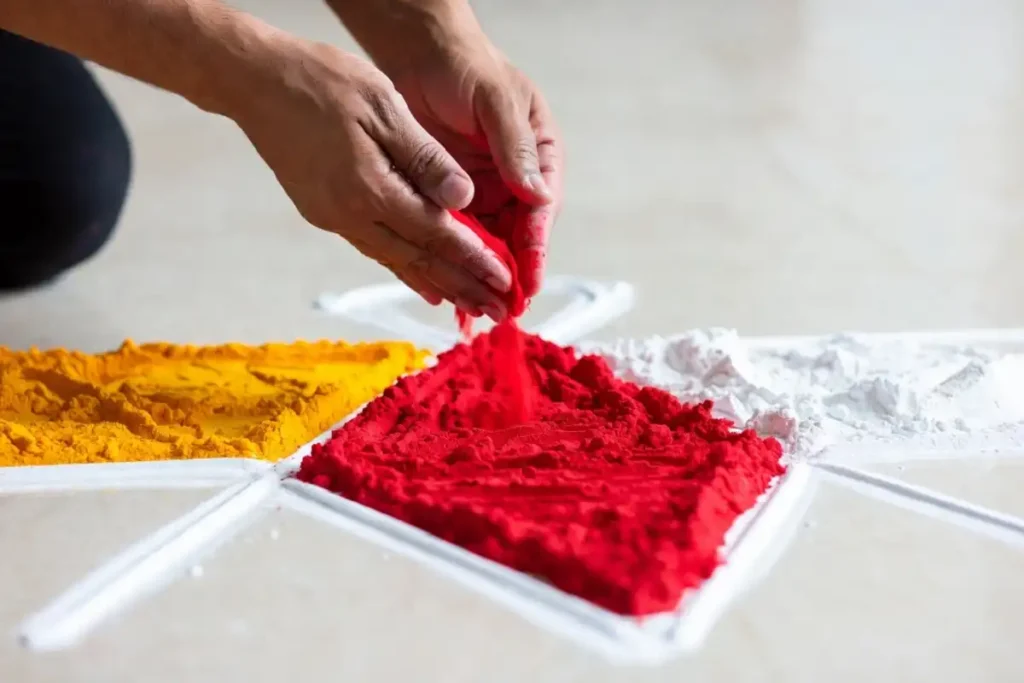
Geometric patterns read best with high-contrast color blocking rather than blended shading. I pair opposite colors, such as deep red against bright yellow, or royal blue against white, so each shape stands out clearly against its neighbor.
Rules I follow for color placement:
Geometric Rangoli Designs for Festivals
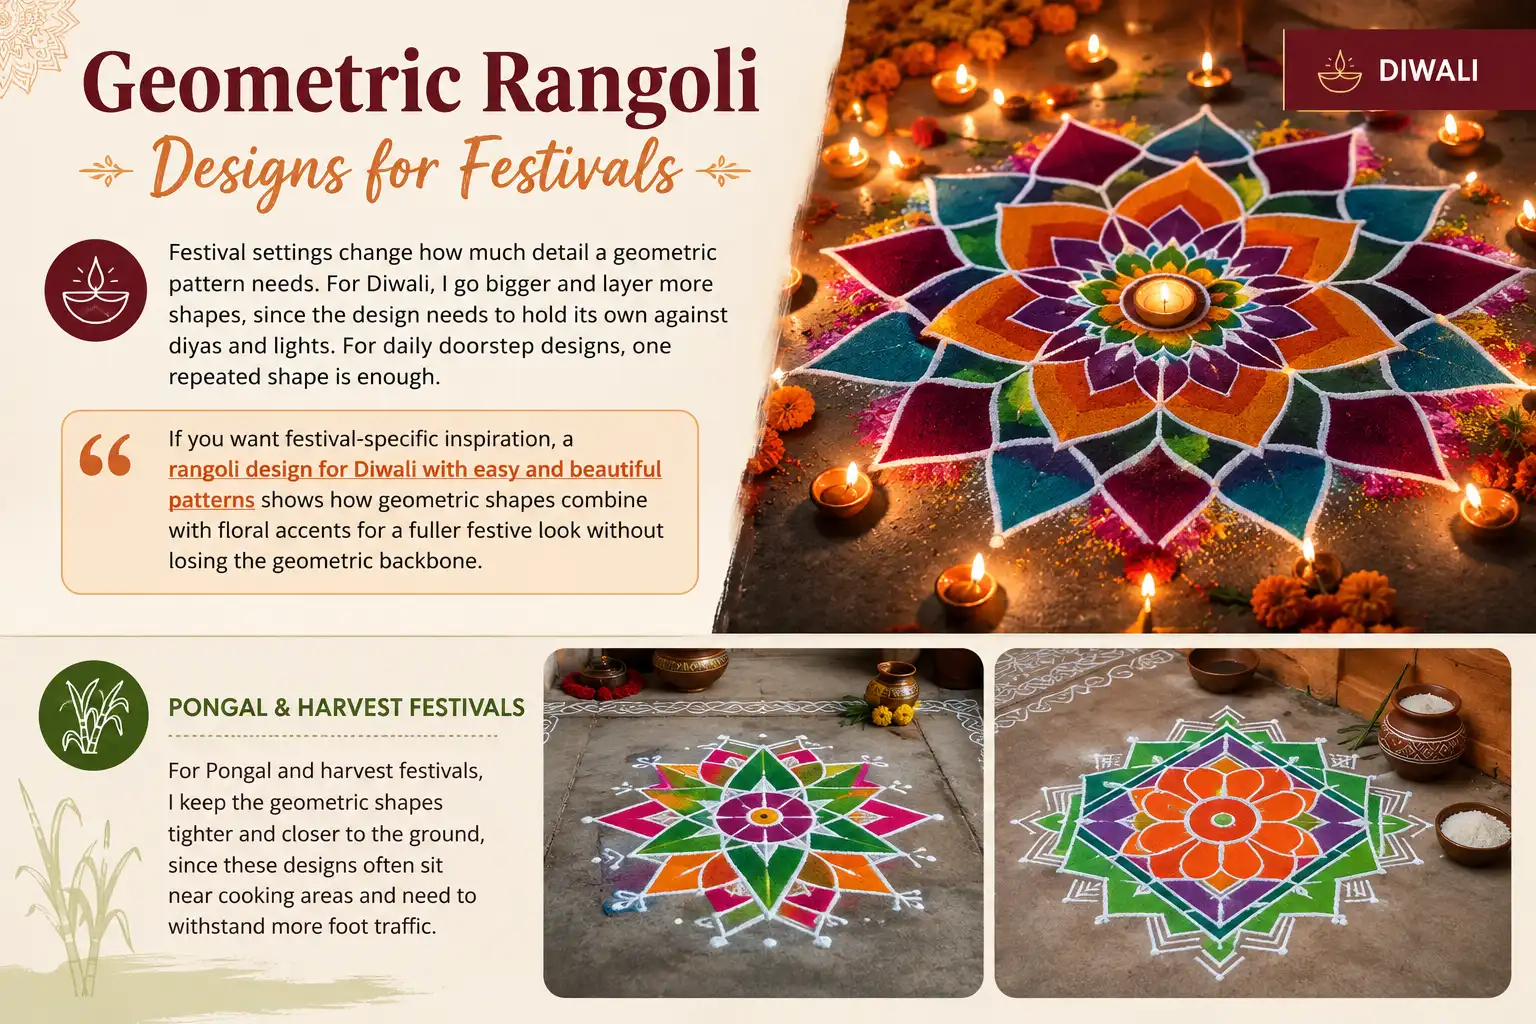
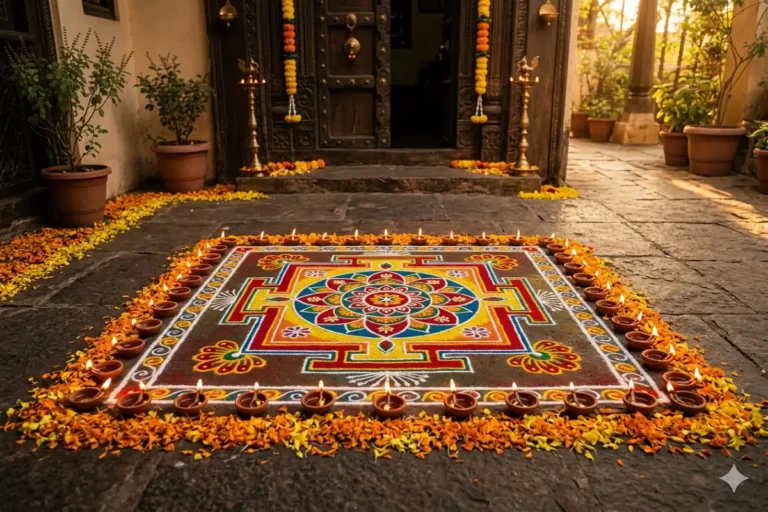
Festival settings change how much detail a geometric pattern needs. For Diwali, I go bigger and layer more shapes, since the design needs to hold its own against diyas and lights. For daily doorstep designs, one repeated shape is enough.
If you want festival-specific inspiration, a rangoli design for Diwali with easy and beautiful patterns shows how geometric shapes combine with floral accents for a fuller festive look without losing the geometric backbone.
For Pongal and harvest festivals, I keep the geometric shapes tighter and closer to the ground, since these designs often sit near cooking areas and need to withstand more foot traffic.
Tools That Make Geometric Patterns Easier
Precision tools save time and reduce mistakes:
I sketch every one of my geometric rangoli designs in chalk first. It costs two extra minutes and saves an entire redo if the spacing goes wrong.
Geometric vs Floral Rangoli: Which Should You Choose?
✦ Geometric Rangoli
- Precision
- Speed
- Strong symmetry
- Works well from a distance
- Repeating shapes
- Less time once the grid method is known
❀ Floral Rangoli
- Softer, organic feel
- More freehand curves
- Individual floral motifs
- More color blending
- Flowing petals and leaves
Choose geometric rangoli designs when you want precision, speed, and a look that holds up in bright sunlight or from a distance. Choose floral rangoli when you want a softer, organic feel with more color blending.
Geometric designs also take less time once you know the grid method, because the shapes repeat instead of requiring individual freehand curves for every petal. If your event needs a design ready in under 30 minutes, geometric patterns are the faster route. You can compare the visual difference directly against a flower rangoli design to decide which style fits your space.
Mistakes to Avoid in Geometric Rangoli Designs
FAQs

Can beginners draw geometric rangoli designs without a grid?
Beginners can try, but results stay uneven without one. A basic dot grid takes under five minutes and fixes most symmetry problems before they start.
What size grid works best for a doorstep design?
A 9×9 or 11×11 dot grid suits most doorsteps. It’s large enough for detail but small enough to finish in 20 to 30 minutes.
Do geometric rangoli designs need rangoli powder specifically?
No. Chalk, colored sand, flower petals, or even rice flour work. The shape and grid matter more than the material.
Last Words
Geometric rangoli designs reward patience with a grid, not artistic skill. Once you mark your center point and count your dots evenly, the shapes practically draw themselves. Start with one shape, master the repeat, then layer in a second shape once the first feels natural. That’s how every intricate geometric pattern gets built, one honest grid at a time.