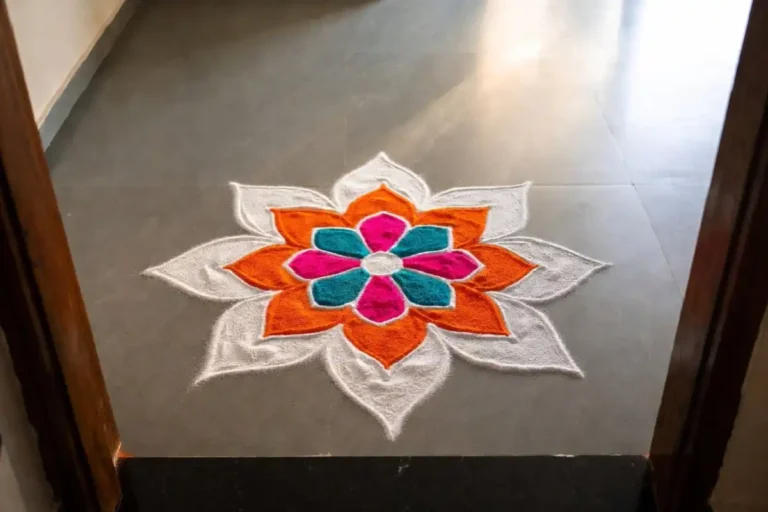
Easy Geometric Rangoli: Simple Patterns Anyone Can Make
Easy geometric rangoli is one of the most satisfying art forms you can try at home. It uses basic shapes like squares, triangles, circles, and diamonds to build patterns that look complex but are simple to create. Whether you are preparing for a festival or just want to add a decorative touch to your entrance, this style of rangoli gives you great results without needing advanced skills. This guide walks you through everything you need to know to create these beautiful patterns with confidence and creativity.
Why Easy Geometric Rangoli Is Perfect for Beginners
Easy geometric rangoli works well for beginners because every design starts with familiar shapes. Unlike freehand floral or figurative patterns, geometric layouts rely on symmetry and repetition. Once you understand the basic grid, the rest follows naturally.
Here is why so many people prefer this style:
- The dot-grid method gives you a reliable structure before you add color
- Shapes like triangles and hexagons repeat in a predictable way
- Mistakes are easy to correct with a dry cloth before color sets
- The finished design looks clean, polished, and intentional
Even children can enjoy making easy geometric rangoli because the rules are clear and the results are satisfying. If you are just getting started with rangoli art, this is the most forgiving style to practice.
Essential Tools and Materials
Before you begin drawing, gather a few basic supplies. Having everything ready helps you work without interruption.
What you will need:
- Rangoli powder in 4 to 6 colors (red, yellow, white, blue, green, and orange are popular)
- A flat, clean surface such as a floor tile, courtyard, or wooden board
- White chalk or a thin stick for marking dots
- A small cone or plastic squeeze bottle for precision pouring
- A ruler or measuring tape for straight lines (optional but helpful)
- A soft brush to blend or correct edges
Dry rangoli powder is the best choice for easy geometric rangoli because it stays in place and gives sharp edges when poured carefully. Colored sand or crushed stone can also work for outdoor use.
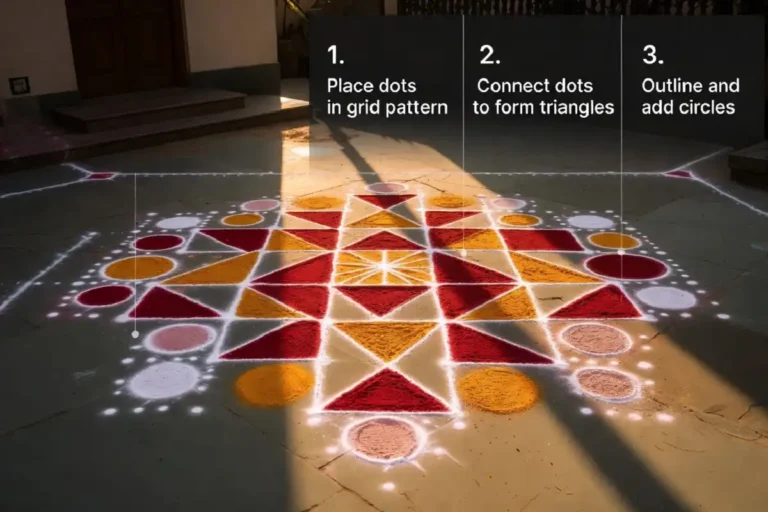
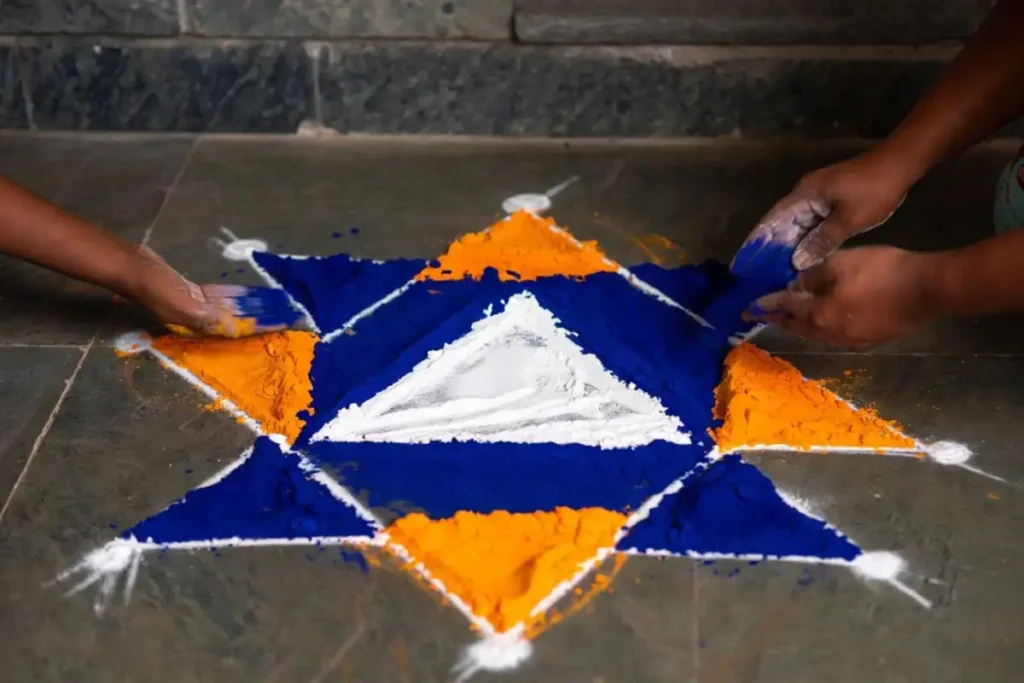
Understanding the Dot Grid Method
The dot grid is the foundation of most traditional Indian rangoli, and it works especially well for easy geometric rangoli. You place a grid of evenly spaced dots on your surface, then connect them using straight or diagonal lines to form shapes.
How to set up your dot grid:
- Decide on your grid size. A 7×7 or 9×9 dot grid is ideal for beginners.
- Space your dots about 2 to 3 centimeters apart.
- Use chalk to mark each dot lightly on the floor.
- Connect the dots using straight lines to form your base shapes.
- Begin filling sections with color from the center outward.
Once you practice this system a few times, you will find it easy to scale up to larger or more detailed designs. The dot grid removes guesswork and helps you maintain symmetry throughout the pattern.
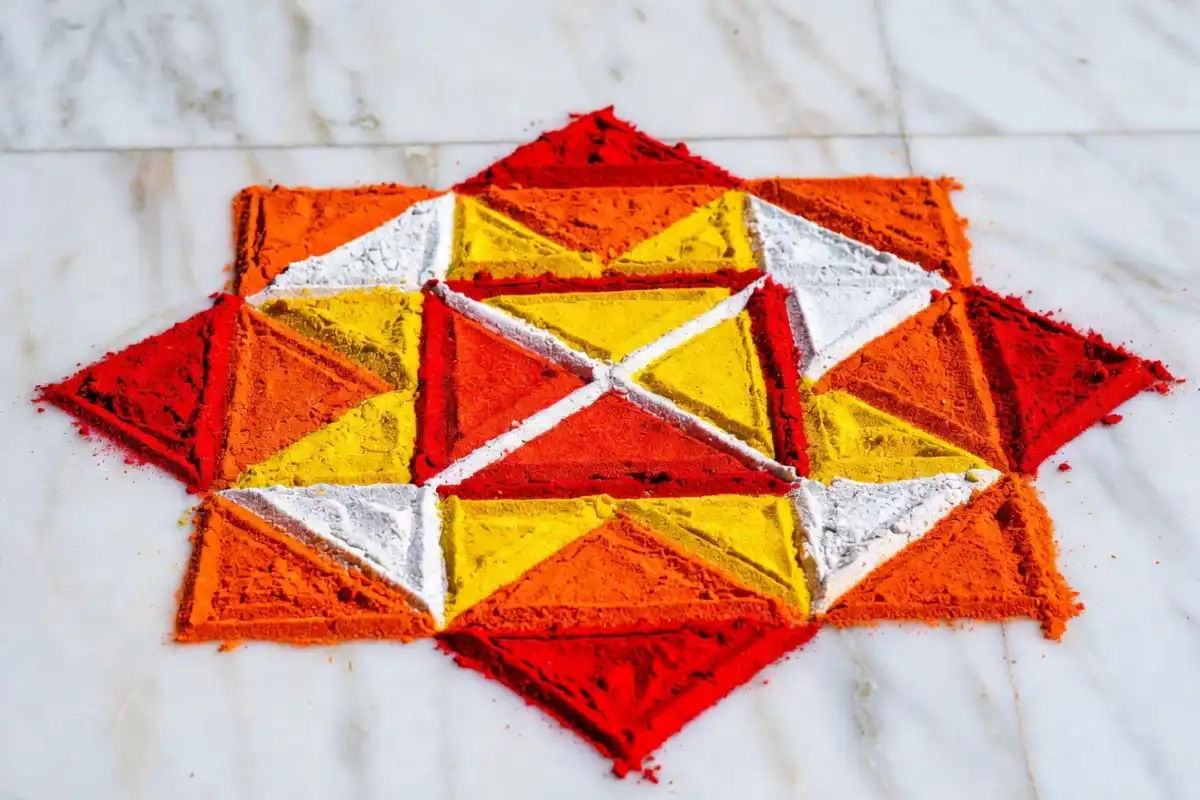
How to Draw Easy Geometric Rangoli Step by Step
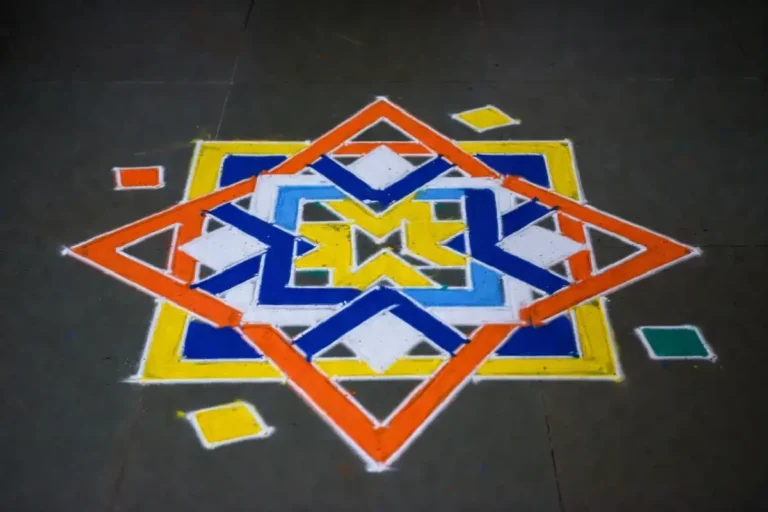
This step-by-step method creates a classic six-sided easy geometric rangoli that works for any festival or occasion.
Step 1: Mark the center point Find the center of your chosen surface and mark a dot. This becomes the anchor for your entire design.
Step 2: Draw the inner hexagon From the center dot, place six dots at equal distances in a circle around it. Connect these dots to form a hexagon.
Step 3: Add triangles around the hexagon Extend lines outward from each point of the hexagon to form six triangles pointing away from the center. This gives you a classic star-like shape.
Step 4: Create a square or diamond border Draw a square or diamond outline around the entire star shape. This border contains the design and gives it a finished look.
Step 5: Fill with color Start filling sections with rangoli powder. Use contrasting colors in alternating sections so each shape stands out clearly.
Step 6: Add a fine border Outline the entire design with white powder for a clean, sharp edge. This step makes colors pop and gives the design a professional finish.
This process takes about 20 to 30 minutes for most beginners. With practice, you can finish the same easy geometric rangoli in under 15 minutes.
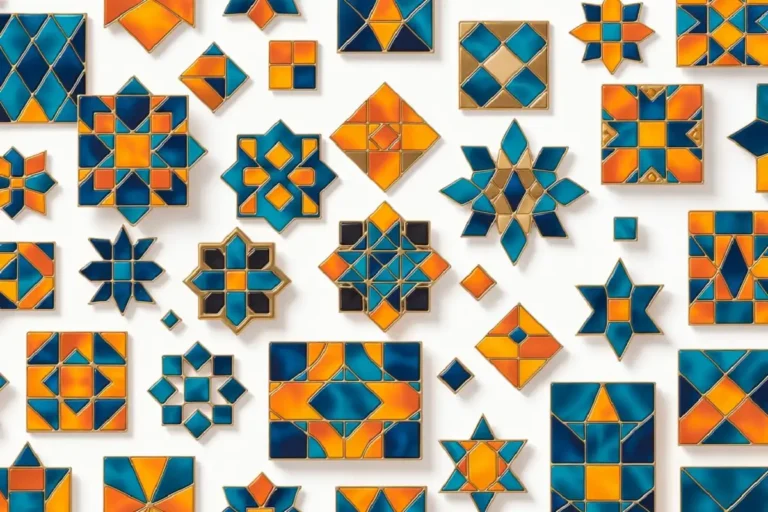
Popular Geometric Shapes Used in Rangoli
Knowing which shapes work best helps you plan your design before you start. Some shapes are easier to use than others when working with powder.
Triangles are the most common shape in easy geometric rangoli. They fit together cleanly and create strong visual patterns when arranged in a circle or grid.
Squares and diamonds give designs a structured, formal look. They are excellent for border patterns and for building symmetrical layouts.
Hexagons are slightly more advanced but create beautiful honeycomb-style patterns. They work well in larger designs where you have more space.
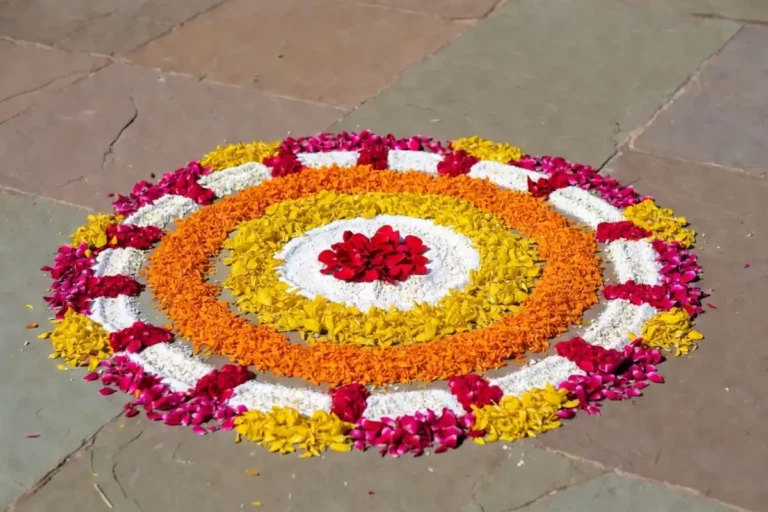
Concentric circles can soften a geometric design and add flow. Combining circles with squares or triangles creates contrast between soft and hard lines.
Chevron and zigzag lines are ideal for border designs. They add movement without requiring complex shapes.
Mixing two or three shapes in one design creates more visual interest than using just one. Keep the color palette focused so the variety of shapes does not feel overwhelming.
Color Tips for Geometric Rangoli
Color choice has a big impact on how an easy geometric rangoli reads from a distance. Bold, high-contrast combinations work best because geometric shapes rely on their edges to define the pattern.
Effective color combinations:
- Red and white with a gold border for Diwali themes
- Blue and yellow with white outlines for a clean, festive look
- Orange, pink, and green for Holi or spring celebrations
- Purple and white for a modern, minimal style
Use lighter colors in the center and darker shades toward the edges to create a sense of depth. White powder is especially useful for outlining shapes and separating color sections.
Avoid using too many colors in a small design. For a rangoli under 60 centimeters wide, three to four colors are enough to create a striking result.
If you want more ideas for festive color pairings, take a look at these small festive rangoli ideas for every occasion that cover color themes for different celebrations.
Small Geometric Rangoli for Your Home Entrance
Not every easy geometric rangoli needs to be large. Small designs are practical, quick to make, and look wonderful at doorways, pooja rooms, and balconies. A design as small as 30 to 45 centimeters can still make a strong visual impression when the shapes and colors are well chosen.
Small ideas to try include:
- A simple square border with triangular corners and a flower dot at the center
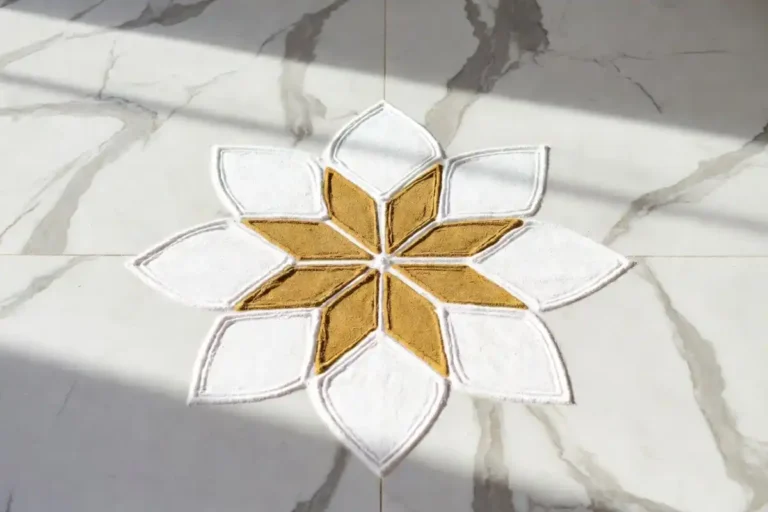
- A four-petaled shape built from four diamonds pointing inward
- A checkerboard square with alternating red and white sections
- A circular design using eight evenly spaced triangles around a central dot
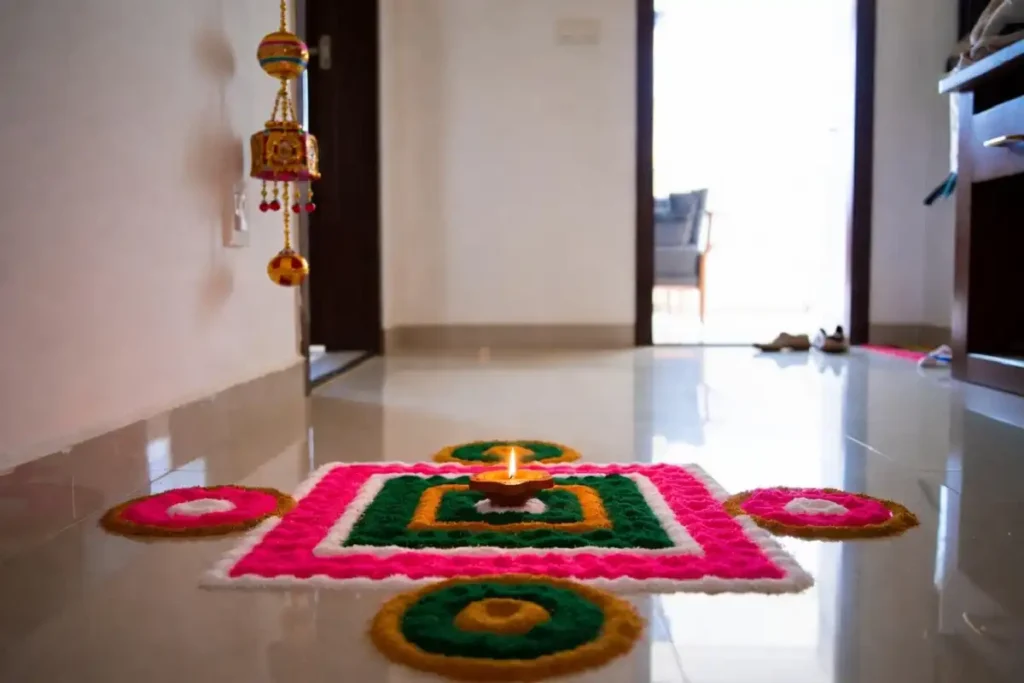
Placing a lit diya at the center of any small geometric design instantly lifts the festive mood and adds warmth. For more inspiration on adding a diya to your designs, explore these diya symbol rangoli design ideas for festivals that blend traditional symbols with simple layouts.
Easy Geometric Rangoli for Specific Festivals
Easy geometric rangoli works beautifully across many Indian festivals because it is neutral, versatile, and simple to adapt with just a change of colors.
Diwali: Use warm tones like red, orange, and gold. Add a central diya or lotus shape surrounded by geometric borders. The combination of light and symmetry fits the spirit of the festival perfectly. You can find helpful tips in this guide on easy Diwali rangoli at home for beginners.
Pongal and Onam: Earthy tones like yellow, green, and brown suit harvest festivals. Simple square grids with floral accents in the center work well for these occasions.
Navratri: Bright, energetic colors like pink, purple, and electric blue reflect the festive energy. Nine-section grids or star-shaped designs are popular choices.
Ugadi and Gudi Padwa: Fresh greens and whites suggest new beginnings. Clean geometric borders with open centers feel appropriate for new year celebrations.
The beauty of easy geometric rangoli is that a change in color palette is enough to shift the design from one festival to another. You do not need to learn a completely new pattern each time.
Common Mistakes and How to Avoid Them
Even experienced artists make errors when working with rangoli powder. Knowing what to watch for saves time and frustration.
Uneven dot spacing leads to shapes that look lopsided. Take a few extra minutes to measure and place your dots carefully before you start connecting them.
Using too many colors can make the design look cluttered. Plan your color sections before pouring any powder.
Pouring too much powder at once creates spills and blurry edges. Use a small cone or bottle and move slowly over each section.
Starting from the outside makes it harder to keep the center balanced. Always begin filling from the center and work outward.
Skipping the white outline leaves colors looking dull and merged. A thin white border around each color section makes the whole design sharper and more vibrant.
Rangoli powder does not set permanently, so you can use a dry cloth or soft brush to remove mistakes before they spread.
Stencil and Digital Methods for Quick Results
If you are new to rangoli or short on time, stencils and digital templates make it much easier to get clean, professional-looking results at home. Rangoli stencils are available at most craft shops and festival supply stores in India. You simply place the stencil on the floor, pour color through the openings, and lift it away for a clean result.
Digital rangoli apps let you plan and preview your design before committing to the floor. This is especially helpful when trying a new pattern for the first time.
For stencil-free guidance, the Rangoli Design community on Pinterest is a helpful visual resource with thousands of free geometric templates organized by complexity and occasion.
For deeper reading on the traditional and cultural context of rangoli as a practice, the Victoria and Albert Museum’s resource on Indian floor art provides rich background on how geometric and sacred patterns have developed across different regions of India.
FAQs
What is the easiest geometric rangoli for absolute beginners?
How do I keep the lines in my design straight?
Can I make this rangoli style without rangoli powder?
How long does a geometric rangoli last?
Is geometric rangoli suitable for small spaces?
Do I need artistic skills to make easy geometric rangoli?
Conclusion
Easy geometric rangoli is one of the most accessible art forms for anyone who wants to add beauty and tradition to their home. With a dot grid as your guide, a few colors, and basic shapes, you can create designs that look stunning at doorways, pooja rooms, and festive spaces. The rules are simple, the materials are affordable, and the results are always rewarding. Whether you are making your first rangoli or looking for fresh pattern ideas, geometric designs give you a reliable and creative foundation to build on. Start small, stay patient, and enjoy the process.