Easy 3D Rangoli Design Ideas for Every Home and Festival
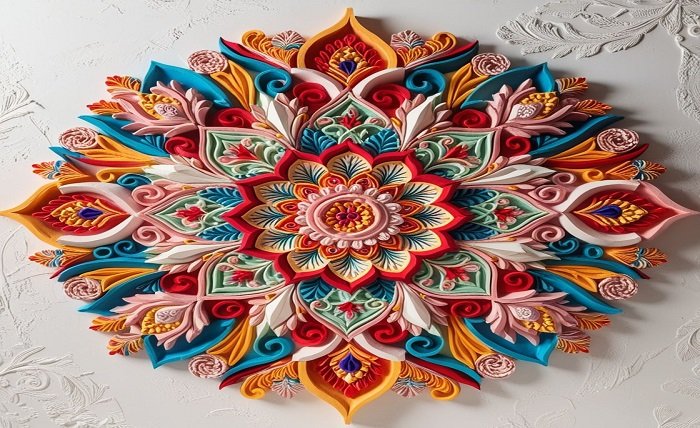
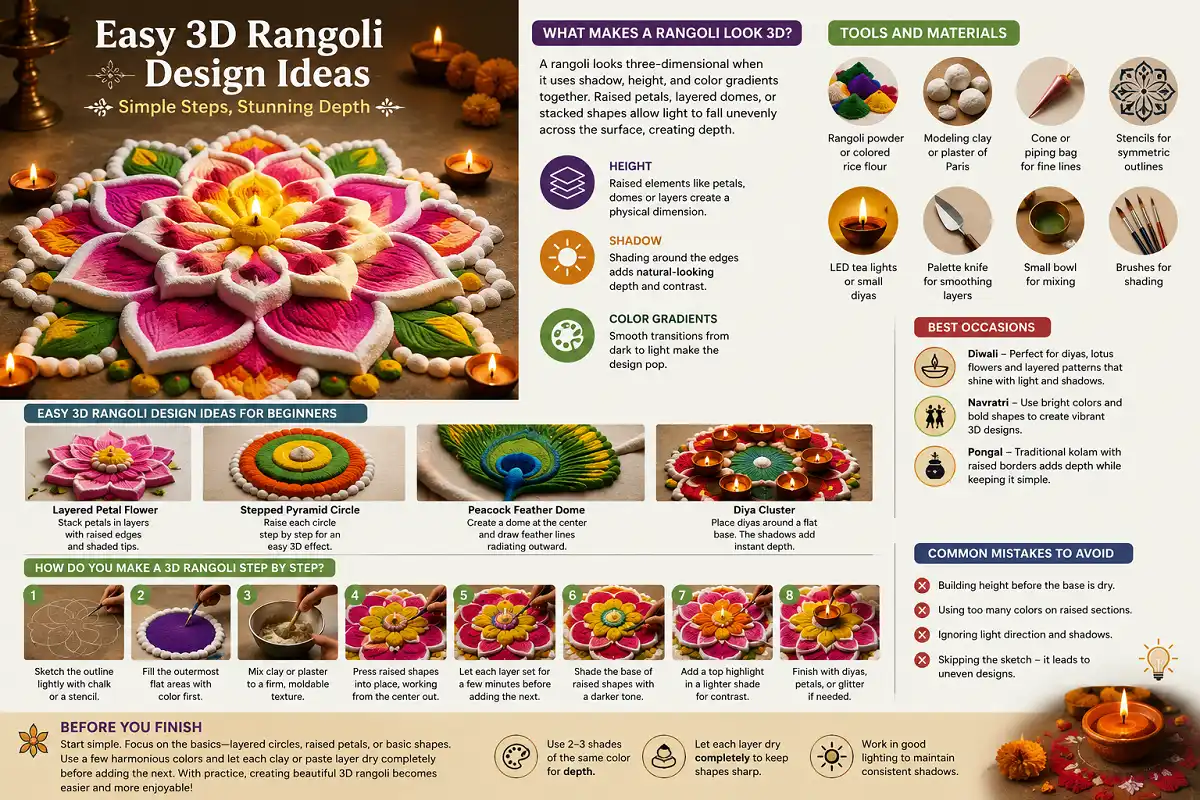
If you are looking for easy 3D rangoli design ideas start with something that you can comfortably try at home. You do not need tools or expensive materials. Clay, plaster or thick rice flour paste can help you build up sections of the design and give them a little height.
After that add colors around the edges to create a soft shadow. Slowly blend them with shades so the raised parts look more natural. Even a small amount of shading can make a difference.
Simple patterns such as petals, circles, leaves and geometric shapes are great for beginners. They are easy to draw and give plenty of room to practice.
Take your time. Start with a small design. Once you are comfortable with the technique you can experiment with patterns and create a much more realistic 3D effect.
What Makes a Rangoli Look 3D
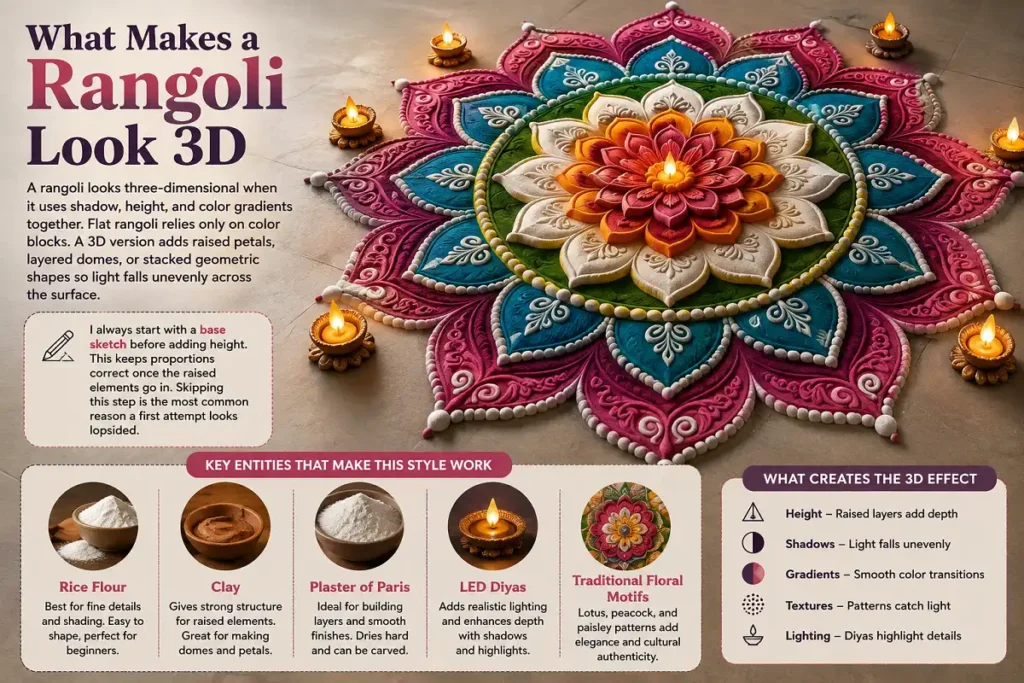
A rangoli looks three-dimensional when it uses shadow, height, and color gradients together. Flat rangoli relies only on color blocks. A 3D version adds raised petals, layered domes, or stacked geometric shapes so light falls unevenly across the surface.
I always start with a base sketch before adding height. This keeps proportions correct once the raised elements go in. Skipping this step is the most common reason a first attempt looks lopsided.
Key entities that make this style work: rice flour, clay, plaster of Paris, LED diyas, and traditional floral motifs. Each material behaves differently, so match the material to your skill level.
Tools and Materials for Easy 3D Rangoli Design Ideas
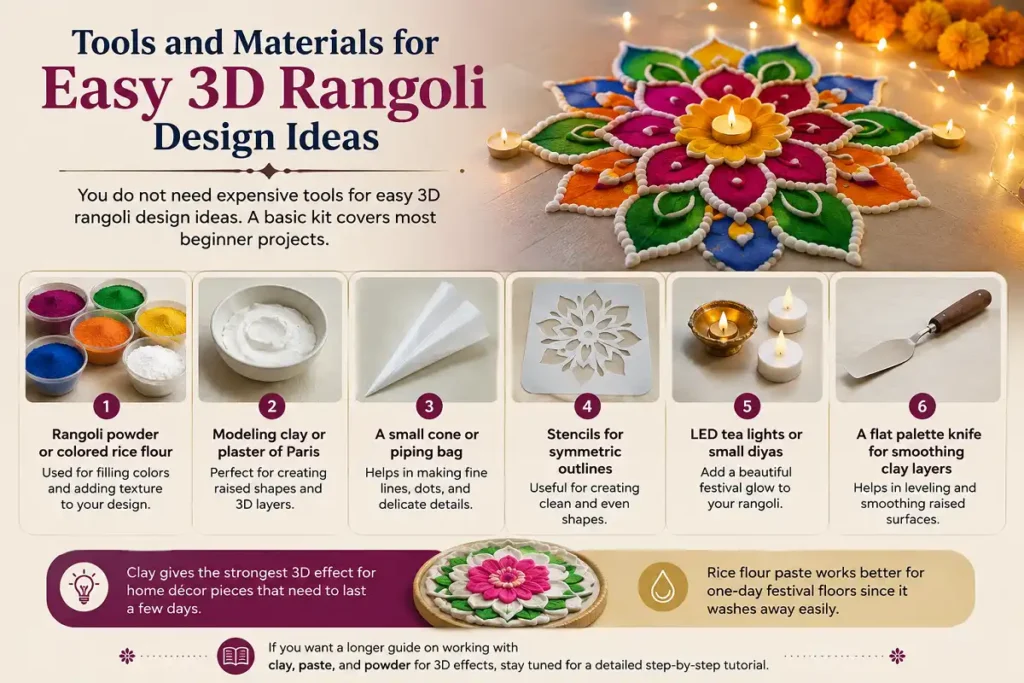
You do not need expensive tools for easy 3D rangoli design ideas. A basic kit covers most beginner projects.
- Rangoli powder or colored rice flour
- Modeling clay or plaster of Paris for raised shapes
- A small cone or piping bag for fine lines
- Stencils for symmetric outlines
- LED tea lights or small diyas for festival glow
- A flat palette knife for smoothing clay layers
Clay gives the strongest 3D effect for home décor pieces that need to last a few days. Rice flour paste works better for one-day festival floors since it washes away easily. If you want a longer guide on working with molded material, my post on 3D rangoli using clay covers mixing ratios and drying time in detail.
Easy 3D Rangoli Design Ideas for Beginners
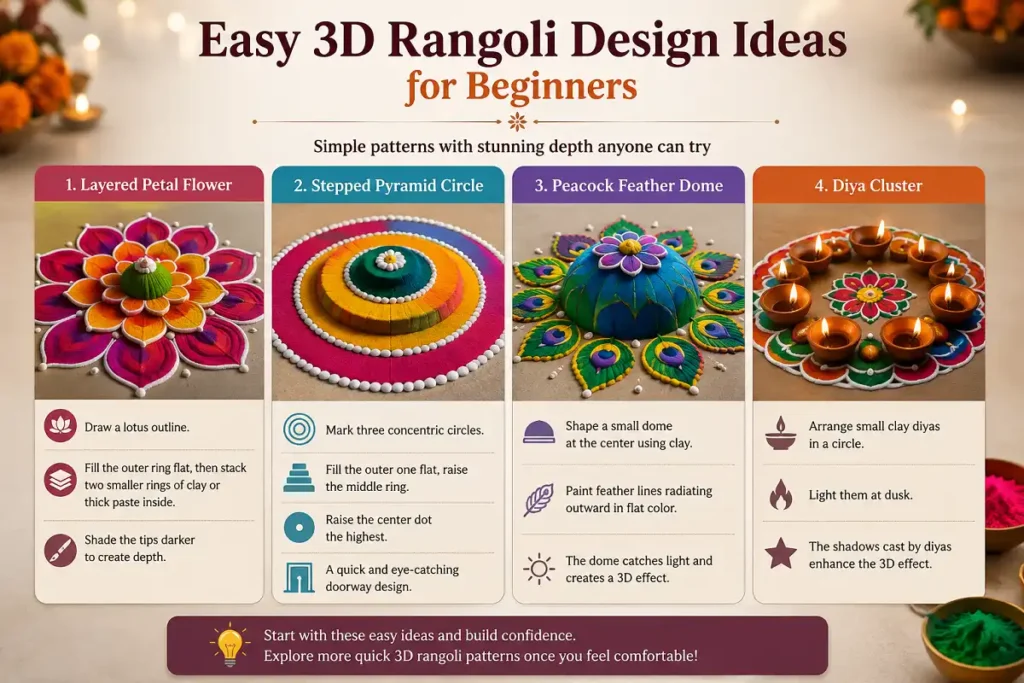
These are the patterns I recommend first because they need the least practice.
Layered Petal Flower
Draw a simple lotus outline. Fill the outer ring flat, then stack two smaller rings of clay or thick paste inside it, each slightly raised above the last. Shade the tips darker to fake depth.
Stepped Pyramid Circle
Mark three concentric circles. Fill the outer one flat, raise the middle ring by a few millimeters, and raise the center dot the highest. This is one of the fastest easy 3D rangoli design ideas for a doorway.
Peacock Feather Dome
Shape a small dome at the center using clay, then paint feather lines radiating outward in flat color. The dome catches light and reads as a raised centerpiece even though most of the design stays flat.
Diya Cluster
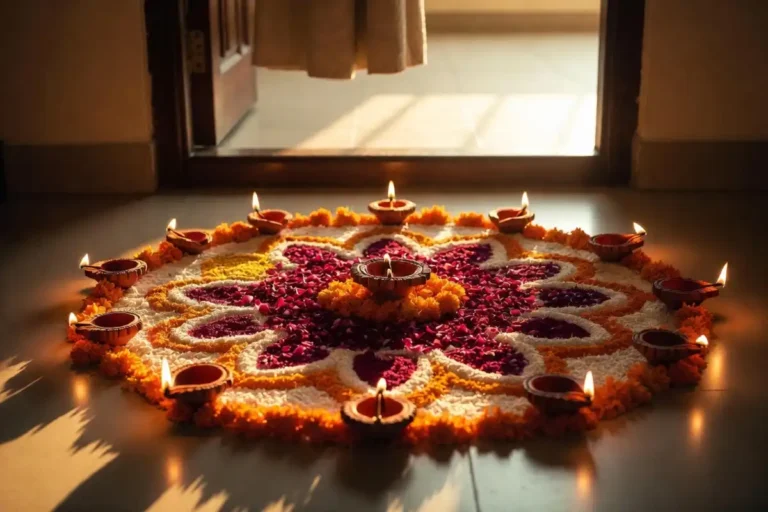
Arrange small clay diyas in a circle around a flat rangoli base. Light them at dusk. The shadows they cast do most of the 3D work for you. If you want more variety once these feel easy, my article on quick 3D rangoli patterns has faster versions for daily use.
How Do You Make a 3D Rangoli Step by Step?
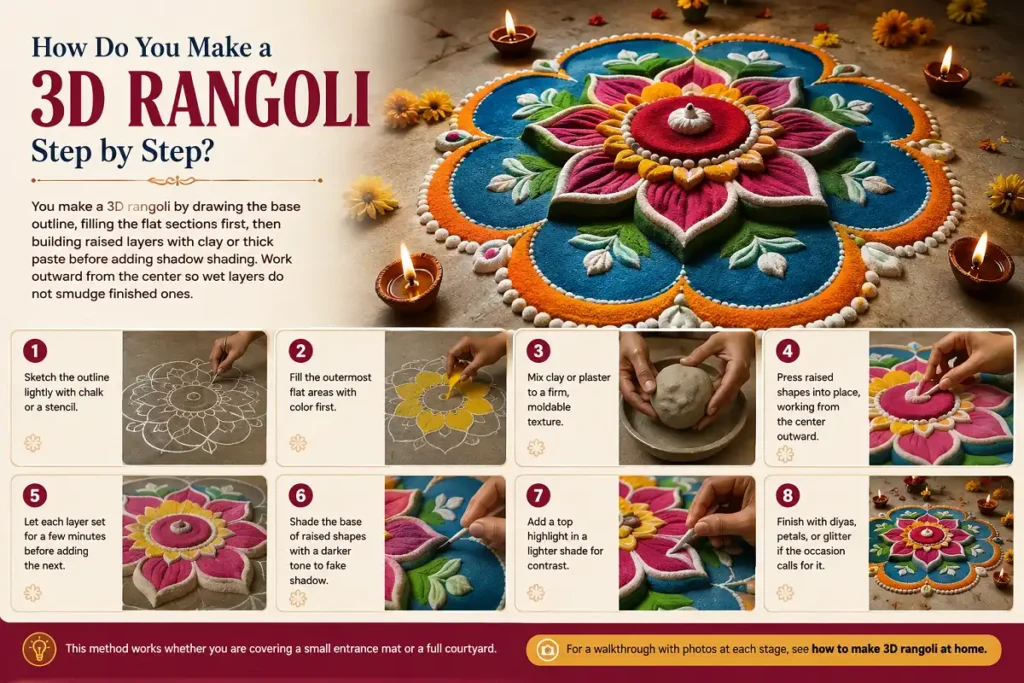
You make a 3D rangoli by drawing the base outline, filling the flat sections first, then building raised layers with clay or thick paste before adding shadow shading. Work outward from the center so wet layers do not smudge finished ones.
- Sketch the outline lightly with chalk or a stencil.
- Fill the outermost flat areas with color first.
- Mix clay or plaster to a firm, moldable texture.
- Press raised shapes into place, working from the center outward.
- Let each layer set for a few minutes before adding the next.
- Shade the base of raised shapes with a darker tone to fake shadow.
- Add a top highlight in a lighter shade for contrast.
- Finish with diyas, petals, or glitter if the occasion calls for it.
This method works whether you are covering a small entrance mat or a full courtyard. For a walkthrough with photos at each stage, see how to make 3D rangoli at home.
Best Occasions for These Designs
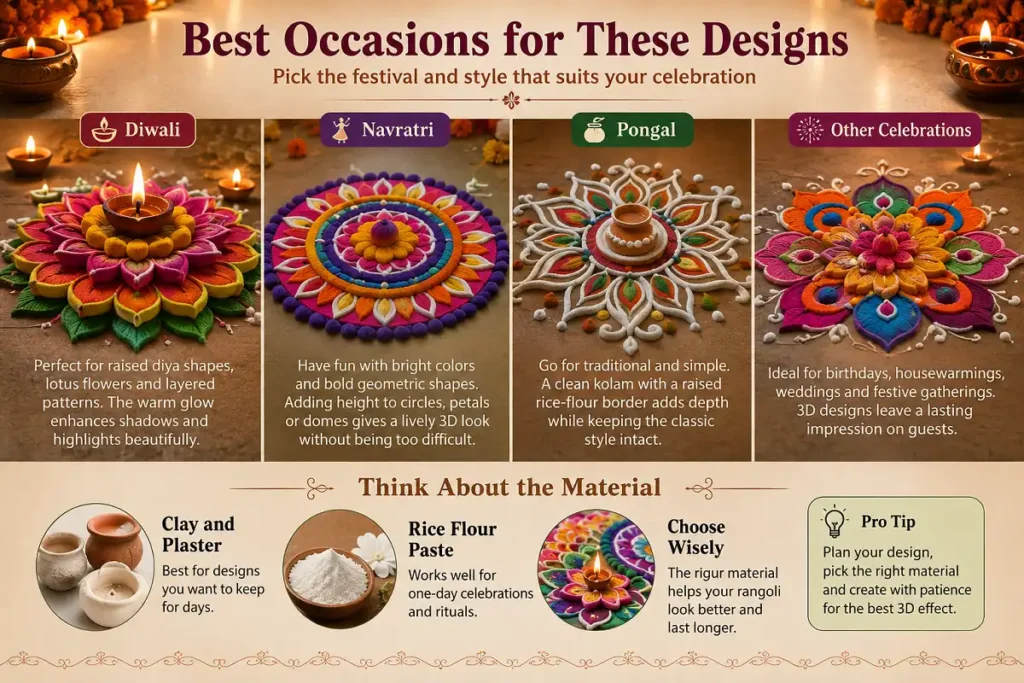
If you’re thinking about trying easy 3D rangoli design ideas festivals are a place to start. Diwali is especially suited to raised diya shapes, lotus flowers and layered patterns because the warm glow from the lamps can make the shadows and highlights stand out beautifully.
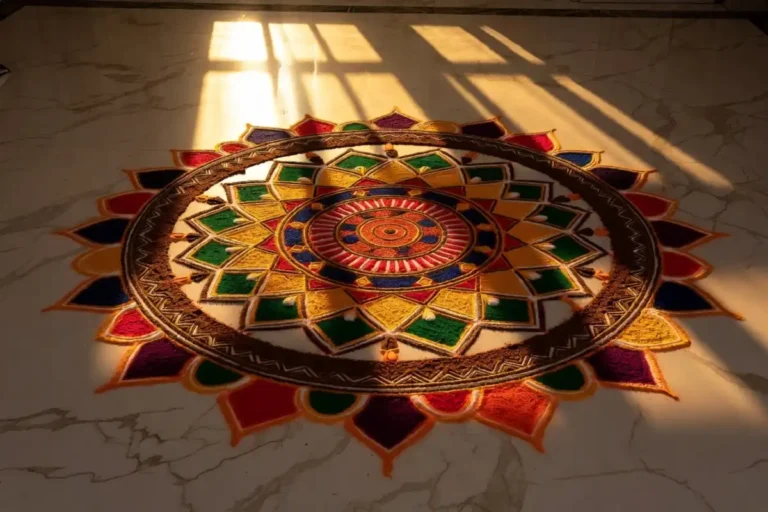
For Navratri you can have a more fun with bright colors and bold geometric shapes. Adding some height to circles, petals or domes can give the design a lively 3D look without making it too difficult.
Pongal is a choice if you prefer something more traditional and simple. A clean kolam with a raised rice-flour border can add depth while keeping the classic style intact.
Think about the material. Clay and plaster are better, for designs you want to keep for days while rice flour paste works well for one-day celebrations and rituals where the rangoli will eventually be cleared away.
Common Mistakes to Avoid
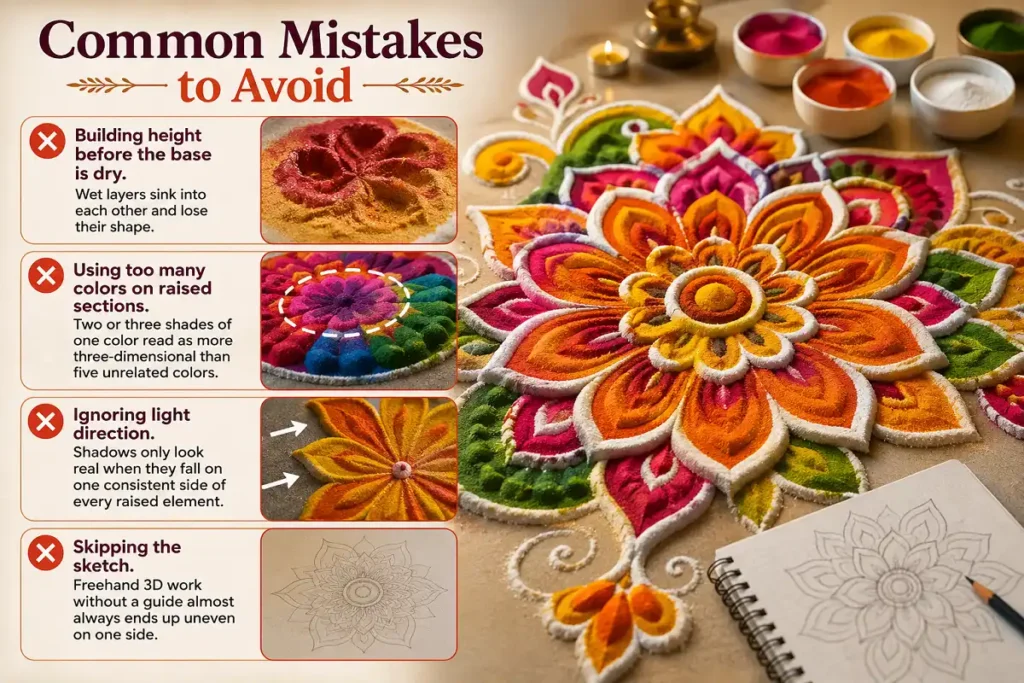
Building height before the base is dry. Wet layers sink into each other and lose their shape.
Using too many colors on raised sections. Two or three shades of one color read as more three-dimensional than five unrelated colors.
Ignoring light direction. Shadows only look real when they fall on one consistent side of every raised element.
Skipping the sketch. Freehand 3D work without a guide almost always ends up uneven on one side.
Before You Finish
Making easy 3D rangoli design ideas starts with keeping things simple. Focus on the basics. Begin with a layered circle raised petals or a basic geometric shape. Then add shades around the edges to make each part stand out and feel more three-dimensional.
Pick a few colors that go well together. Avoid using many, at once. If you are building the design with clay, plaster or paste let each layer dry completely before adding the one. This helps keep the shapes clear and stops the details from smearing.
Once you get used to layering, shading and forming shadows you can slowly move on to bigger and more intricate rangoli designs. With some practice 3D rangoli becomes much easier and more fun to make.
FAQs
Can I make 3D rangoli without clay?
Yes. Thick rice flour paste, plaster of Paris, or even folded flower petals stacked in layers can create a raised effect without clay.
How long does a 3D rangoli design last?
Clay-based designs kept indoors last three to five days. Rice flour versions typically last one day, especially outdoors.
Is 3D rangoli harder than flat rangoli?
It takes more time but not more skill. Most easy 3D rangoli design ideas use the same shapes as flat rangoli, just built up in layers.