How to Make Beginner Friendly Rangoli Art at Home
Rangoli is one of the oldest and most loved art forms in India. It brings color and warmth to any space, especially during festivals and celebrations. Many people feel it looks too complex to try on their own. The truth is, beginner friendly rangoli art is very much within reach for anyone. With the right guidance and a little practice, you can create something beautiful in just a few minutes. This guide covers everything a first-time rangoli maker needs to know, from basic tools to easy patterns and step-by-step tips. Whether you are picking up powder for the very first time or returning after a long break, beginner friendly rangoli art is the perfect place to start.
What Is Rangoli and Why Should Beginners Try It?
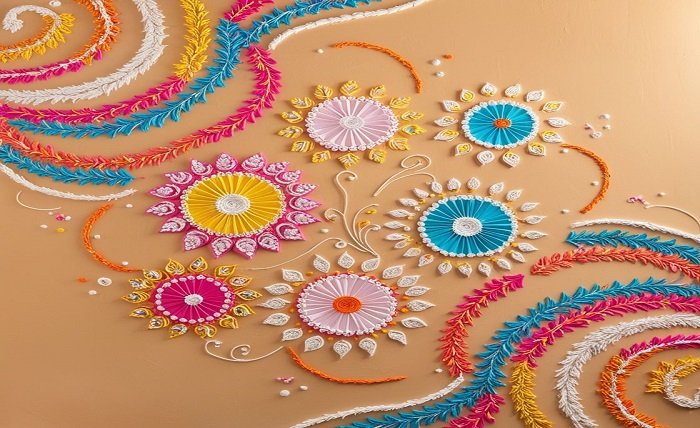
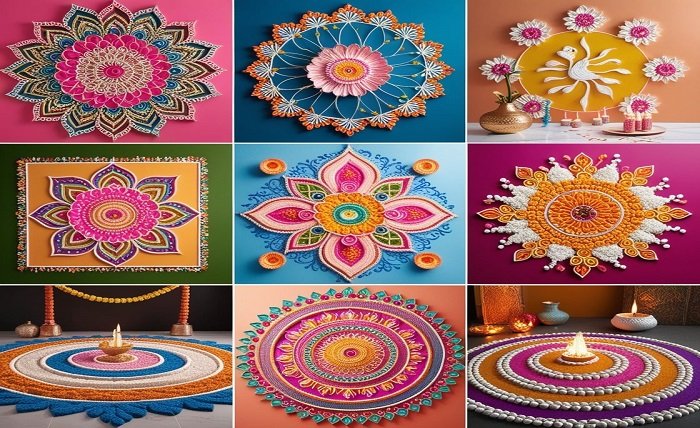
Rangoli is a traditional Indian art form made on floors using colored powder, chalk, flower petals, or rice flour. It is created to welcome guests, mark festivals, and invite positive energy into the home. Designs range from simple dots and lines to large, complex patterns.
For those new to the craft, beginner friendly rangoli art offers a wonderful creative outlet with almost no barrier to entry. It does not require any formal training or expensive materials. The process is calming, expressive, and deeply rooted in culture. Even a small, simple design made with care carries meaning and beauty.
Why Rangoli Is a Great Craft for Beginners
- It uses low-cost materials that are easy to find.
- Designs can be as small or large as you like.
- Mistakes are easy to correct by sweeping and starting again.
- It builds hand-eye coordination and patience over time.
- The results are immediately visible and satisfying.
Tools and Materials You Need to Get Started
You do not need a long list of supplies to begin. A few basic items are all you need to create your first beginner friendly rangoli art piece.
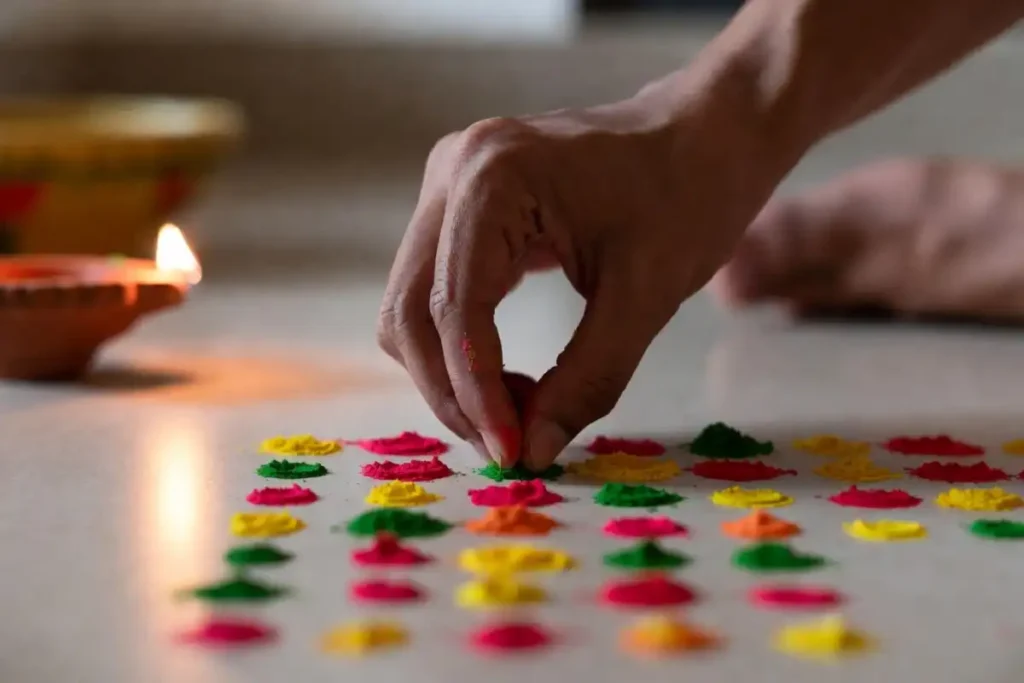
Colored Rangoli Powder: Available in craft stores and online, this is the most common material. It comes in many colors and is easy to handle.
White Chalk or Rice Flour: Used to sketch out your design on the floor before filling in color. This acts as a guide so you stay within your intended shape.
A Small Cone or Squeeze Bottle: These help you control the flow of powder and place it exactly where you want it.
A Flat, Clean Surface: A smooth floor tile or a sheet of dark paper works well for practice sessions.
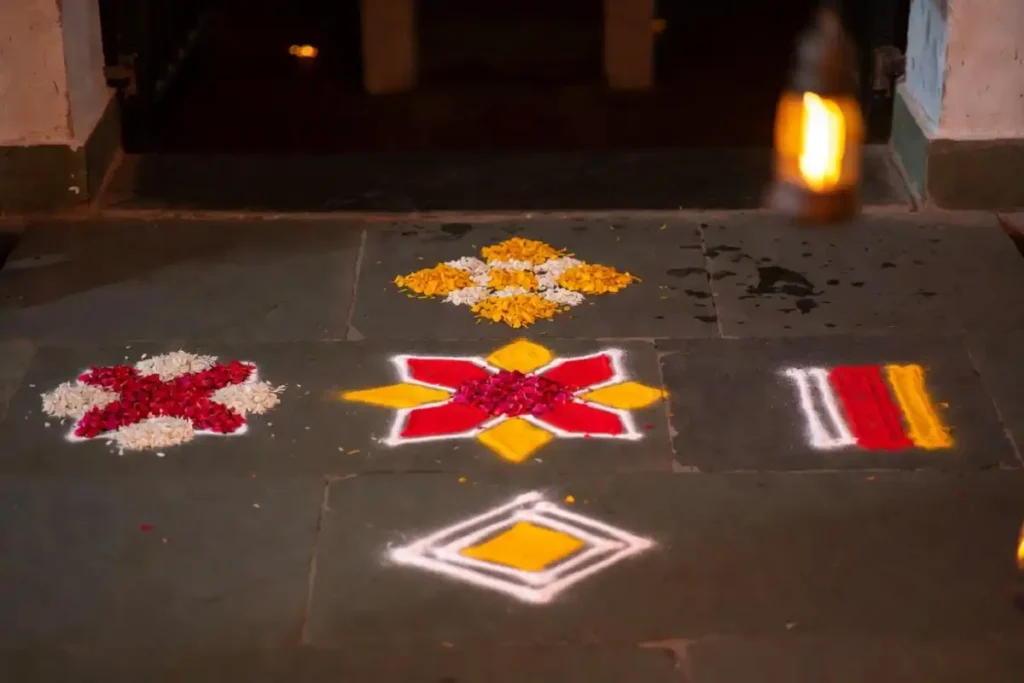
Flower Petals (Optional): Marigold and rose petals add a fresh, natural element to rangoli designs.
Once you have these items ready, you can begin planning your first design with confidence.
How to Start Your First Rangoli Design
Starting with a dot grid is the easiest method for anyone trying beginner friendly rangoli art for the first time. This traditional technique gives your design structure and symmetry from the very beginning.
Step-by-Step Dot Grid Method
- Choose a small area on the floor or a practice sheet.
- Use white chalk to place evenly spaced dots in a grid, such as a 5×5 or 7×7 arrangement.
- Connect the dots using curved lines, petals, or zigzag patterns.
- Fill in each section with a different color using powder or a squeeze bottle.
- Add a border around the full design to give it a finished look.
This method is used in many small symmetry rangoli patterns and is a reliable starting point for anyone new to the craft.
The dot grid approach teaches you spacing, proportion, and color placement all at once. It is also forgiving. If a line goes off course, you can gently correct it with your finger before the powder sets.
Simple Rangoli Patterns You Can Try Right Away
Not every rangoli needs to be elaborate. Some of the most appealing designs are simple and clean. Here are a few patterns that work well for beginner friendly rangoli art practice sessions.
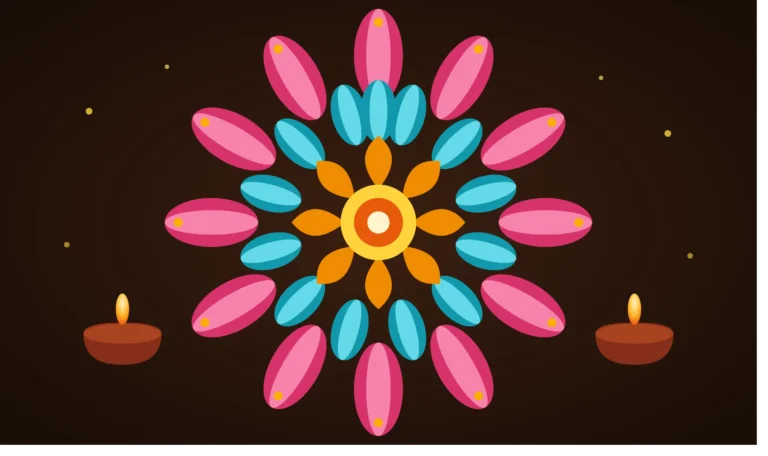
1. Single Flower Petal Design
Draw a circle in the center. Add eight evenly spaced petals around it, like a simple daisy. Fill the center with one bright color and the petals with another. This takes under ten minutes and looks polished even on your first attempt.
2. Concentric Circles with Dots
Draw three circles of different sizes, one inside the other. Add dots along each ring using a contrasting color. This pattern has a calming, mandala-like quality and is easy to scale up or down. You can explore more ideas in beginner mandala rangoli designs for inspiration on how to develop this style further.
3. Square Border Pattern
Draw a square outline on the floor. Add a simple repeating motif along each side, such as small triangles or curved petals. Fill in with two or three complementary colors. This geometric approach is great for decorating entryways.
4. Peacock Feather Motif
Sketch a peacock feather shape using chalk. Use three or four shades of blue, green, and gold powder to fill it in. This classic Indian motif looks intricate but follows a straightforward structure once you break it into sections.
5. Simple Diya Lamp Shape
Draw the outline of a small diya (clay lamp) and fill it with warm colors like orange, red, and yellow. This design is especially fitting for Diwali celebrations and is quick to complete.
Color Tips Every Rangoli Beginner Should Know
Choosing the right colors is one of the most important parts of beginner friendly rangoli art. Here are a few practical tips to help you get it right from the start.
- Start with three colors at most. Too many shades at once can make a small design look cluttered.
- Use contrasting colors next to each other so each section stands out clearly.
- Bright shades like red, yellow, and white photograph well and look vibrant on dark floors.
- If you want a softer look, try pastel powder colors, which are now widely available.
- Always keep a dry cloth nearby to correct any smudging between color sections.
Traditional color theory in Indian folk art often pairs red with white, green with yellow, and orange with blue. These combinations have been used for generations and always look balanced.
Common Mistakes Beginners Make (And How to Avoid Them)
Every beginner makes a few early mistakes. Knowing what to watch for helps you move forward faster with your beginner friendly rangoli art journey.
Skipping the outline: Always sketch your design lightly in chalk before adding color. Jumping straight to powder leads to uneven shapes.
Using too much powder at once: Apply color in thin layers. Heavy application causes powder to spread beyond your intended lines.
Ignoring symmetry: Use a dot grid or fold a paper template to check that both halves of your design match before you begin.
Choosing a busy surface: Practice on a plain, clean floor or dark cardboard. Patterned surfaces make it hard to see your work clearly.
Rushing the process: Rangoli rewards patience. Work slowly and check your progress from a distance every few minutes.
For a detailed look at how to work without templates, the guide on creating rangoli without a stencil covers freehand techniques that build your confidence over time.
How to Make Your Rangoli Last Longer
Traditional rangoli is temporary by nature. However, a few steps can help your beginner friendly rangoli art design stay intact longer.
Avoid areas with heavy foot traffic. Keep windows and doors nearby closed to reduce wind. Lightly mist the design with water after completion to help the powder hold its position. For indoor displays, you can also use acrylic rangoli boards, which allow you to recreate designs and store them for reuse.
According to the Crafts Council of India, traditional floor art practices like rangoli and kolam are recognized as important intangible cultural heritage worth preserving. Learning and practicing them at home helps keep these traditions alive.
Rangoli Across Indian Festivals
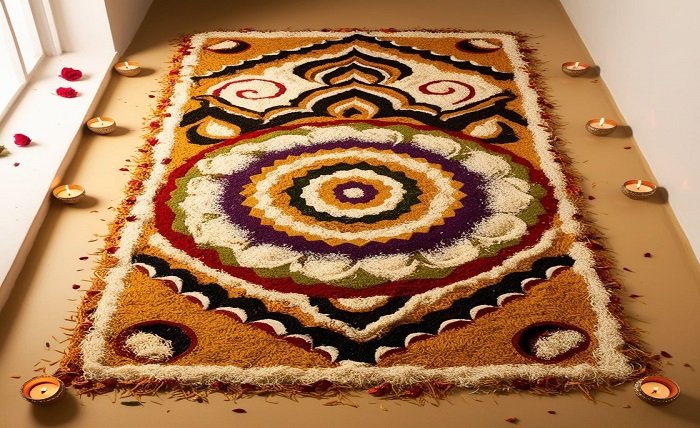
Rangoli is made throughout the year, but certain festivals call for it especially. Diwali, Onam, Navratri, Pongal, and Ugadi are all occasions when homes and community spaces are decorated with beautiful rangoli designs. Beginner friendly rangoli art fits naturally into each of these celebrations because even simple patterns look joyful and festive in a holiday setting.
During Diwali, diyas and lotus flower motifs are popular. At Onam in Kerala, flower rangoli called Pookalam is made using fresh petals arranged in layers. During Pongal, rice flour kolam patterns are drawn at dawn as a daily ritual.
Each region of India has its own style and tradition. Exploring these regional variations can give you a deeper appreciation for the art form and new ideas for your own practice. The UNESCO Intangible Cultural Heritage program highlights how such traditions are interconnected with community identity worldwide.
Practicing Regularly Builds Real Skill
Like any craft, rangoli improves with consistent practice. Even spending fifteen minutes a week trying a new small design will build your speed, accuracy, and color sense over time. This steady approach is at the heart of mastering beginner friendly rangoli art.
Keep a simple sketchbook where you draw rangoli patterns in pencil before transferring them to the floor. This planning step saves time and helps you visualize the finished design before committing to powder.
Try exploring small traditional rangoli ideas to find designs that match your current skill level while gently pushing you to try new elements.
FAQs
What exactly is beginner friendly rangoli art?
Is rangoli only made during festivals?
What is the easiest material to use for a first rangoli?
How long does a beginner take to finish a small rangoli?
Can children make rangoli?
Do I need special floors to make rangoli?
What should I do if my design looks uneven?
Conclusion
Beginner friendly rangoli art is an accessible, joyful craft that connects you to a rich cultural tradition. Starting with simple dot grids, basic flower shapes, and a limited color palette gives you a solid foundation. From there, your designs naturally grow more detailed as your confidence builds. The most important thing is to begin, make something, and enjoy the process. Rangoli does not need to be perfect to be meaningful. Every design you create, no matter how small, is a step forward in exploring this timeless and beautiful beginner friendly rangoli art tradition.