Easy Simple Ganesha Rangoli Art for Festivals
Drawing simple ganesha rangoli art is one of the warmest ways to welcome blessings into your home. Lord Ganesha is loved as the remover of obstacles, and his gentle form fits beautifully into floor decorations during festivals. You do not need years of practice to make one. With a few dots, soft curves, and bright colors, anyone can create a lovely design. This guide shares easy steps, helpful tips, and friendly ideas so beginners can start with confidence and enjoy the whole process.
Why People Love Ganesha Rangoli
Ganesha holds a special place in many Indian homes. People often draw his image at the start of festivals, weddings, and new beginnings because he is believed to bring good luck. According to Britannica, Ganesha is widely worshipped as the lord of beginnings and the patron of wisdom.
A rangoli of Ganesha turns this devotion into something you can see and share. The round belly, the curved trunk, and the kind eyes are easy shapes to draw. That is why simple ganesha rangoli art works so well for families, children, and first-time artists.
Tools You Need to Start
You do not need much to begin. Gather these basics before you sit down:
- Rangoli powder or colored sand in a few shades
- White rangoli chalk or rice flour for outlines
- A small bowl of water for wet designs
- A few cotton buds for fine details
- A pencil or chalk to plan the shape first
Keeping your tools ready makes the work smooth and stress-free.
Easy Steps to Draw Simple Ganesha Rangoli Art
Follow these steps to make a clean and balanced design. Take your time with each one.
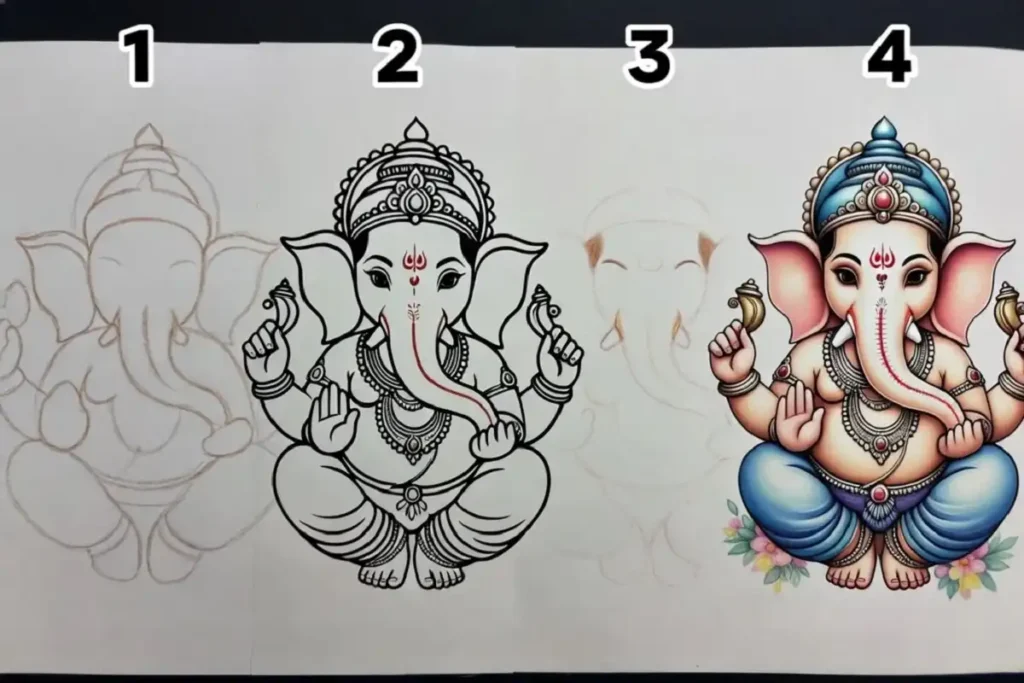
Step 1: Plan the Shape
Start by drawing a light outline with chalk. Sketch a soft circle for the head and a curved line for the trunk. A faint guide helps you keep the face even on both sides.
Step 2: Add the Trunk and Ears
Draw the trunk curving down and to one side. Add two large, rounded ears. These two features give the design its instant Ganesha look, even in the simplest version.
Step 3: Draw the Crown and Eyes
Place a small crown or a curved tilak on top of the head. Add two gentle eyes and a tiny smile. Keep these soft, since friendly features make the whole piece feel welcoming.
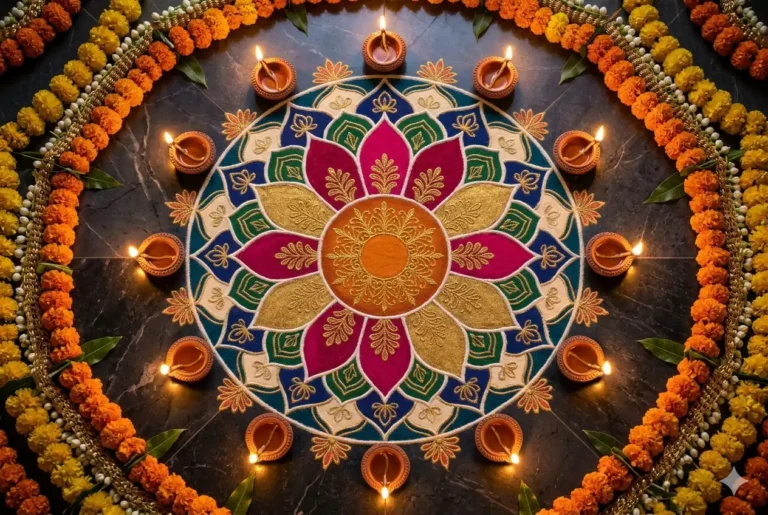
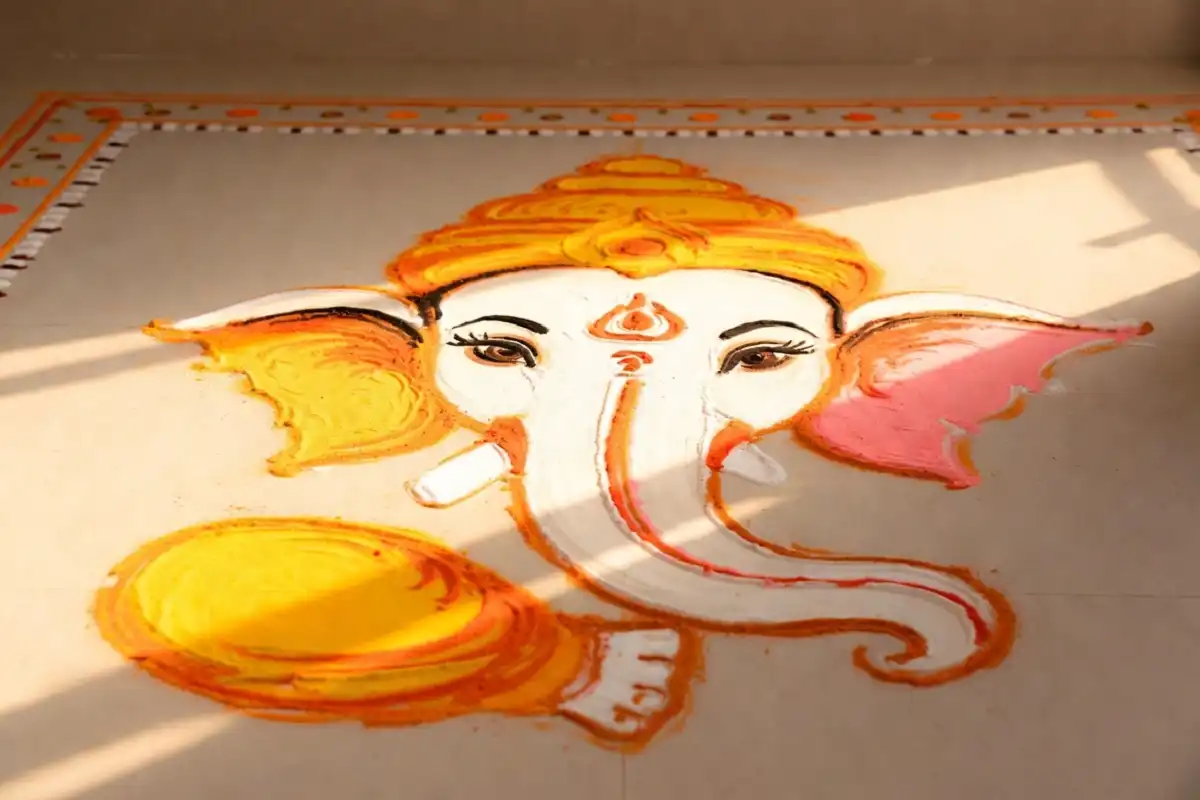
Step 4: Fill With Color
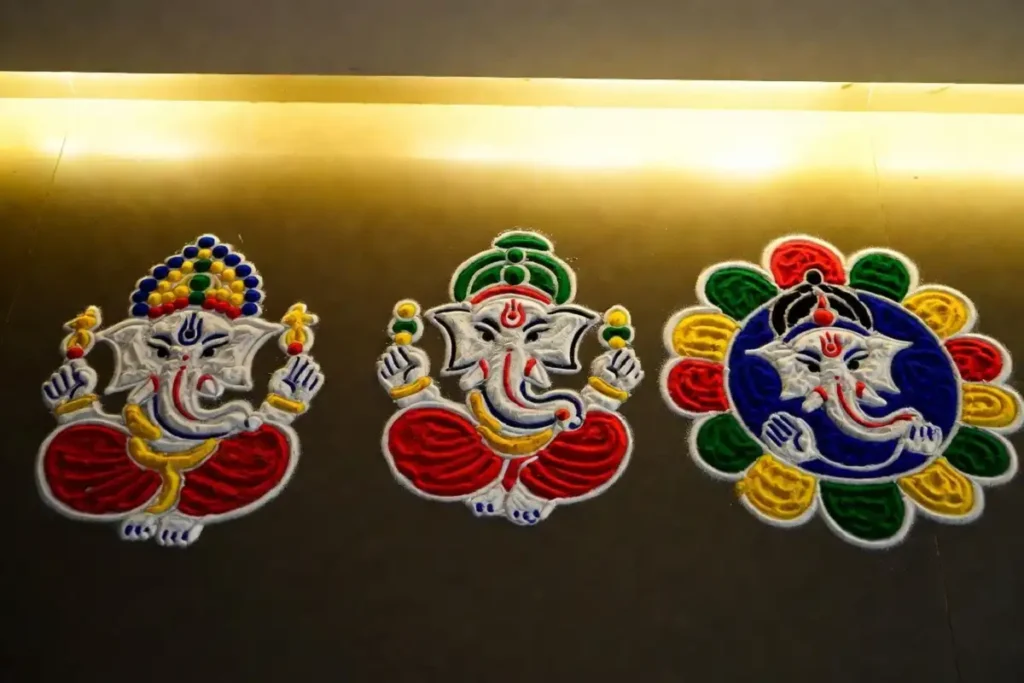
Now bring the design to life. Use warm shades like yellow, orange, and pink. Fill large areas first, then add fine outlines with a darker tone. Bright dots around the figure add a festive touch.
Color Tips for a Bright Finish
Color choice can change the whole mood of your work. Here are a few simple ideas:
- Use red and yellow for a classic, festive feel
- Try blue and white for a calm, fresh look
- Add gold or silver dots for a small sparkle
- Keep the background light so the figure stands out
Blending two shades softly at the edges gives a smooth, professional finish without much effort.
Best Occasions for Ganesha Rangoli
Simple ganesha rangoli art suits many happy moments throughout the year. Some of the most loved times include:
- Ganesh Chaturthi, the main festival for Lord Ganesha
- Diwali, when homes glow with lamps and color
- Housewarming ceremonies and new beginnings
- Weddings and family gatherings
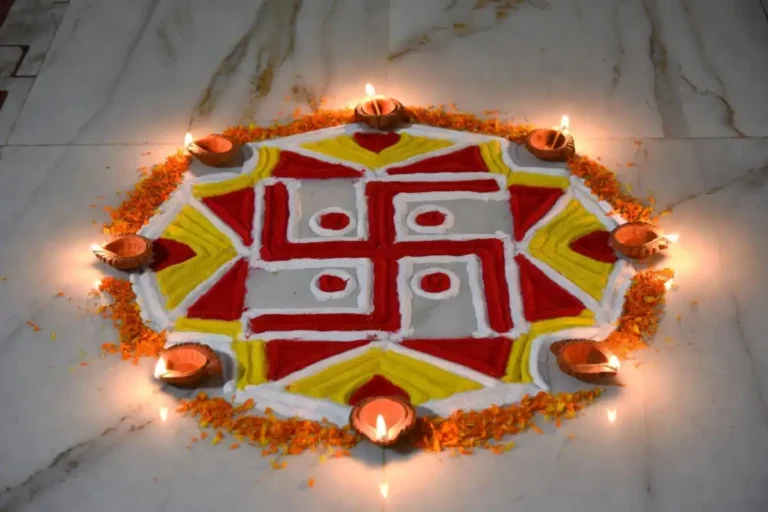
Placing a Ganesha design near the entrance is thought to invite positive energy. If you enjoy doorway designs, you may also like these simple swastik ideas for festive days, which pair nicely with a Ganesha motif.
Simple Design Ideas for Beginners
If you are still building confidence, start with these easy versions of simple ganesha rangoli art:
- Dot Ganesha: Place a grid of dots and connect them to form the trunk and head.
- Outline Ganesha: Draw only the face and trunk in a single color for a clean look.
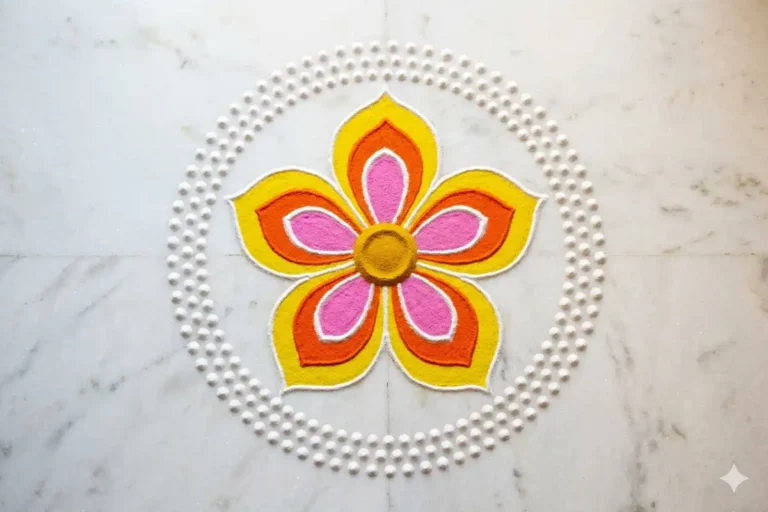
- Free-hand Ganesha: Sketch a small figure inside a flower or circle border.
- Mini Ganesha: Make a tiny design for a corner or a small table space.
Small designs are perfect for tight spots. For more compact options, take a look at these cute small rangoli designs for everyday occasions.
Common Mistakes to Avoid
Even an easy design can go off track. Keep these points in mind:
- Do not rush the outline, since a crooked base affects everything
- Avoid using too many colors, as it can look messy
- Keep both ears and eyes balanced for a neat face
- Press lightly when adding powder to prevent smudges
A calm, slow approach almost always gives a better result than hurrying.
Mixing Ganesha With Other Symbols
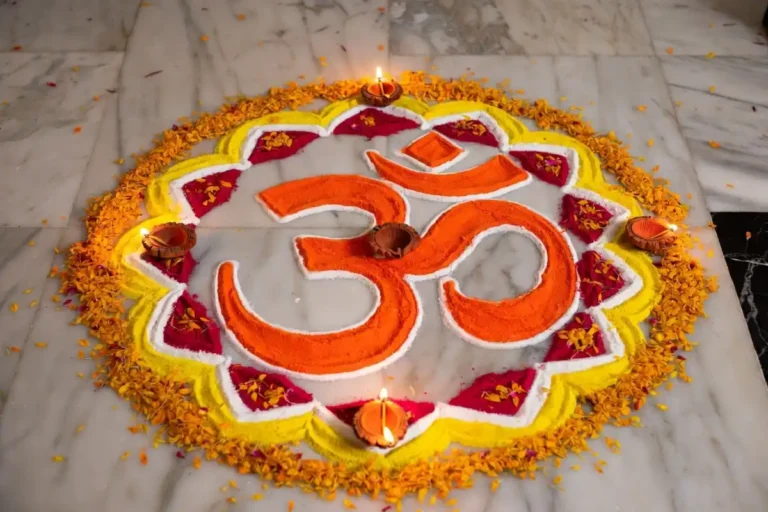
Many artists like to pair Ganesha with other sacred shapes. A small lotus, a few diyas, or a sacred word can frame the figure nicely. Some people add an Om symbol beside it for a peaceful balance. If that idea appeals to you, this guide on easy Om rangoli for beginners offers helpful steps you can blend into your design.
Combining symbols keeps the layout meaningful while still staying simple enough for new artists.
Practice Ideas to Improve
The more you draw, the more natural it feels. Try these gentle practice habits:
- Sketch the trunk shape on paper before working on the floor
- Repeat the same small design a few times to build muscle memory
- Watch the way light falls on your colors and adjust shades
- Take a photo each time so you can see your progress
You can also explore the rich history of this art form. As noted on Wikipedia, rangoli has been part of Indian homes for generations, passed down through families as a living tradition.
FAQs
Is simple ganesha rangoli art good for beginners?
How long does a simple Ganesha rangoli take?
What colors work best for Ganesha rangoli?
Can children help make this rangoli?
Do I need special tools for Ganesha rangoli?
Conclusion
Creating simple ganesha rangoli art is a joyful way to mark festivals and welcome good fortune into your space. With a few dots, soft curves, and warm colors, anyone can make a design that feels special. Beginners should start small, practice the trunk and ears, and build confidence step by step. Over time, your work will grow neater and more expressive. Whether you draw it for Ganesh Chaturthi, Diwali, or a family event, this gentle art carries warmth and meaning. So gather your colors, take a deep breath, and enjoy the quiet joy of making something beautiful by hand.