Small Rangoli Designs with Dots: Easy Patterns for Every Home
Small Rangoli Designs with Dots
Rangoli is one of the oldest and most loved forms of floor art in South Asian culture. Small rangoli designs with dots are a great starting point for anyone who wants to make something beautiful without spending hours on it.
These patterns use a simple grid of dots as a guide, making them easy to follow and repeat. Whether you are decorating for a festival or just adding color to your entrance, dot rangoli keeps things neat, precise, and creative at the same time.
What Are Dot Rangoli Designs?
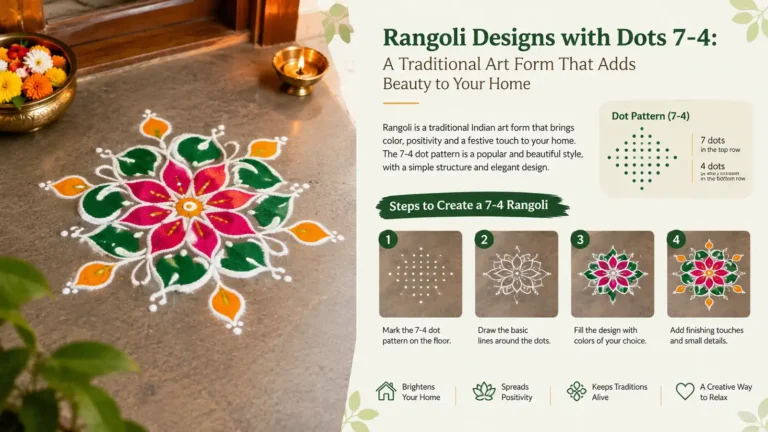
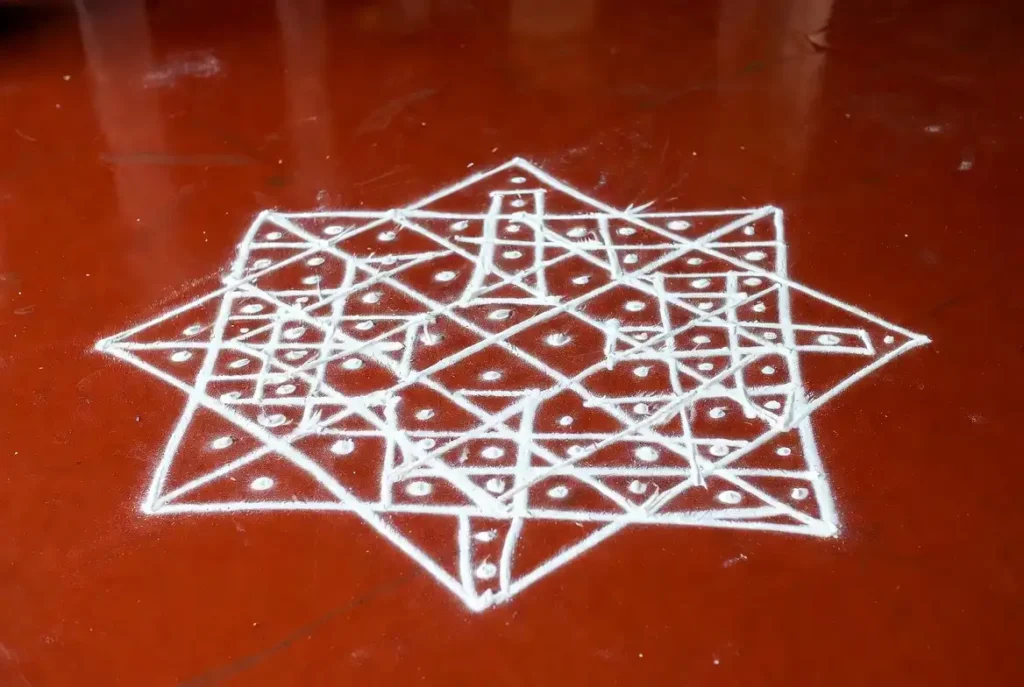
Dot rangoli, also known as kolam in South India, is a method of drawing rangoli patterns by first placing a grid of dots and then connecting them with lines, curves, or loops. The dots act as anchors that keep the design even and balanced.
Easy Spacing
It removes the guesswork from spacing and proportion.
Natural Symmetry
The dot grid naturally creates symmetrical shapes.
Flexible Size
It is easy to scale up or down depending on the space available.
Simple Materials
It works well with both powder and chalk.
You do not need any special tools to get started. A small stick, chalk, or even your finger can work perfectly fine for tracing the pattern around the dots.
Why Choose Small Rangoli Designs with Dots?
Small designs are practical for everyday use. They take less time to draw, use less material, and still look polished when done correctly. A small rangoli near the front door or on a pooja thali can make a big difference in how welcoming a space feels.
Most small designs can be completed quickly.
Only a small amount of color powder is needed.
Small patterns are simpler to erase or sweep away.
Many families draw a fresh rangoli every morning.
Popular Small Rangoli Dot Patterns
The 5×5 Dot Grid Design
A 5×5 dot grid is one of the most common starting points for small rangoli designs with dots. You place 25 dots in a square grid and then connect them in flowing curves to create a flower or star shape in the center. This pattern is ideal for a small pooja room floor or the top of a stool.
The 3-Row Decreasing Dot Pattern
This pattern uses rows of dots that decrease in count, such as 5-3-1 or 7-5-3-1. The dots are staggered so that each row sits between the dots of the row above. Connecting them creates elegant diagonal loops that look complex but are actually very beginner-friendly.
The Diamond Dot Grid
Place dots in a diamond shape rather than a square. Connecting the outer dots with curved lines and filling the inner space with a petal or leaf shape produces a clean, symmetrical design that works well in narrow spaces like corridors or balconies.
Circular Dot Rangoli
Arrange your dots in two or three concentric circles. Connect each dot to its neighbors using arcs or zigzag lines. This creates a mandala-like design that looks beautiful in the center of a room or on a flat plate for decoration.
How to Draw Small Rangoli Designs with Dots: Step-by-Step
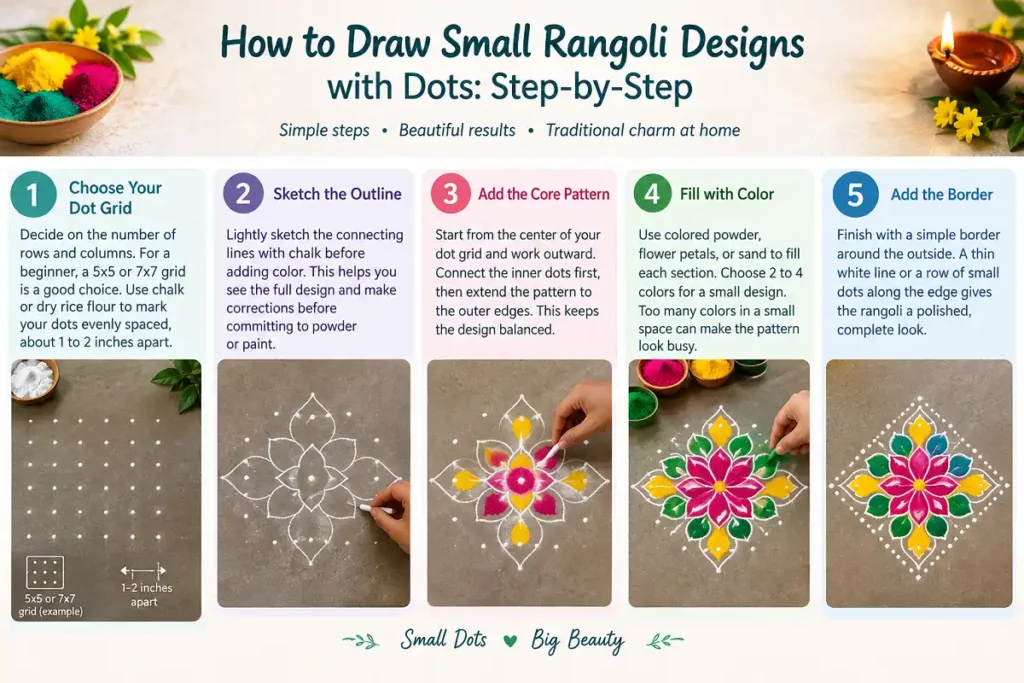
Choose Your Dot Grid
Decide on the number of rows and columns. For a beginner, a 5×5 or 7×7 grid is a good choice. Use chalk or dry rice flour to mark your dots evenly spaced, about 1 to 2 inches apart.
Sketch the Outline
Lightly sketch the connecting lines with chalk before adding color. This helps you see the full design and make corrections before committing to powder or paint.
Add the Core Pattern
Start from the center of your dot grid and work outward. Connect the inner dots first, then extend the pattern to the outer edges. This keeps the design balanced.
Fill with Color
Use colored powder, flower petals, or sand to fill each section. Choose 2 to 4 colors for a small design. Too many colors in a small space can make the pattern look busy.
Add the Border
Finish with a simple border around the outside. A thin white line or a row of small dots along the edge gives the rangoli a polished, complete look.
Color Tips for Small Dot Rangoli
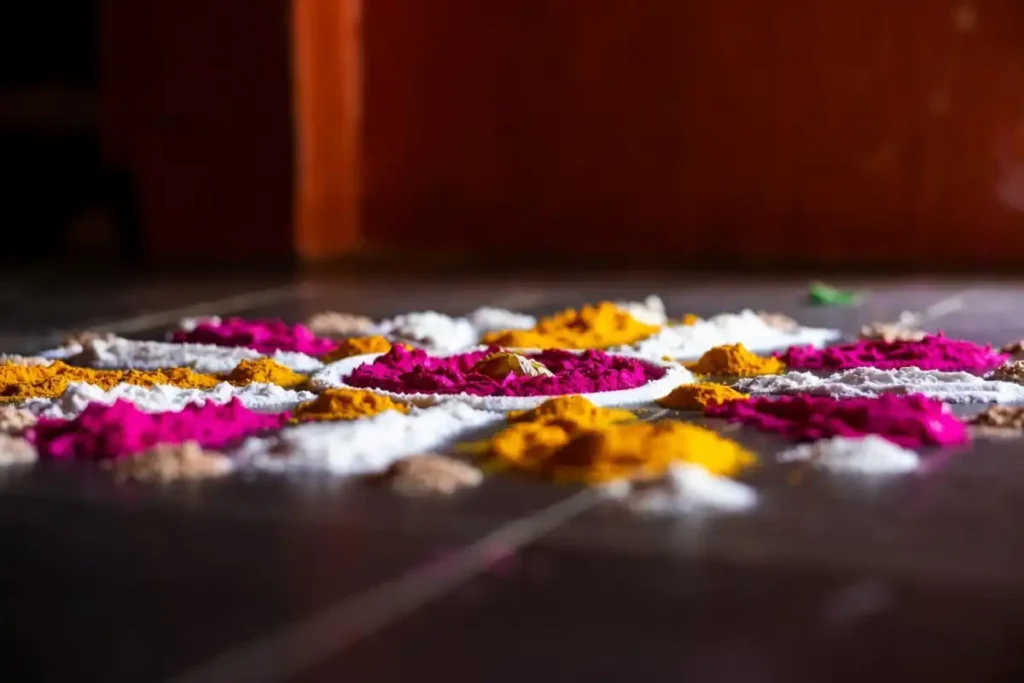
Color plays a big role in how small rangoli designs with dots look and feel. Traditional rangoli uses natural pigments made from rice flour, turmeric, and flower petals. These are safe for the floor and the environment.
White and Red
Classic, bold, and easy to see from a distance.
Yellow and Green
Fresh and festive, great for spring or harvest festivals.
Pink and White
Soft and elegant, works well for weddings and religious occasions.
Blue and Orange
A high-contrast pair that stands out beautifully in natural light.
According to resources from the Victoria and Albert Museum’s collection on Indian folk art , traditional floor art like rangoli and kolam has historically used natural pigments tied to seasonal availability, which is why color choices often vary by region and time of year.
Using Geometric Shapes in Dot Rangoli
Many small rangoli designs with dots are built on geometric foundations. Triangles, hexagons, and stars appear frequently because the dot grid naturally encourages these shapes.
Triangles
Hexagons
Stars
If you enjoy working with structured forms, exploring geometric rangoli shapes and color tips can give you a wider library of patterns to draw from. Geometric designs also tend to look crisp and intentional even when drawn quickly, which makes them a strong choice for daily use.
You can also look into geometric pattern ideas for art and design to find inspiration from broader design traditions that share similar visual principles with dot rangoli.
Festival Ideas for Small Dot Rangoli
Small rangoli designs with dots suit many occasions throughout the year:
Diwali
Use gold, yellow, and orange to create a diya-inspired dot pattern near lamps.
Pongal and Sankranti
Traditional kolam patterns drawn with rice flour are central to the celebration.
Navratri
Use the nine colors of Navratri across nine small designs arranged in a cluster.
Onam
Floral dot rangoli called pookalam is made with fresh flowers, often using a dot guide underneath.
Ugadi and Gudi Padwa
Simple threshold designs mark the new year in many South Asian homes.
Common Mistakes to Avoid
Even simple small rangoli designs with dots can go wrong with a few easy-to-make errors. Here is what to watch out for:
Uneven Dot Spacing
Use a ruler or a pre-made dot stencil to keep spacing consistent.
Too Many Colors
Stick to 3 or 4 colors in small designs to avoid a cluttered look.
Skipping the Sketch Step
Drawing directly with powder makes it hard to correct mistakes.
Ignoring the Border
A border ties the whole design together and gives it a finished appearance.
Working on a Dirty Surface
Sweep and lightly dampen the floor before starting for better adhesion and cleaner lines.
Tools That Help with Dot Rangoli
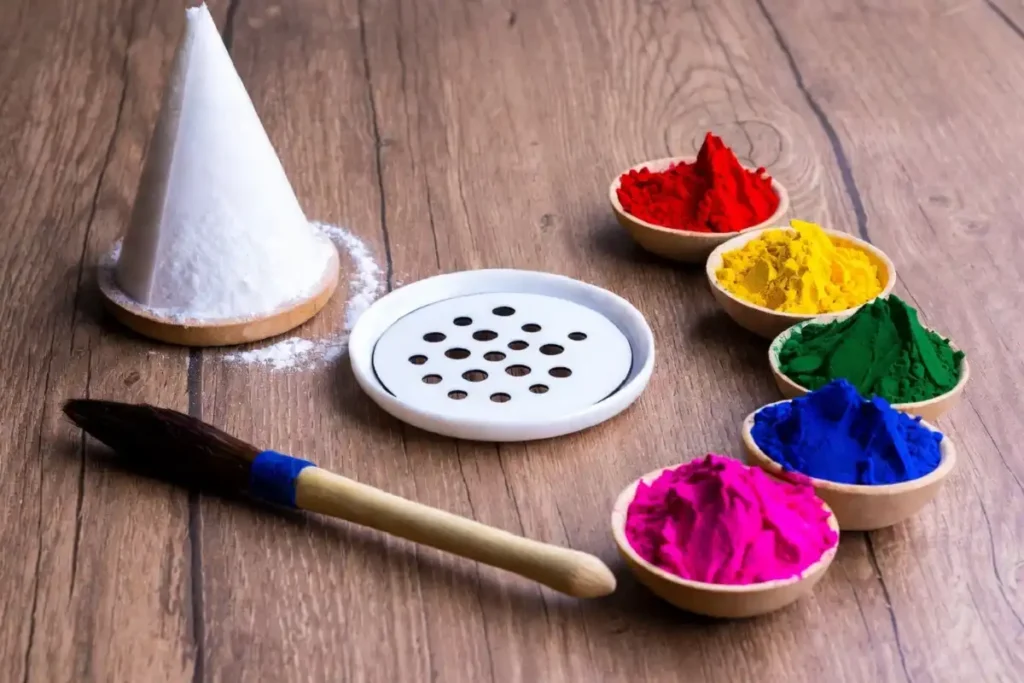
You do not need much to create small rangoli designs with dots, but the right tools make the process much easier:
Dot Stencil Plates
Plastic or metal plates with pre-punched holes for marking dots quickly and evenly.
Powder Cones
Rolled paper or plastic cones for precise powder placement.
Chalk Sticks
For sketching the outline before filling with color.
Squeeze Bottles
Useful for liquid color or paint-based rangoli.
Flat Brushes
For smoothing and spreading powder inside sections.
Stencils in particular are a great help when working on intricate patterns. The Craft Council of India recognizes rangoli and kolam as living craft traditions, and many regional artisans now produce stencil tools designed specifically for dot-based patterns.
Conclusion
Small rangoli designs with dots are a beautiful way to bring tradition and creativity into your everyday space. The dot grid method gives you a reliable structure that makes even complex-looking patterns easy to reproduce.
Whether you are drawing for a festival or just as a morning ritual, these designs reward practice with steady improvement. Start with a simple grid, choose a few colors you enjoy, and let the pattern grow from there.
With a little patience and the right technique, dot rangoli becomes something you can return to again and again.
FAQs
What is the easiest small rangoli design with dots for beginners?
A 3×3 or 5×5 dot grid with a simple four-petal flower in the center is the easiest starting point. It uses very few dots and requires only basic curved lines to connect them.
How many dots do I need for a small rangoli?
Most small rangoli patterns use between 9 and 49 dots, depending on the complexity. A 5×5 grid (25 dots) is a popular middle ground that produces a detailed yet manageable design.
Can I use chalk instead of rangoli powder?
Yes, chalk works well for practice or for outdoor surfaces. It is easy to erase and does not leave a stain, making it a practical choice for learning new patterns before committing to colored powder.
How do I keep my rangoli from smudging?
Work from the center outward and avoid placing your hands or knees directly on finished sections. You can also lightly spray the finished design with a small amount of water to help the powder set on rough surfaces.
Are dot rangoli designs the same as kolam?
They share the same basic technique. Kolam is the South Indian term for this style of floor art, and it is traditionally drawn with rice flour. The dot-grid method is central to kolam but is also used widely across rangoli traditions in other parts of India.
How long does a small dot rangoli last?
On an indoor floor with no foot traffic, a powder rangoli can last one to two days. Flower petal rangoli fades within a few hours, especially in sunlight.