How to Draw Rangoli Design on Paper: Easy Step-by-Step for Beginners
It is a wonderful art form that helps to design a unique artistic creation using basic geometrical figures, lines, and colors.
However, for beginners who have just started to learn rangoli art, making designs straightaway on the floor may be a bit challenging. Hence, rangoli design drawing on paper becomes a perfect starting point.
Learning How to draw Rangoli Design on Paper using only a single sheet of paper, a pencil, an eraser, and colors makes it easy to experiment with your design from the comfort of your home. Drawing rangoli on paper also makes it easy to correct mistakes and make sure of symmetry before applying the colors.
What You Need to Draw Rangoli on Paper
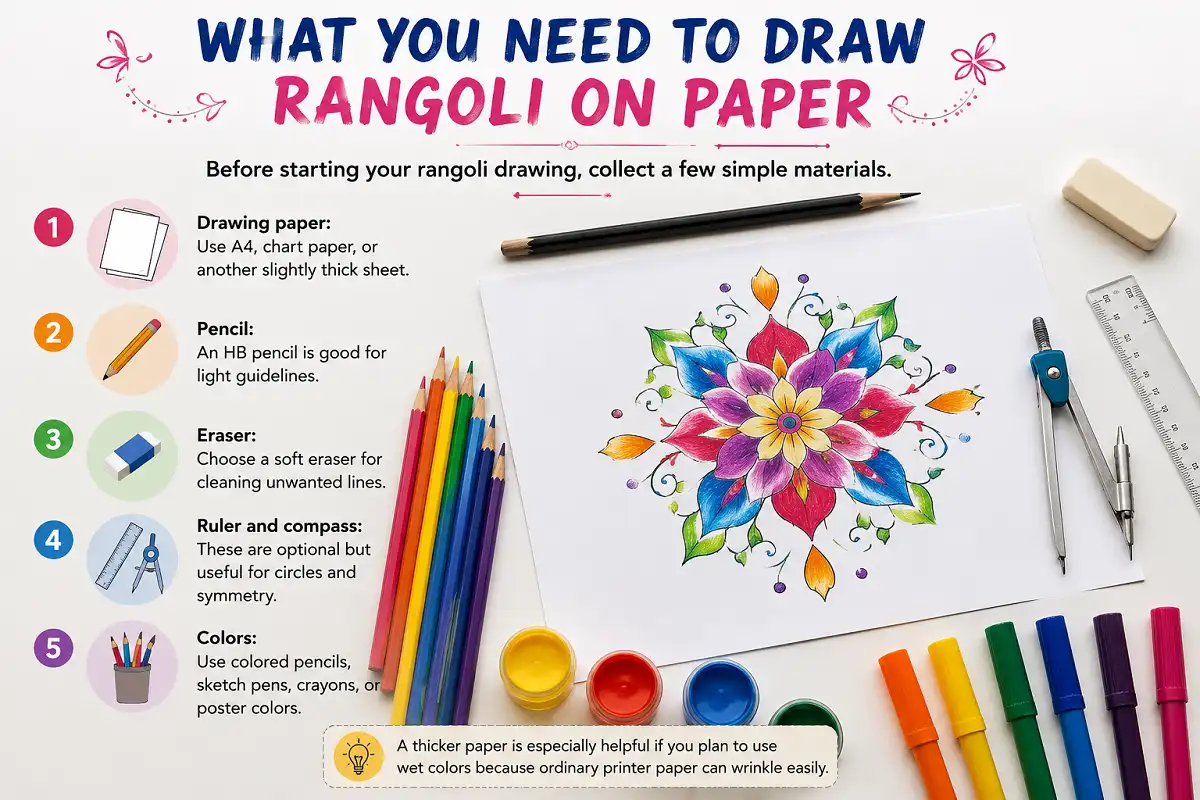
Before starting your rangoli drawing, collect a few simple materials.
- Drawing paper: Use A4, chart paper, or another slightly thick sheet.
- Pencil: An HB pencil is good for light guidelines.
- Eraser: Choose a soft eraser for cleaning unwanted lines.
- Ruler and compass: These are optional but useful for circles and symmetry.
- Colors: Use colored pencils, sketch pens, crayons, or poster colors.
How to Draw Rangoli Design on Paper: Step-by-Step
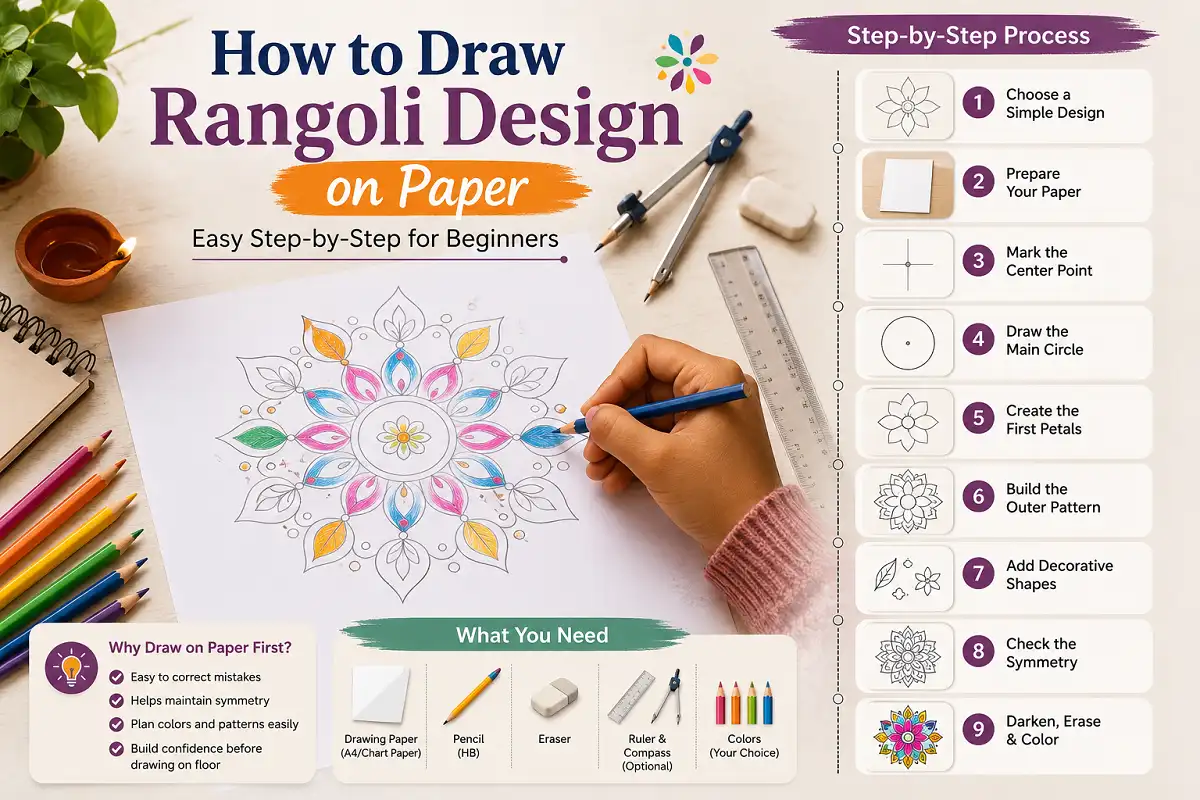
It is easy to learn how to draw rangoli on the paper, before creating it on the floor. Firstly, one needs to make the center point of the rangoli. Then the rangoli can be created around this center point using different shapes such as circles, petal shapes, and dots.
It will be better to make the lines initially soft, so that it would be easier to fix all the mistakes in drawing. After finishing the pattern one should darken the line and add colors to it.
Choose a Simple Rangoli Design
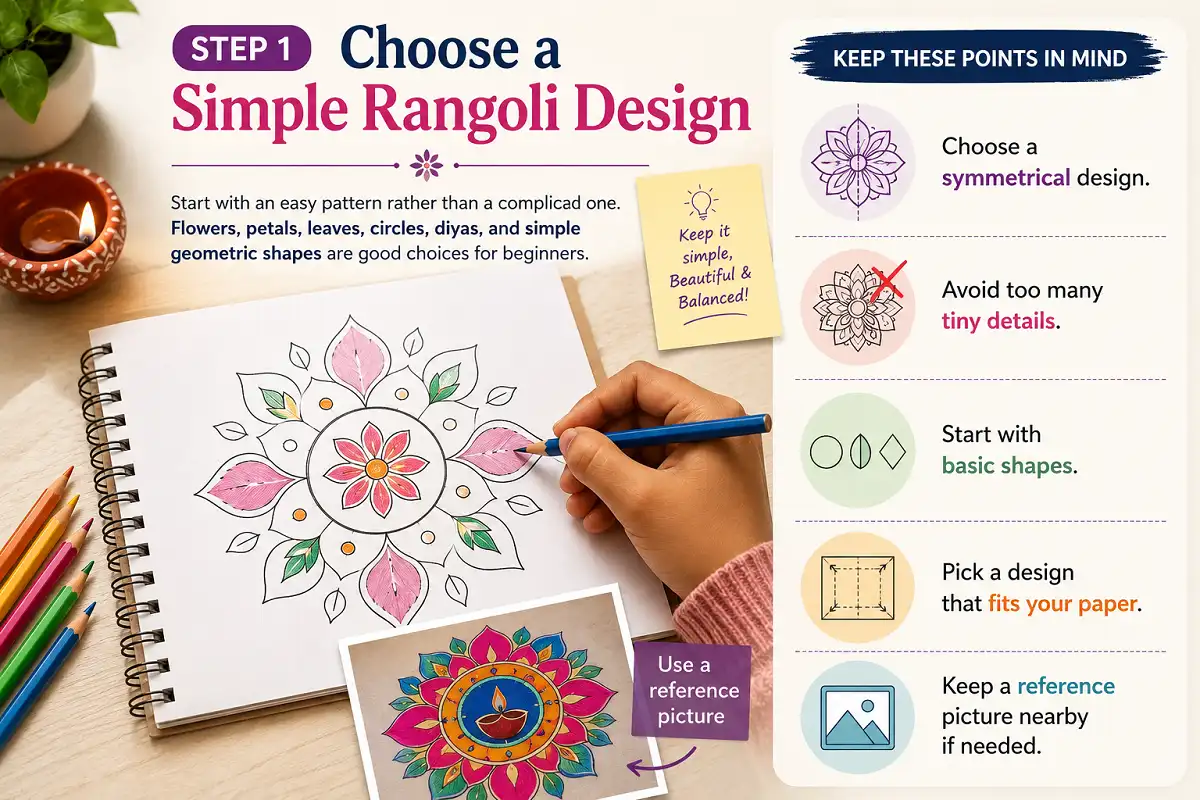
Start with an easy pattern rather than a complicated one. Flowers, petals, leaves, circles, diyas, and simple geometric shapes are good choices for beginners.
- Choose a symmetrical design.
- Avoid too many tiny details.
- Start with basic shapes.
- Pick a design that fits your paper.
- Keep a reference picture nearby if needed.
Prepare Your Paper
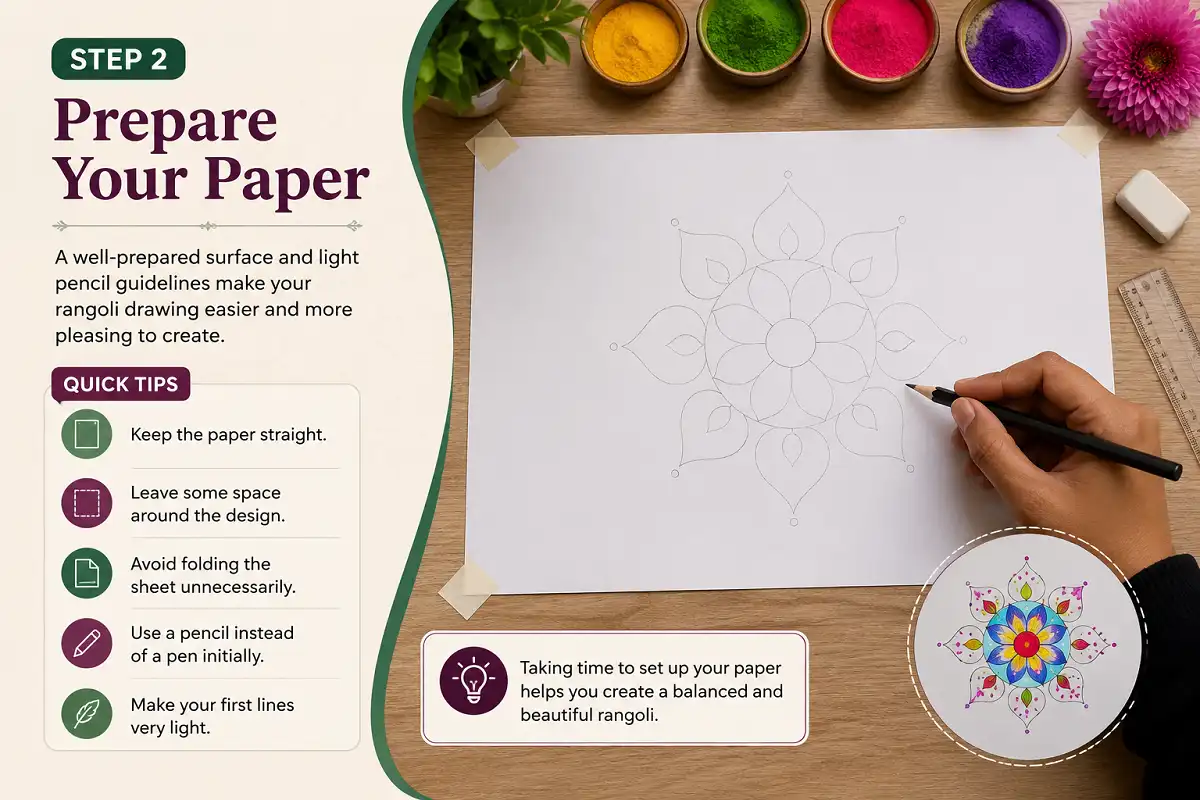
Place the paper on a clean, flat surface. If you are using a large sheet, decide how much space the rangoli should occupy before drawing.
- Keep the paper straight.
- Leave some space around the design.
- Avoid folding the sheet unnecessarily.
- Use a pencil instead of a pen initially.
- Make your first lines very light.
Mark the Center Point
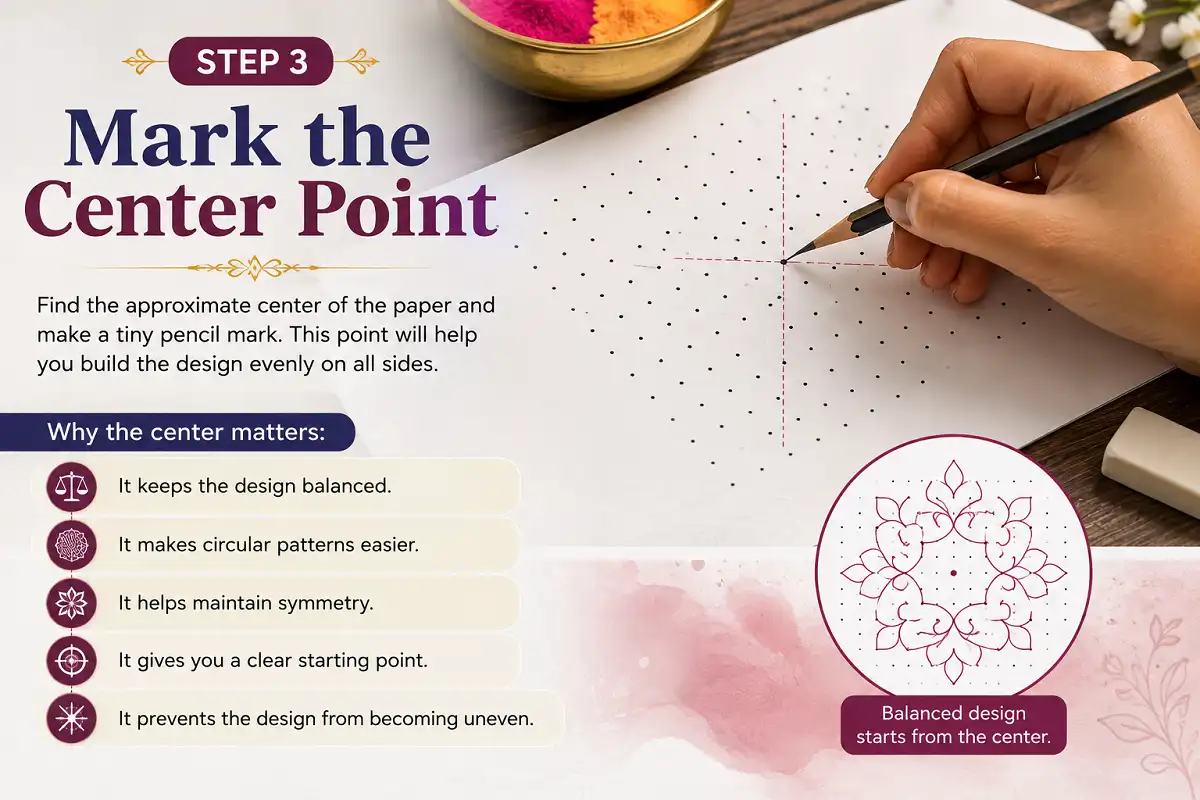
Find the approximate center of the paper and make a tiny pencil mark. This point will help you build the design evenly on all sides.
- It keeps the design balanced.
- It makes circular patterns easier.
- It helps maintain symmetry.
- It gives you a clear starting point.
- It prevents the design from becoming uneven.
Draw the Main Circle
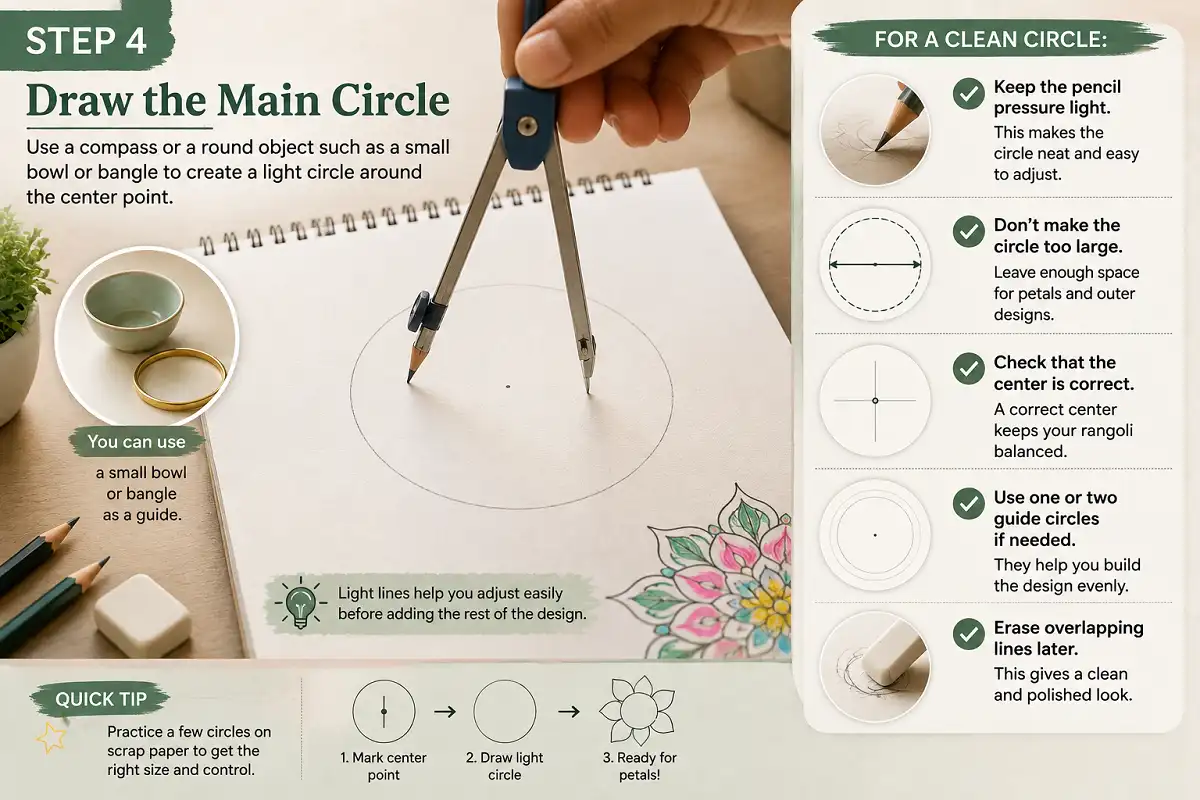
Use a compass or a round object such as a small bowl or bangle to create a light circle around the center point.
- Keep the pencil pressure light.
- Don’t make the circle too large.
- Check that the center is correct.
- Use one or two guide circles if needed.
- Erase overlapping lines later.
Create the First Petals
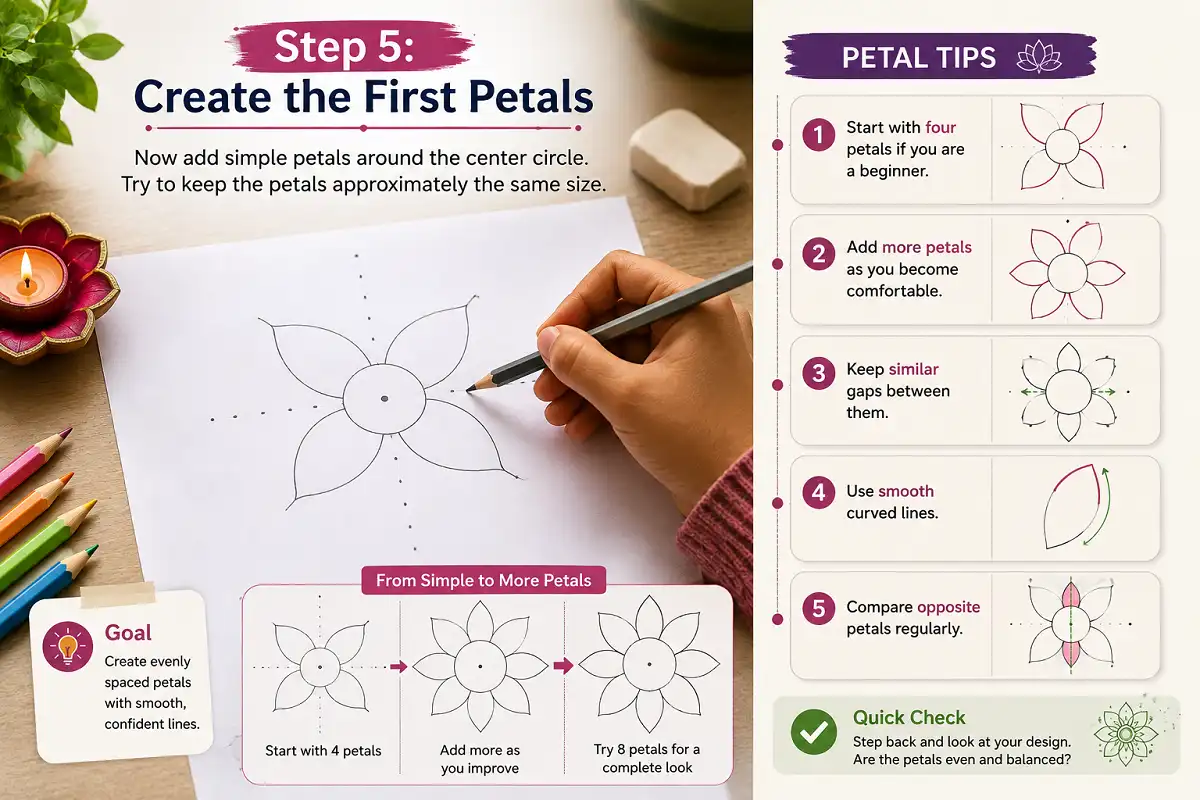
Now add simple petals around the center circle. Try to keep the petals approximately the same size.
- Start with four petals if you are a beginner.
- Add more petals as you become comfortable.
- Keep similar gaps between them.
- Use smooth curved lines.
- Compare opposite petals regularly.
Build the Outer Pattern
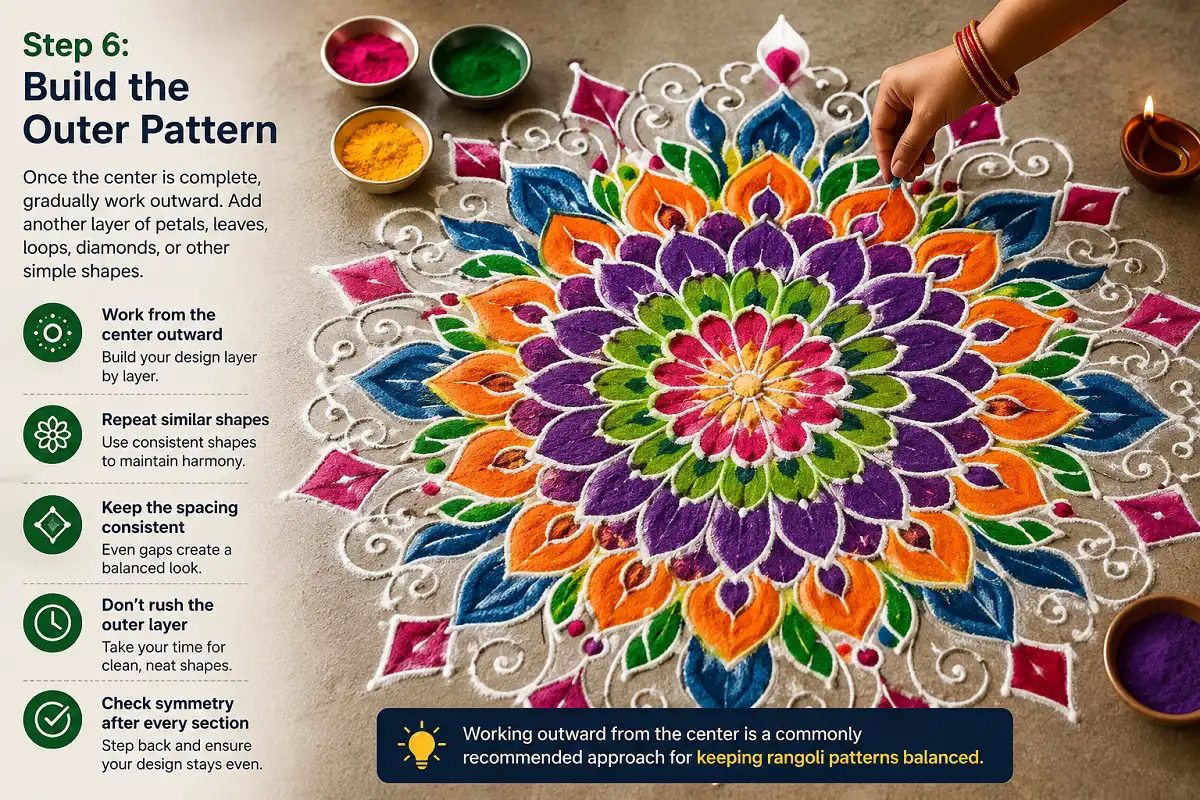
Once the center is complete, gradually work outward. Add another layer of petals, leaves, loops, diamonds, or other simple shapes.
- Work from the center outward.
- Repeat similar shapes.
- Keep the spacing consistent.
- Don’t rush the outer layer.
- Check symmetry after every section.
Working outward from the center is a commonly recommended approach for keeping rangoli patterns balanced.
Add Decorative Shapes
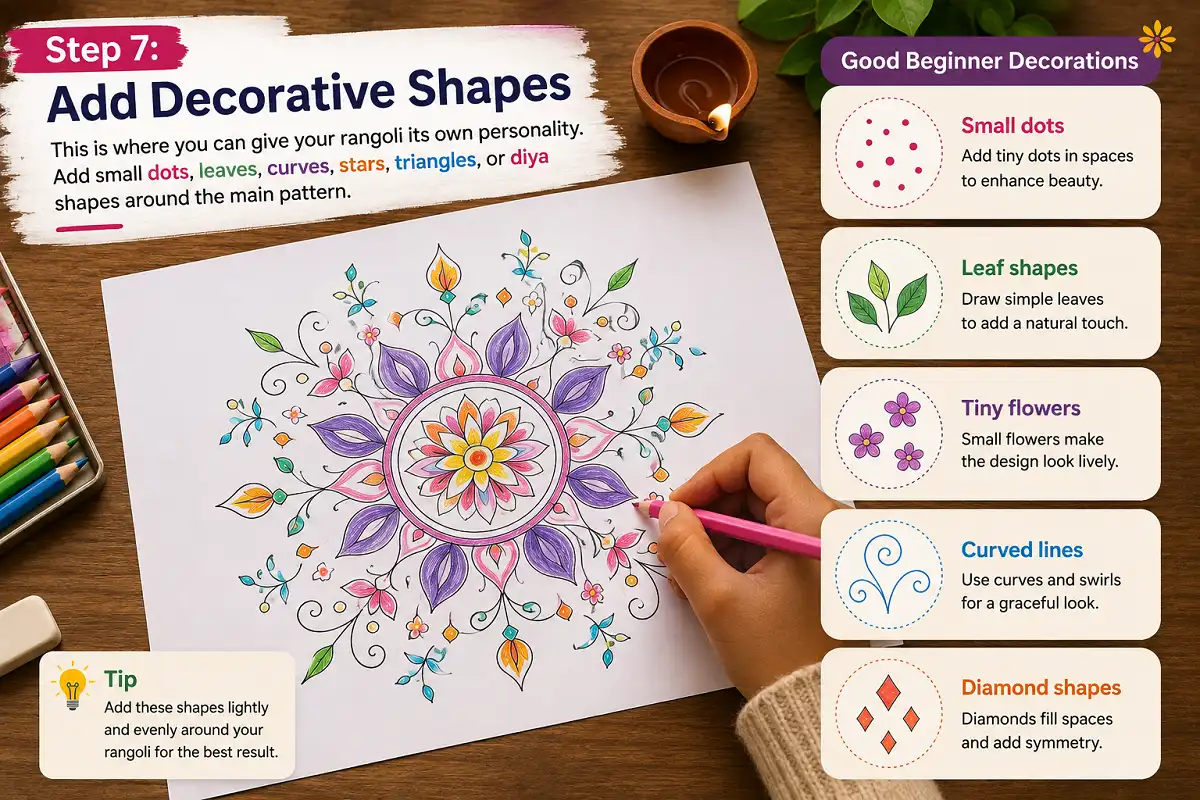
This is where you can give your rangoli its own personality. Add small dots, leaves, curves, stars, triangles, or diya shapes around the main pattern.
- Small dots
- Leaf shapes
- Tiny flowers
- Curved lines
- Diamond shapes
Check the Symmetry
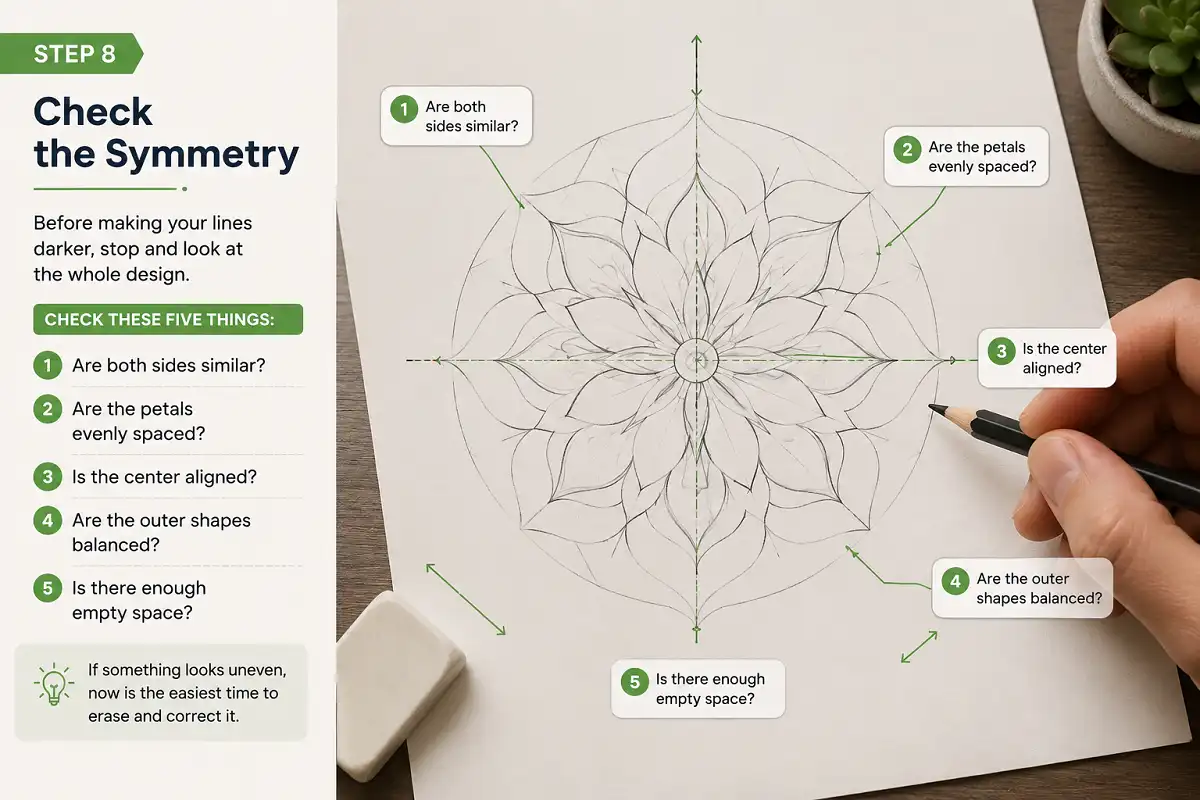
Before making your lines darker, stop and look at the whole design.
- Are both sides similar?
- Are the petals evenly spaced?
- Is the center aligned?
- Are the outer shapes balanced?
- Is there enough empty space?
If something looks uneven, now is the easiest time to erase and correct it.
Darken the Final Outline
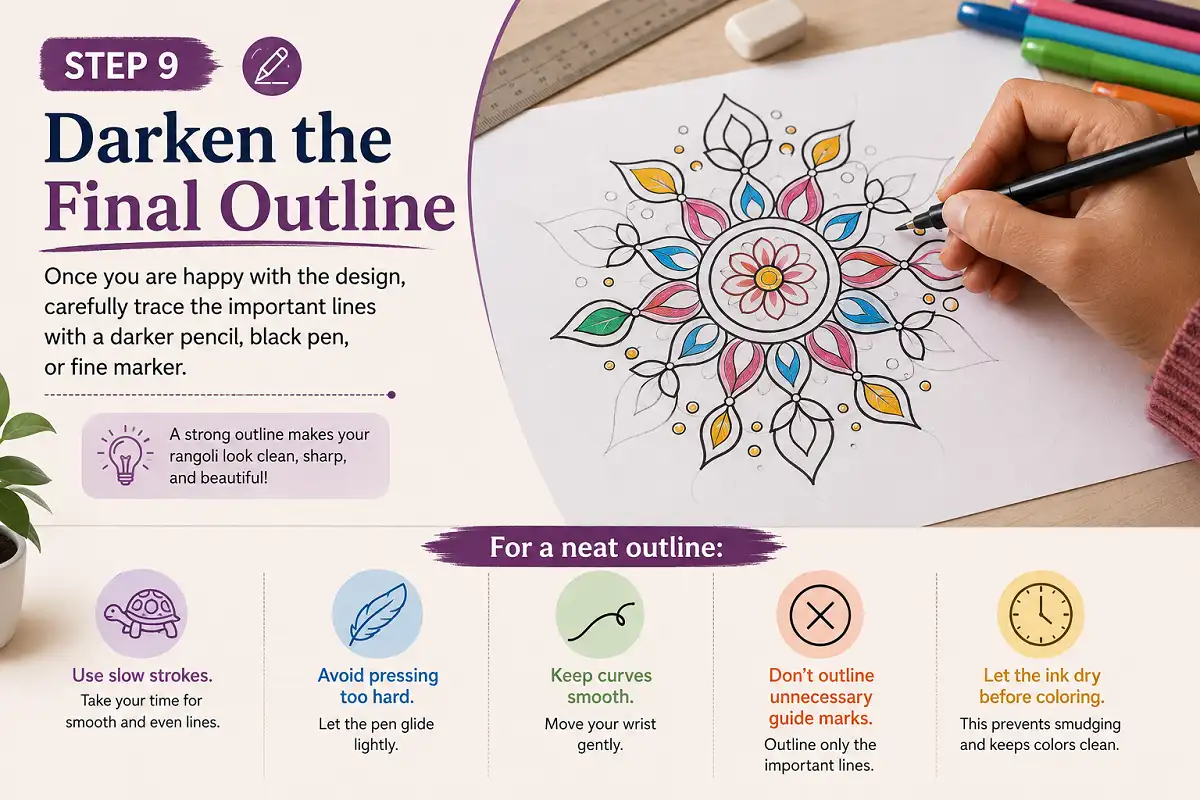
Once you are happy with the design, carefully trace the important lines with a darker pencil, black pen, or fine marker.
- Use slow strokes.
- Avoid pressing too hard.
- Keep curves smooth.
- Don’t outline unnecessary guide marks.
- Let the ink dry before coloring.
Erase Extra Guidelines
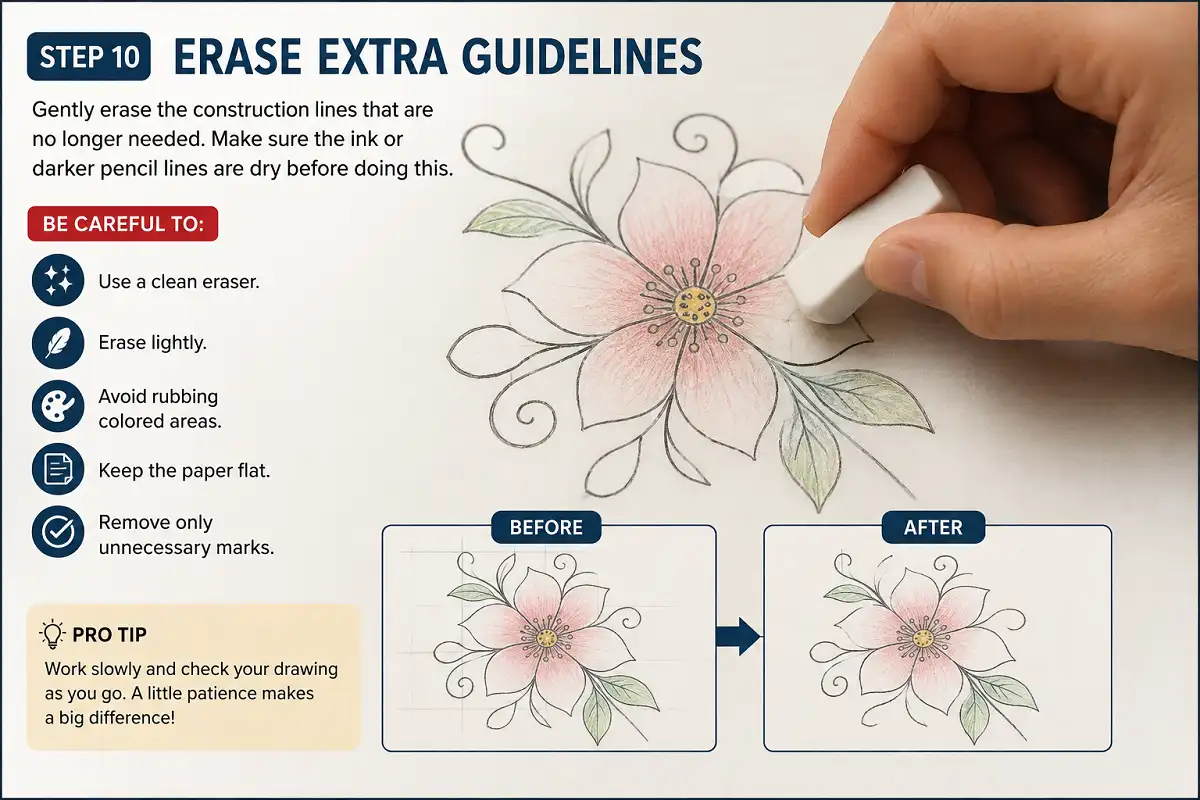
Gently erase the construction lines that are no longer needed. Make sure the ink or darker pencil lines are dry before doing this.
- Use a clean eraser.
- Erase lightly.
- Avoid rubbing colored areas.
- Keep the paper flat.
- Remove only unnecessary marks.
Choose Your Color Combination
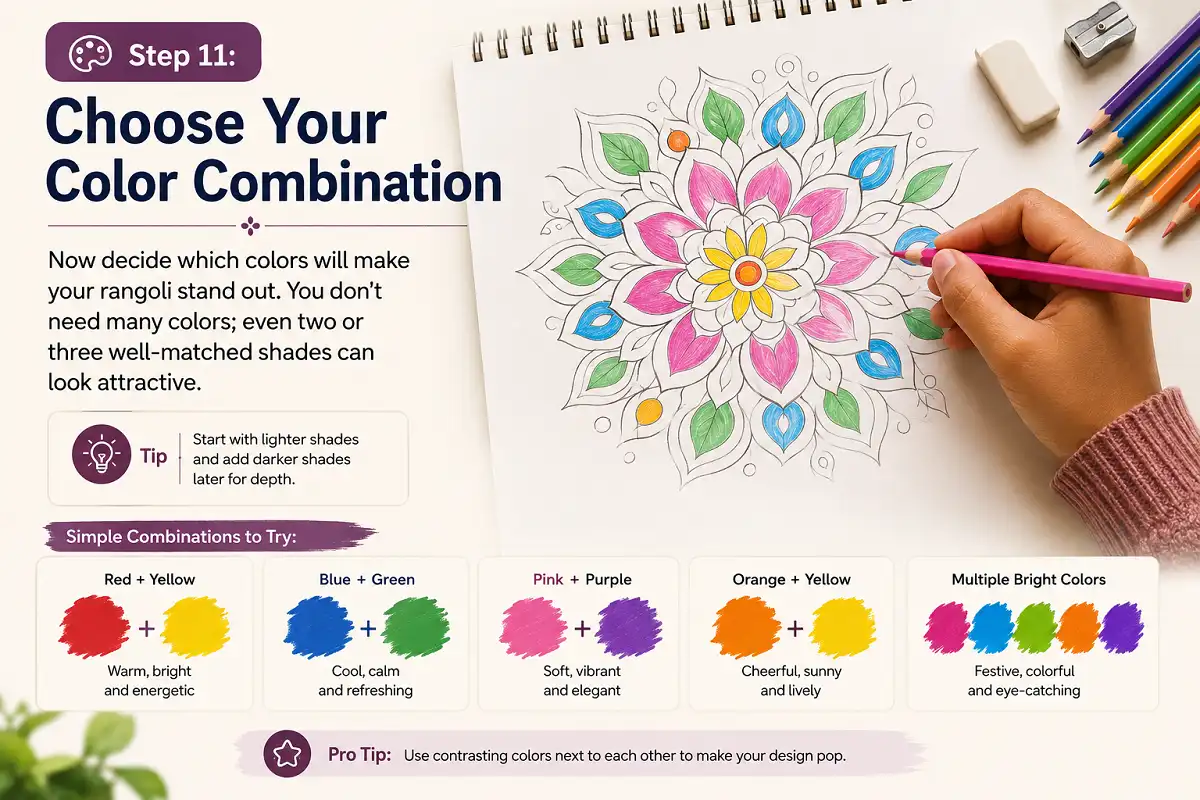
Now decide which colors will make your rangoli stand out. You don’t need many colors; even two or three well-matched shades can look attractive.
Start Coloring From the Center
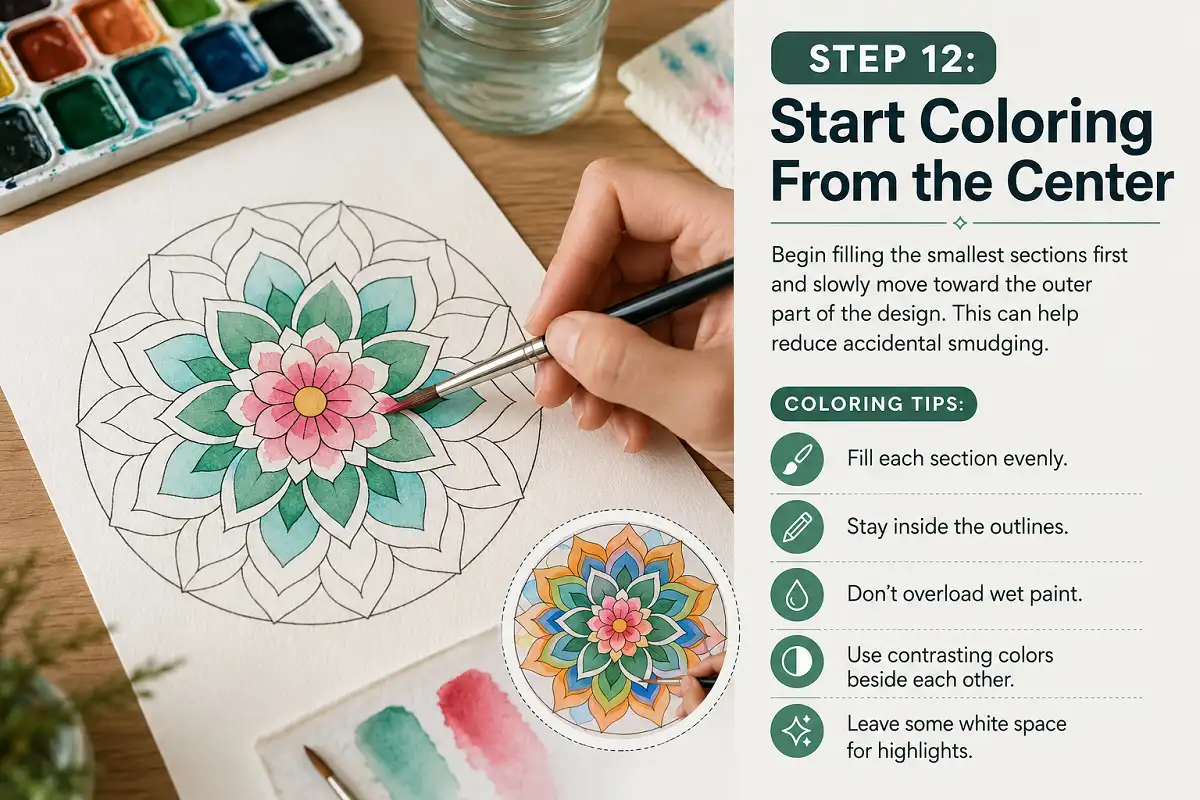
Begin filling the smallest sections first and slowly move toward the outer part of the design. This can help reduce accidental smudging.
- Fill each section evenly.
- Stay inside the outlines.
- Don’t overload wet paint.
- Use contrasting colors beside each other.
- Leave some white space for highlights.
Add Small Details
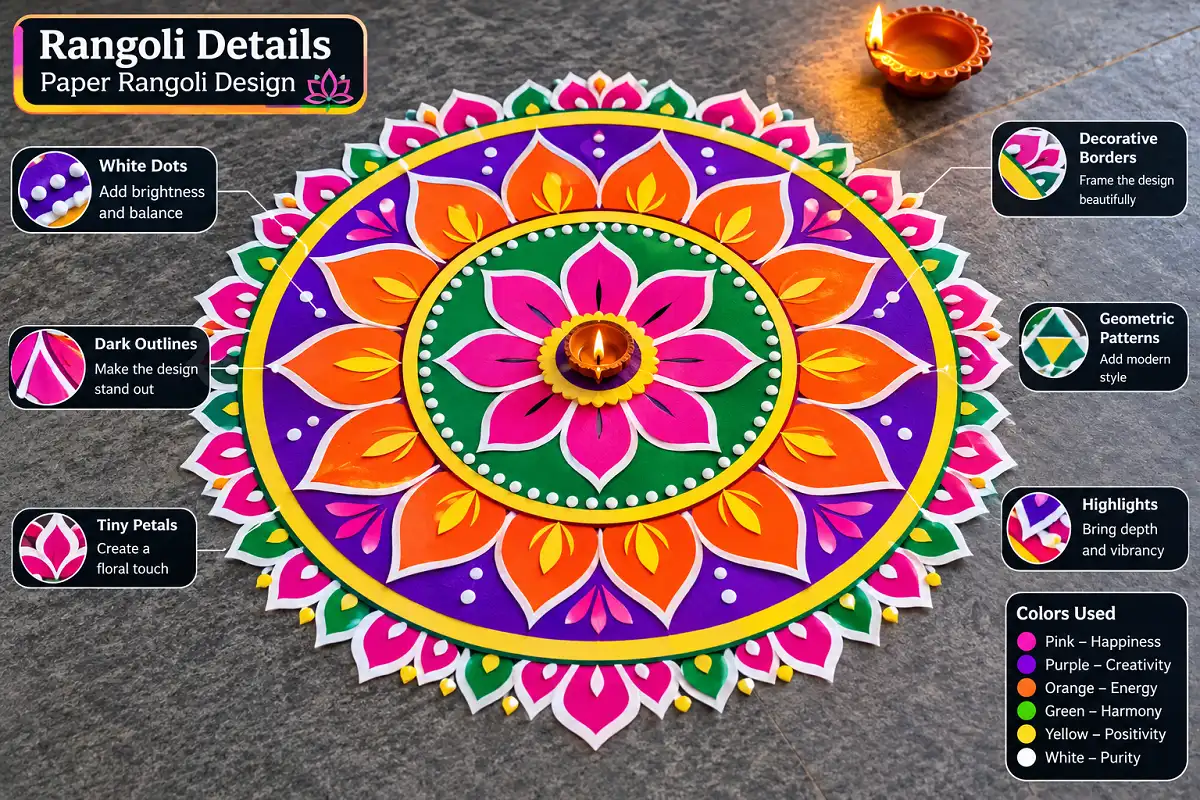
After the main colors are finished, add small dots, borders, highlights, or extra lines to make the rangoli look more polished.
- White dots
- Dark outlines
- Tiny petals
- Decorative borders
- Small geometric patterns
Finish the Outer Border
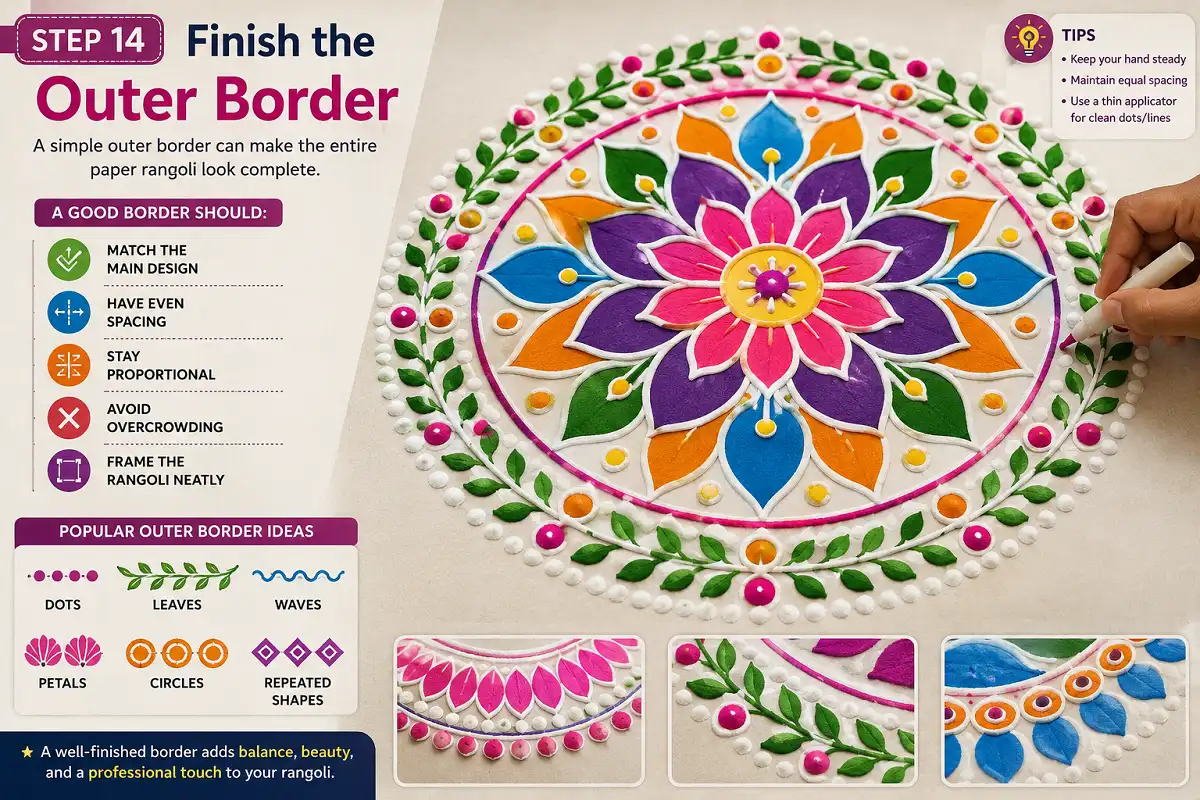
A simple outer border can make the entire paper rangoli look complete. You can use circles, dots, leaves, waves, or repeated petals.
- Match the main design.
- Have even spacing.
- Stay proportional.
- Avoid overcrowding.
- Frame the rangoli neatly.
Let the Rangoli Dry and Display It
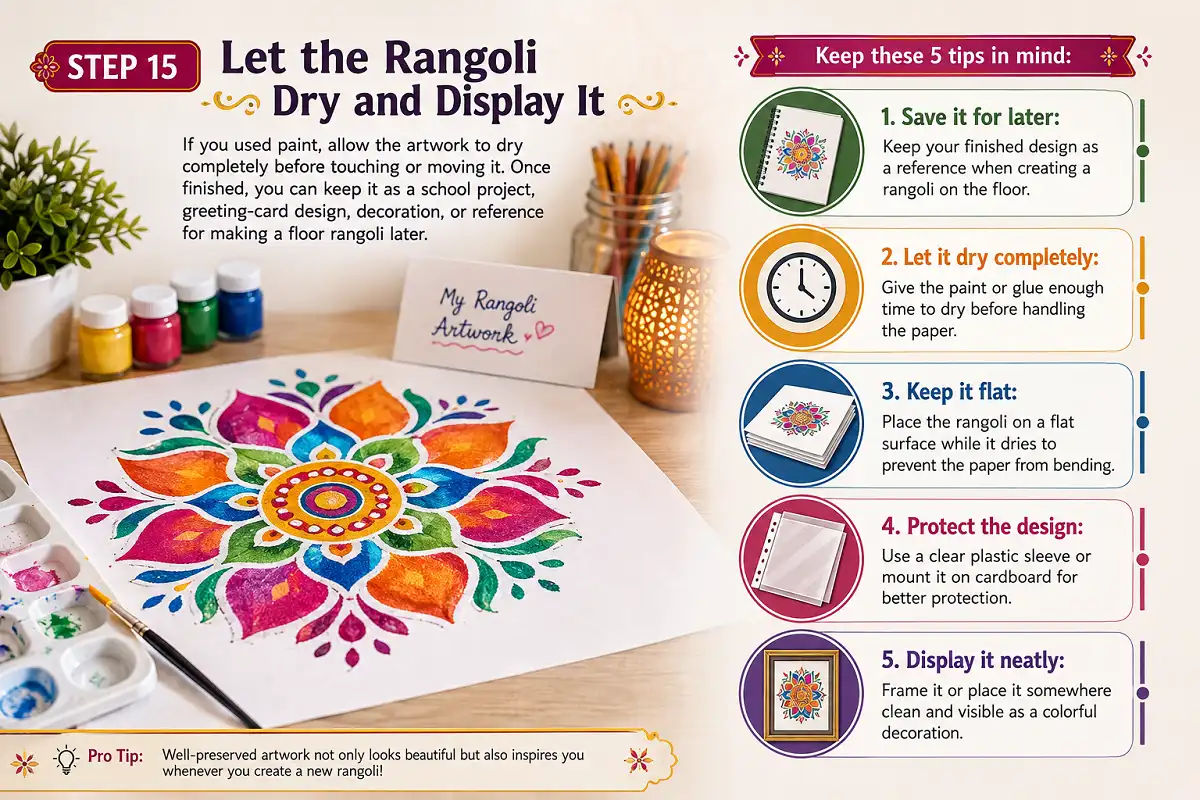
If you used paint, allow the artwork to dry completely before touching or moving it. Once finished, you can keep it as a school project, greeting-card design, decoration, or reference for making a floor rangoli later.
- Save it for later: Keep your finished design as a reference when creating a rangoli on the floor.
- Let it dry completely: Give the paint or glue enough time to dry before handling the paper.
- Keep it flat: Place the rangoli on a flat surface while it dries to prevent the paper from bending.
- Protect the design: Use a clear plastic sleeve or mount it on cardboard for better protection.
- Display it neatly: Frame it or place it somewhere clean and visible as a colorful decoration.
Easy Rangoli Design Ideas for Beginners
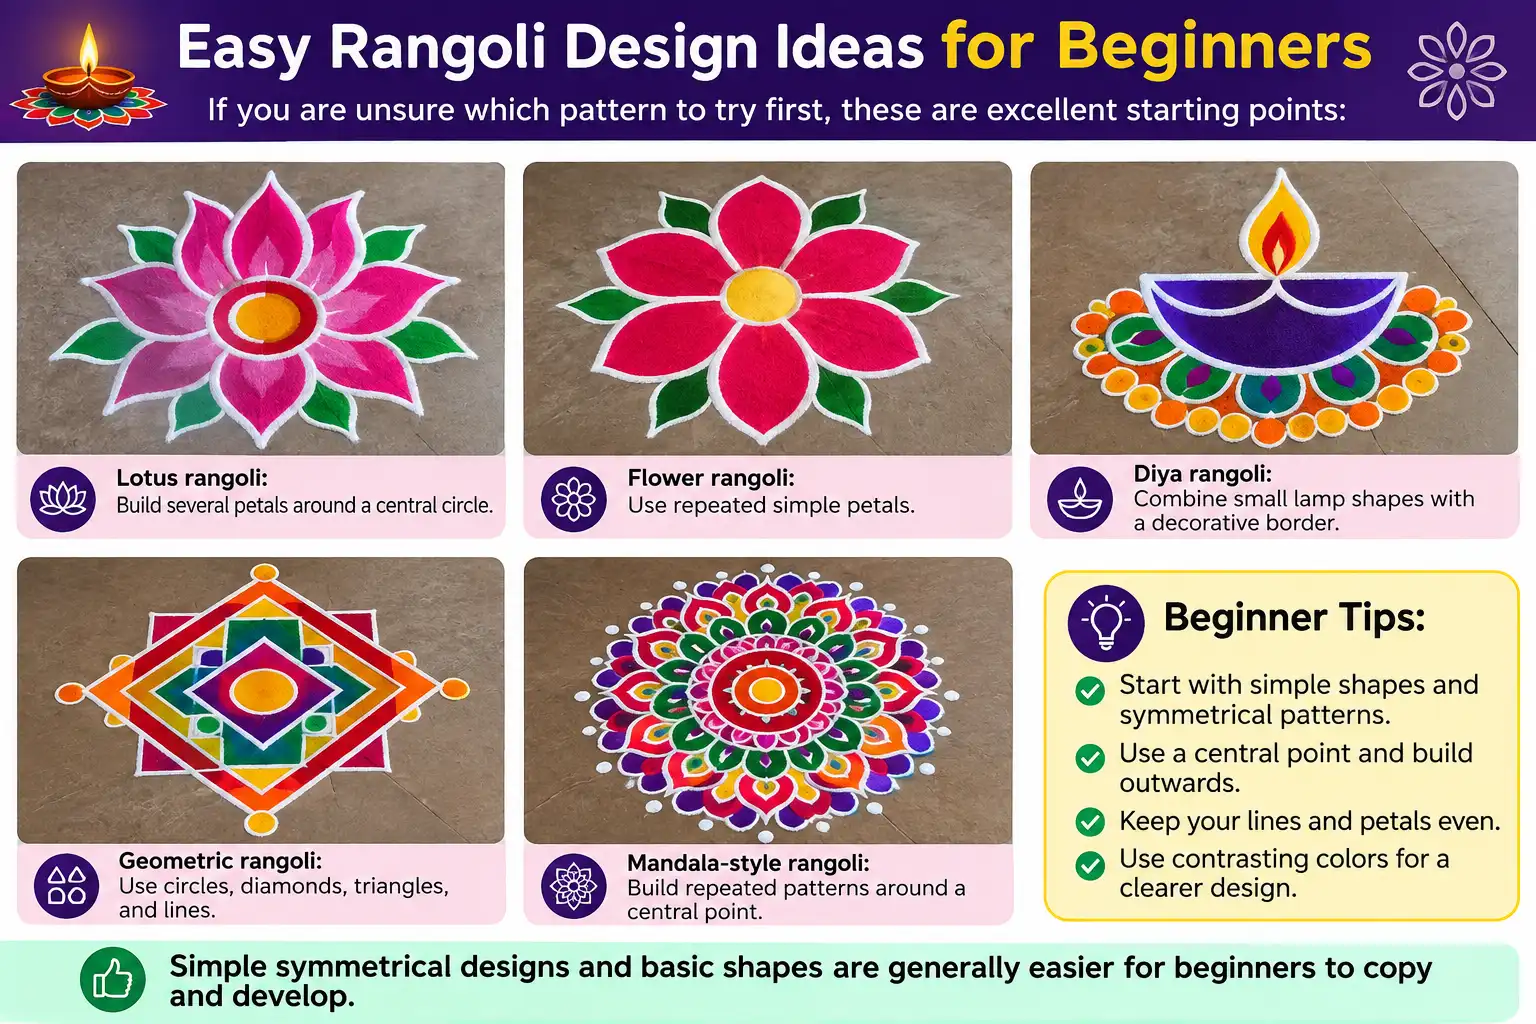
If you are unsure which pattern to try first, these are excellent starting points:
Build several petals around a central circle.
Use repeated simple petals.
Combine small lamp shapes with a decorative border.
Use circles, diamonds, triangles, and lines.
Build repeated patterns around a central point.
Simple symmetrical designs and basic shapes are generally easier for beginners to copy and develop.
Tips to Make Your Paper Rangoli Look Better
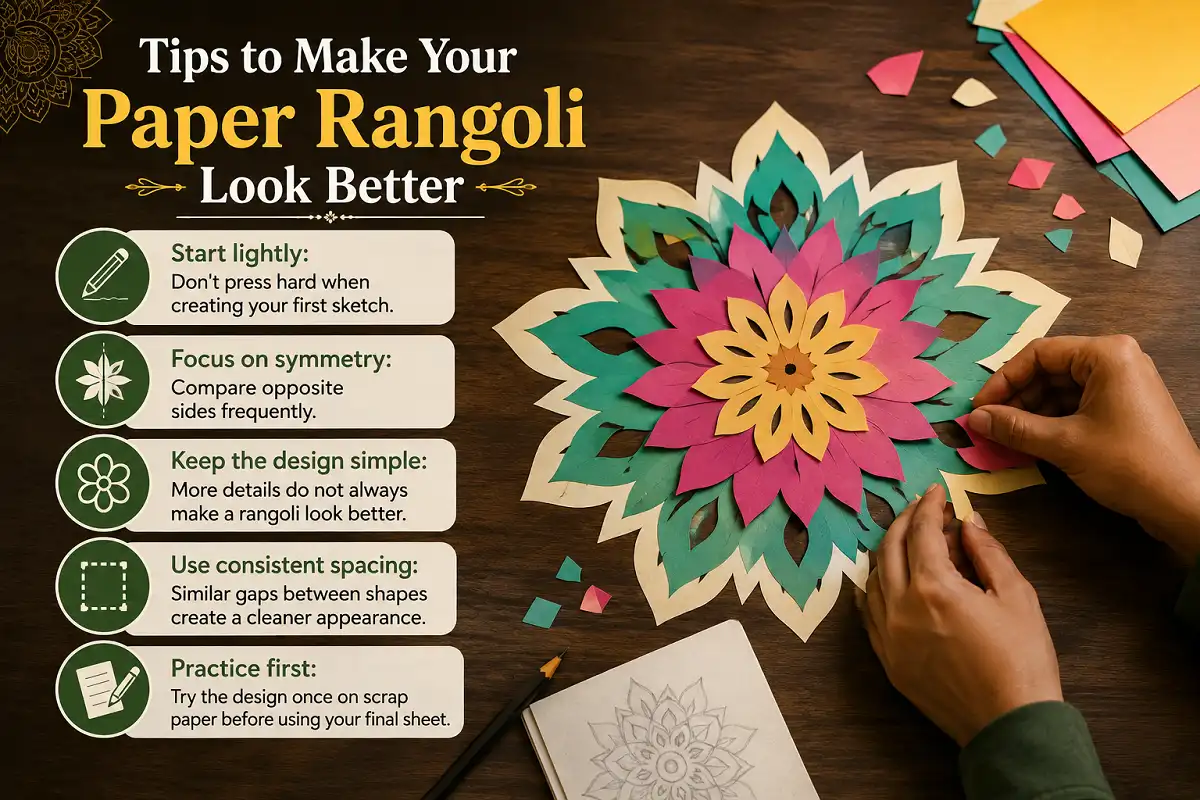
- Start lightly: Don’t press hard when creating your first sketch.
- Focus on symmetry: Compare opposite sides frequently.
- Keep the design simple: More details do not always make a rangoli look better.
- Use consistent spacing: Similar gaps between shapes create a cleaner appearance.
- Practice first: Try the design once on scrap paper before using your final sheet.
Common Mistakes to Avoid
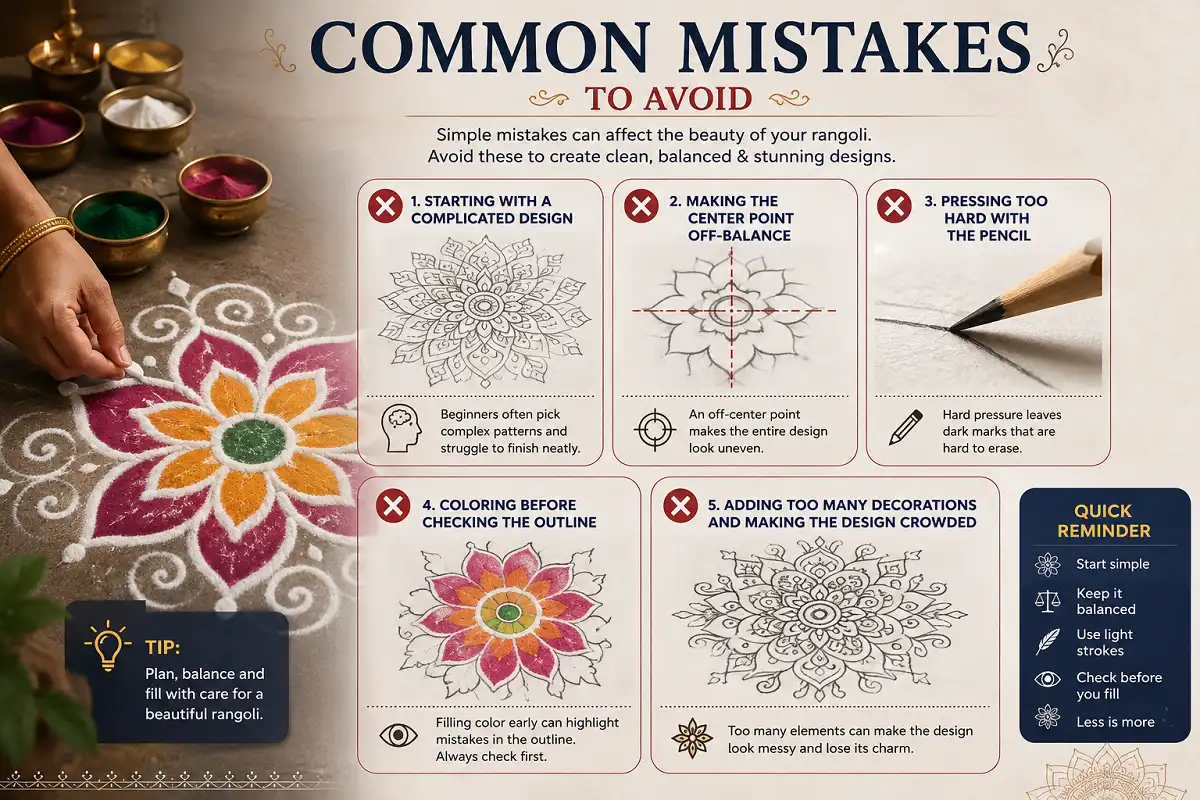
- Starting with a complicated design.
- Making the center point off-balance.
- Pressing too hard with the pencil.
- Coloring before checking the outline.
- Adding too many decorations and making the design crowded.
Best Paper Rangoli Ideas for School Projects
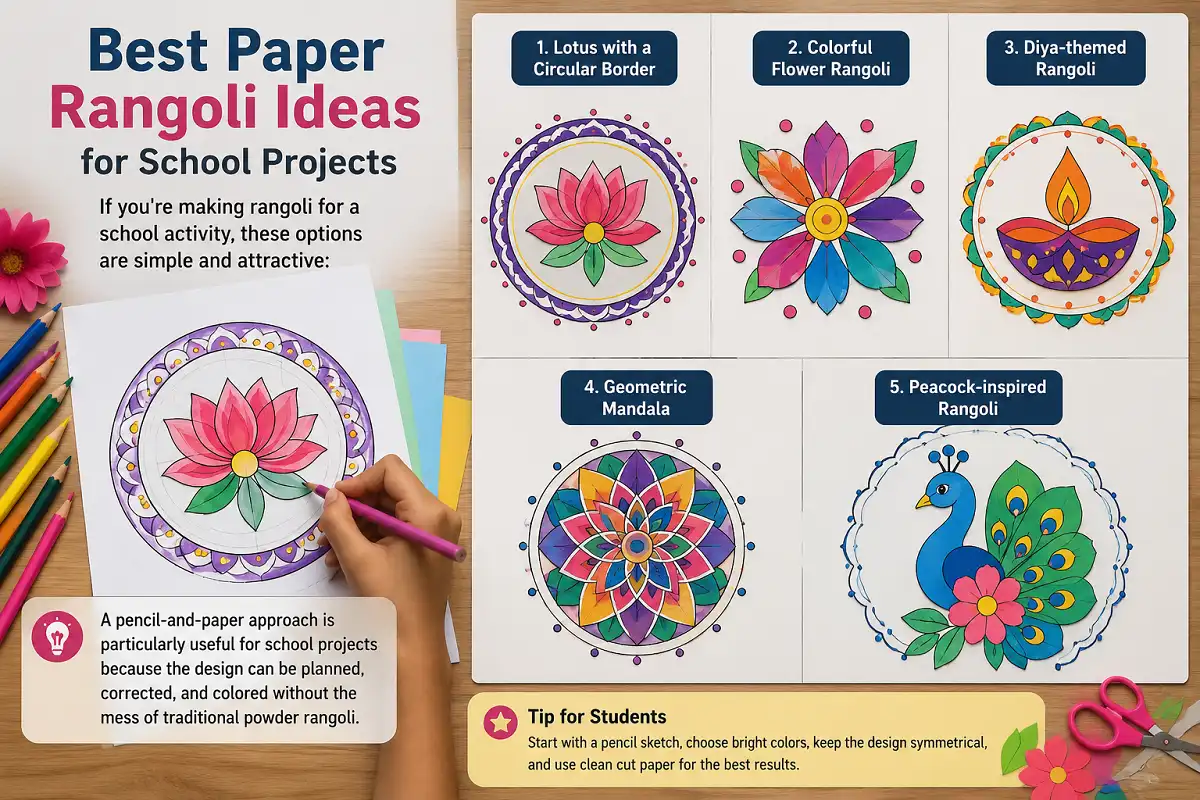
If you’re making rangoli for a school activity, these options are simple and attractive:
A pencil-and-paper approach is particularly useful for school projects because the design can be planned, corrected, and colored without the mess of traditional powder rangoli.
Start Practicing Your Rangoli Design Today
Learning how to draw rangoli design on paper doesn’t have to be difficult.
Learning how to draw rangoli design on paper doesn’t have to be difficult. Start with a simple center, build the pattern outward, check the symmetry, and add colors only after the outline looks right. For more beginner-friendly inspiration, explore these easy rangoli design ideas and symmetrical rangoli design ideas.
The more you practice, the easier it becomes to create your own patterns instead of copying a design. If you want to experiment with structured patterns, these rangoli grid pattern designs can also help you understand spacing and symmetry. Whether you’re preparing for a school project, a festive decoration, or simply enjoying a creative afternoon, paper rangoli is an easy and enjoyable way to improve your drawing skills. For more visual inspiration, you can also explore Rangoli ideas on Pinterest.
FAQs
Can I draw rangoli on paper with only a pencil?
Yes. A pencil, eraser, and paper are enough to create the basic rangoli outline. You can add colors later if you want.
Which paper is best for rangoli drawing?
A slightly thick drawing sheet, cartridge paper, or chart paper is a good choice, especially if you plan to use paint or other wet colors.
Is rangoli drawing on paper easy for beginners?
Yes. Starting with circles, petals, dots, and simple geometric patterns makes the process much easier for beginners.
Do I need a compass to draw rangoli?
No. A compass is helpful for accurate circles, but you can also use a bangle, bottle cap, bowl, or another round object as a guide.
How can I make my paper rangoli symmetrical?
Start from the center and repeat the same shapes around it. You can also use light guide lines, a dot grid, or folded paper to make symmetry easier.