Festival Rangoli for Beginners: Step-by-Step Tips
Festival rangoli for beginners doesn’t need years of practice. I teach new students every festive season, and most of them draw a clean design on their first try. This guide gives you the tools, patterns, and steps I actually use.
Festival rangoli for beginners starts with a simple dot grid, basic colors, and one small pattern repeated around a center point. Use rice flour or colored powder, keep the design under two feet wide, and build confidence before attempting bigger patterns.
What Makes Festival Rangoli Different From Everyday Rangoli
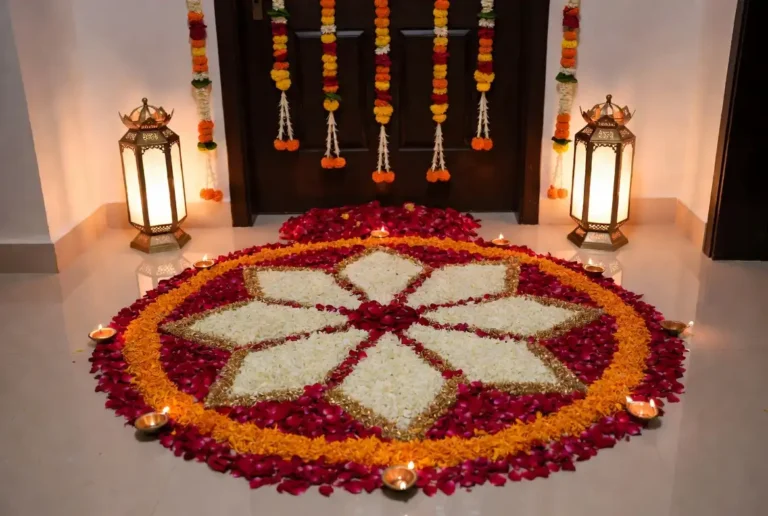
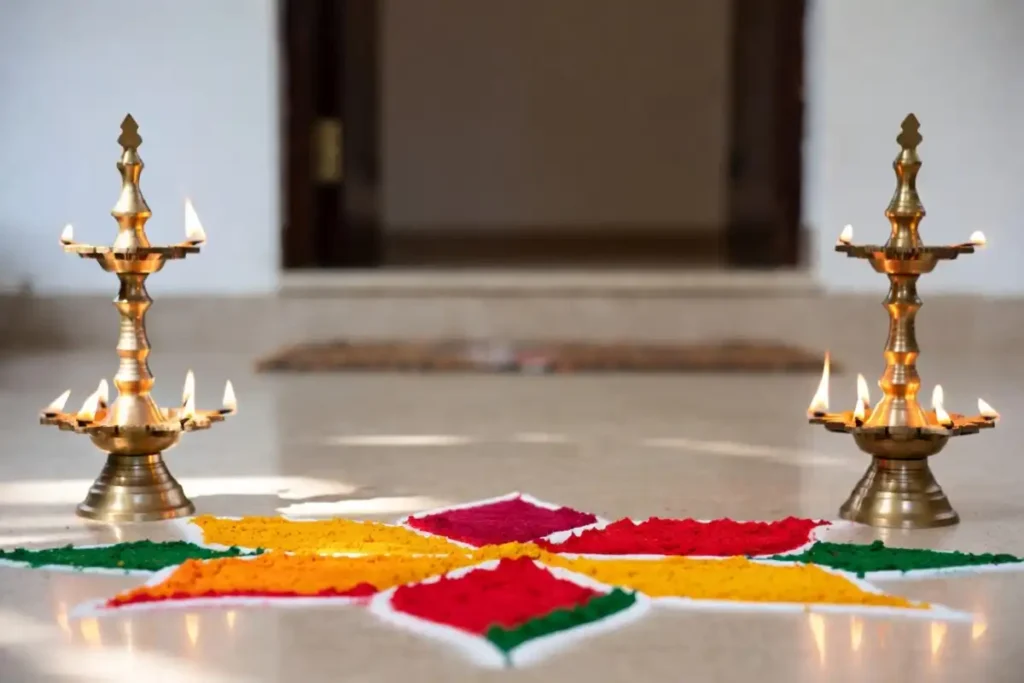
Festival rangoli is bigger, brighter, and more detailed than the small daily rangoli drawn at the doorstep. Everyday rangoli takes five minutes with basic white powder. Festival rangoli uses multiple colors, symmetry, and sometimes flowers, diyas, or peacock motifs tied to the occasion.
For someone just starting out, the goal is not perfection. The goal is a design that looks intentional and fits the space at your entrance or puja area. I always tell new learners to pick one festival theme first, master it, then move to others like Diwali, Pongal, or Navratri.
Materials You Need to Start
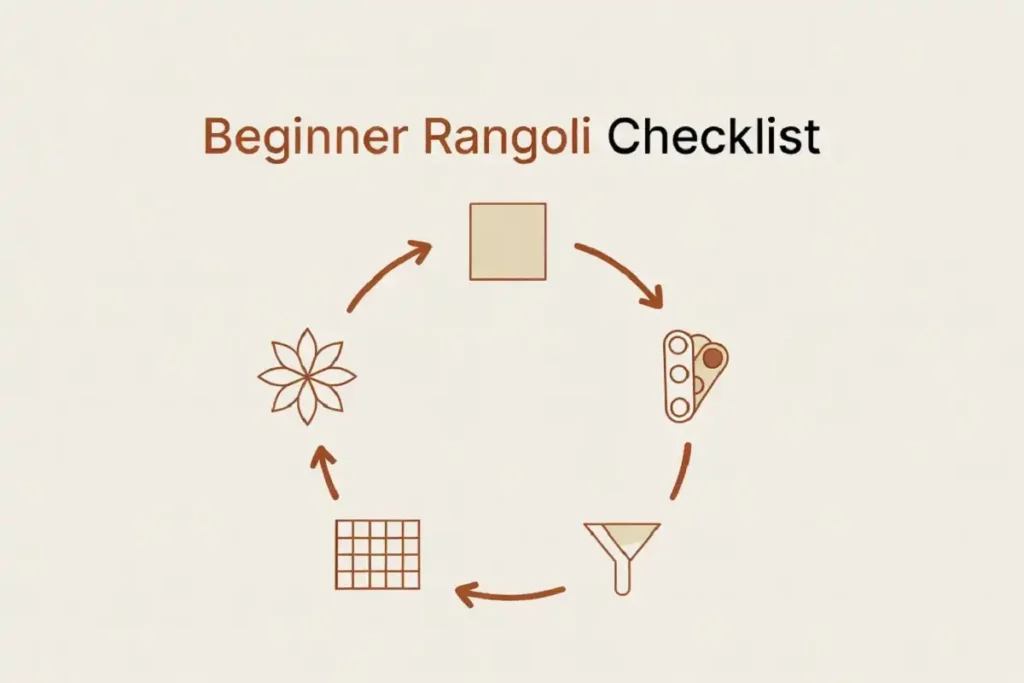
Good materials make festival rangoli for beginners far easier than people expect.
- Rangoli powder (gulal) in red, yellow, green, and white for base colors
- Rice flour for outlining and for eco-friendly designs near ants and birds
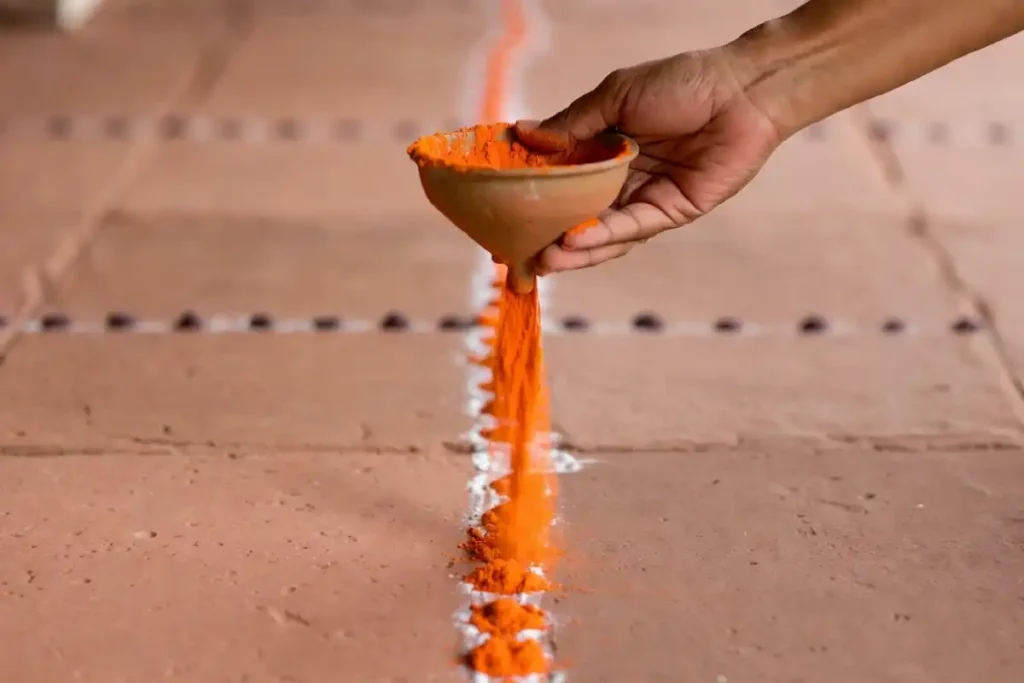
- A rangoli comb or funnel (kucho) to control the flow of powder
- Chalk or a rangoli stencil to mark guide lines before filling color
- A soft brush to clean smudges without ruining the pattern
I keep these five items ready before every festival. Skipping the funnel is the most common mistake I see, because loose powder falls unevenly and ruins clean lines.
How to Start Festival Rangoli for Beginners Step by Step
This approach starts with a dot grid, not free-hand curves. Follow these steps in order.
Step 1: Choose Your Space and Clean It
Sweep the floor and let it dry completely. Damp floors smear powder and ruin your lines. A dry, flat surface gives the best grip for rice flour and colored powder.
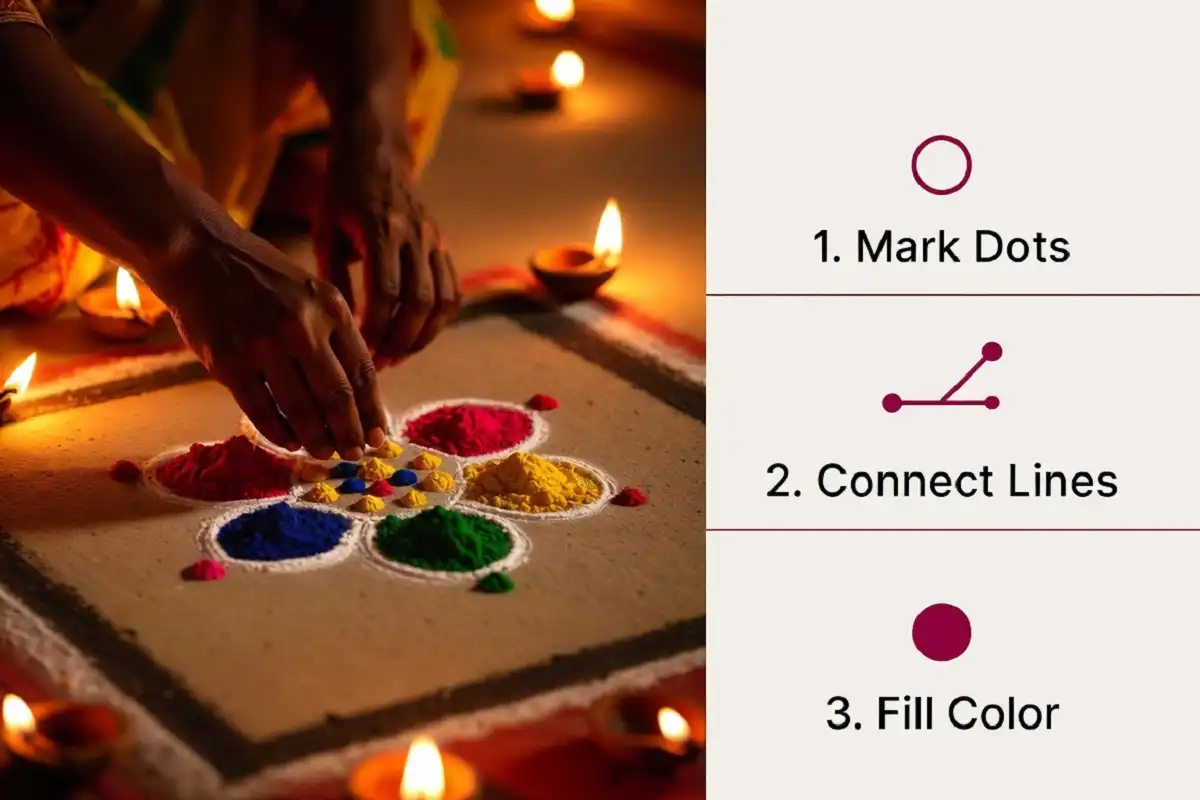
Step 2: Mark a Dot Grid
Use chalk to place dots in rows, equal distance apart. A 5×5 or 7×7 grid works well for a first attempt. This grid becomes your guide for symmetry.
Step 3: Connect the Dots Into a Shape
Draw curved or straight lines between dots to form a flower, star, or geometric shape. Keep the first few designs simple. A basic six-petal flower is easier to control than an elaborate mandala.
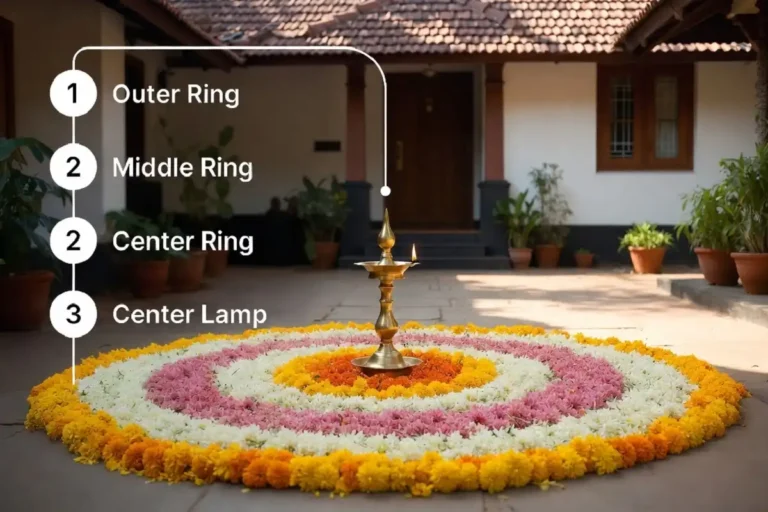
Step 4: Fill With Color
Start from the center and move outward. Use one color per section to avoid mixing powders. Press the funnel gently and keep your wrist steady for even lines.
Step 5: Add Festival Elements
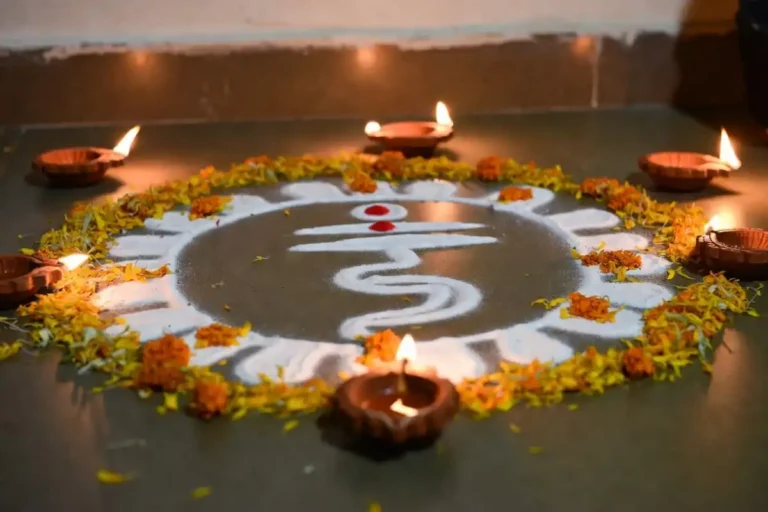
Place a diya, small flowers, or a rangoli sticker at the center if the design is for Diwali or a puja space. This step turns a basic pattern into a proper festival rangoli.
Easy Patterns to Try First
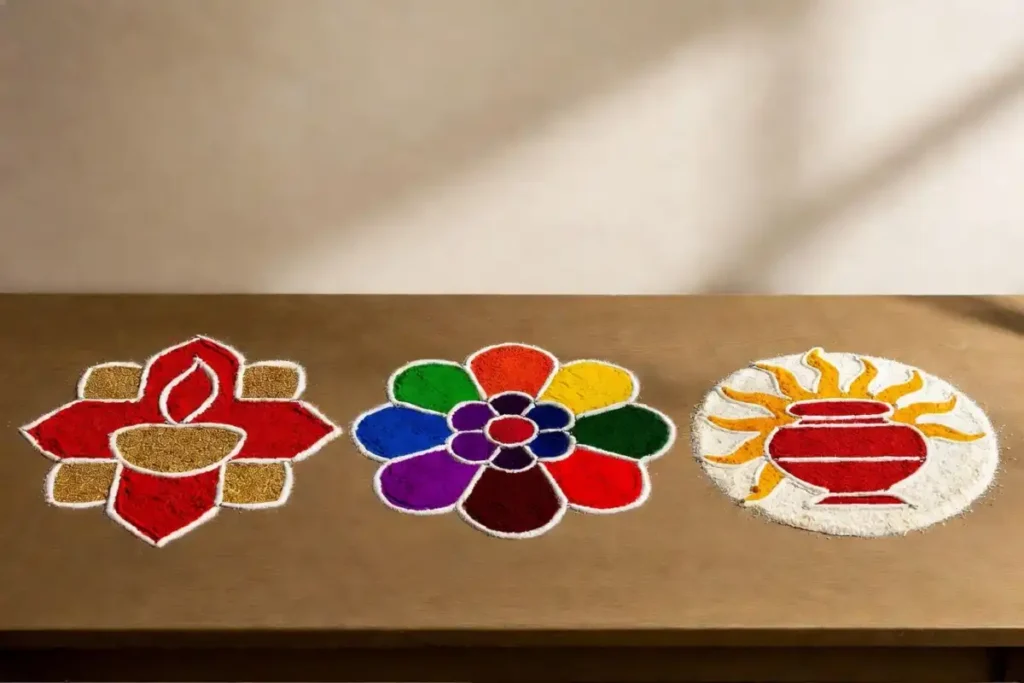
Festival rangoli for beginners works best with patterns that repeat around a fixed center. These four patterns are the ones I teach first.
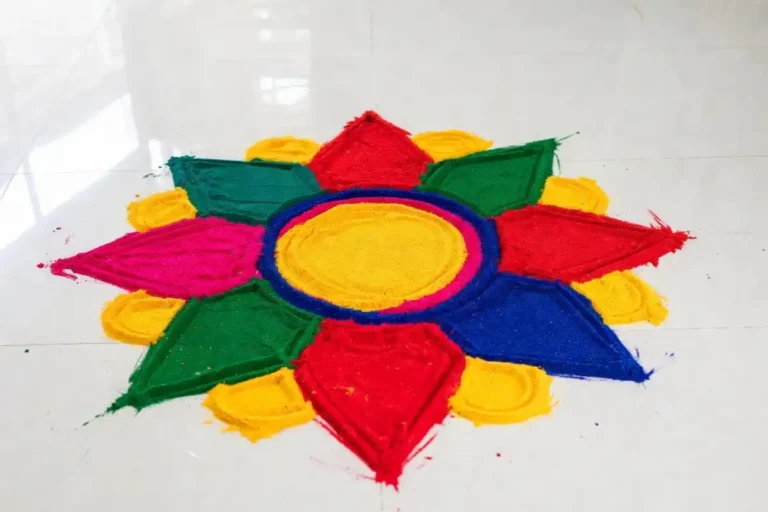
Six-Petal Flower Rangoli
Draw six equal petals around a center dot. Fill each petal in alternating colors. This pattern suits any festival and takes under fifteen minutes.
Diamond Grid Rangoli
Connect dots diagonally to form small diamonds across the grid. Fill alternate diamonds with contrasting colors for a bold, geometric look.
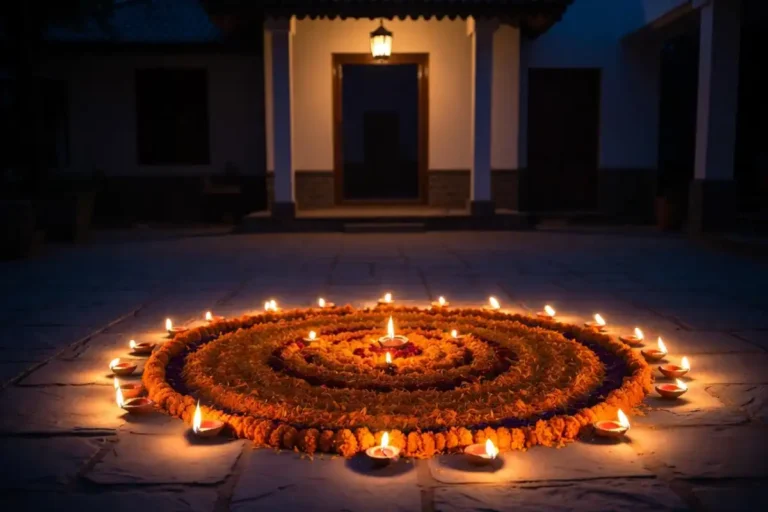
Diya Border Rangoli
Draw a simple circle and place small diya shapes evenly around the edge. This design works well for Diwali rangoli you can recreate at home without needing advanced freehand skills.
Peacock Motif Rangoli
A single peacock shape at the center, surrounded by dots or small flower motifs, adds festive character without demanding fine detail work.
Choosing Colors Without Overwhelming the Design
New learners often use too many colors in one design. Stick to three or four colors for your first few attempts at festival rangoli for beginners. Red, yellow, and white create a warm, traditional look. Green and orange work well for harvest festivals like Pongal.
Keep the outer border in one solid color. This single choice makes any pattern look more finished, even if the inner details are uneven.
Festival-Specific Rangoli Ideas
Different festivals call for different rangoli styles, though the beginner techniques stay the same.
Diwali Rangoli for Beginners
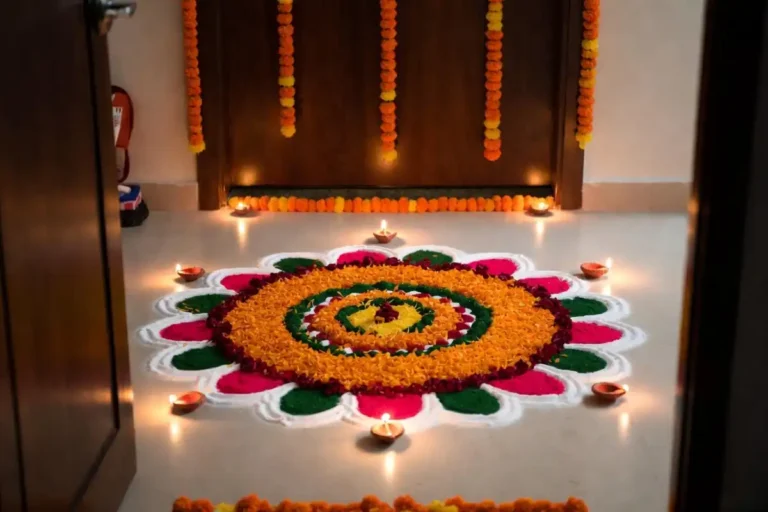
Diwali rangoli favors diya motifs, deep reds, and gold-toned yellow powder. A circular design with a diya at the center works for most entrances. If you want more variety, browse these beginner-friendly rangoli art ideas before picking your first pattern.
Navratri Rangoli for Beginners
Navratri rangoli often uses nine colors across nine days, tied to each day’s theme. Start with a basic flower and change only the color scheme daily instead of the entire pattern. These quick Navratri rangoli looks under ten minutes suit a beginner’s daily routine well.
Pongal Rangoli for Beginners
Pongal rangoli traditionally includes sugarcane, pots, and sun motifs, drawn mostly in rice flour. Rice flour also feeds birds and ants, which fits the harvest festival’s spirit of gratitude.
Common Mistakes Beginners Make
Festival rangoli for beginners goes wrong in predictable ways. Watch for these:
- Uneven dot spacing, which throws off the entire symmetry
- Wet floors, which cause powder to clump and smear
- Too many colors, which makes the design look cluttered instead of festive
- Rushing the outline, which leads to shaky, uneven borders
- Ignoring wind and drafts, which scatter loose powder mid-design
Fixing these five points solves most of the frustration new rangoli artists face.
Tools That Make the Process Easier
A rangoli stencil speeds up festival rangoli for beginners significantly. Place the stencil, sprinkle powder over the cutouts, and lift it away for an instant clean pattern. Stencils work well for small entrance spaces or when you’re short on time before guests arrive.
For freehand practice, a rangoli comb (kucho) gives better control than pouring powder directly from your palm. Practice on a tray indoors before moving to the actual floor space.
How Long Should a Beginner’s Rangoli Take?
A beginner’s festival rangoli should take between fifteen and thirty minutes for a design roughly two feet wide. Larger festival displays with multiple colors and motifs can take an hour or more, but there’s no need to attempt that scale until the basics feel natural.
FAQs
Can I make festival rangoli without powder?
How do I keep rangoli powder from blowing away?
Is a stencil considered "cheating" for beginners?
What size should my first rangoli be?
Final Words
Festival rangoli for beginners comes down to five things: a dry floor, a dot grid, a simple pattern, three or four colors, and patience while filling them in. Start small, repeat the same design a few times, and the symmetry will come naturally within a couple of festivals. If you want more structured practice, these simple step-by-step rangoli designs for beginners are a good next stop once you’ve tried the patterns here.