Beautiful Simple Traditional Kolam for Your Home
A simple traditional kolam is one of the most loved floor art forms in South India. Drawn every morning near the front door, it is a daily ritual that blends creativity with cultural meaning. Whether you are a complete beginner or someone who has tried it before, kolam is a practice that welcomes everyone. This guide walks you through the basics, patterns, tools, and occasions so you can start drawing your own simple traditional kolam with ease and confidence.
What Is a Traditional Kolam?
A traditional kolam is a geometric floor design made by placing dots in a grid and connecting them with continuous lines or loops. It is drawn most commonly with white rice flour on the floor just outside the home entrance. The practice is deeply rooted in Tamil Nadu and is also common in Karnataka, Andhra Pradesh, Kerala, and Telangana, where it goes by different regional names.
The word kolam comes from the Tamil language and broadly means “form” or “beauty.” Beyond its visual appeal, the tradition carries meaning. Rice flour feeds small insects and birds, making the kolam an act of sharing with nature. The symmetrical patterns are believed to bring positive energy into the home and protect the household.
Unlike more complex forms of floor art, a simple traditional kolam does not require artistic training. The dot-and-loop method makes it approachable for anyone, including children.
Tools and Materials You Need
Getting started with a simple traditional kolam does not require expensive supplies. Here is what you need:
- White rice flour or kolam powder – the classic material used for daily designs
- Colored rangoli powder – optional, used for special occasions or festivals
- A flat surface – a clean floor near your entrance, swept and lightly dampened if using dry powder
- Your fingers – for placing dots and drawing lines freehand
Some people use a small cone made from paper or cloth to release the powder in a thin, controlled stream. This helps keep lines clean and even. For beginners, using fingers directly on the floor works perfectly well.
Rice flour is preferred for daily use because it is biodegradable, easy to source, and connects the practice to its original meaning. If you want to practice indoors or on paper first, chalk or a fine white pen on dark paper works just as well.
Understanding the Dot Grid System
The foundation of a simple traditional kolam is the dot grid. Before drawing any lines, you place a set of dots in a specific arrangement. The lines are then drawn around, between, or through the dots to form patterns.
Common dot grid sizes for beginners include:
- 3×3 grid – the simplest starting point, creates small symmetric designs
- 5×5 grid – allows more complex looping patterns
- 7×7 or 9×9 grid – used for larger, more detailed traditional kolam work
Each dot acts as an anchor point. The goal is to connect the dots using a single continuous line or a set of curved loops without lifting your hand too often. This continuous line method is a hallmark of the kolam tradition and gives the design its flowing, interwoven look.
Spacing the dots evenly is important. You can practice this on paper with a pencil before moving to the floor.
How to Draw a Simple Traditional Kolam Step by Step

Follow these steps to draw your first simple traditional kolam:
Step 1 – Clean and prepare the surface. Sweep the floor and lightly wipe it. A slightly damp surface holds the powder better.
Step 2 – Place your dots. Start with a 3×3 or 5×5 dot grid. Space each dot about two to three finger-widths apart. Use rice flour or chalk to mark each point.
Step 3 – Draw the outer frame. Connect the outermost dots first using curved lines. This gives you a boundary to work within.
Step 4 – Add loops and curves. Begin connecting inner dots using looping lines that flow around the anchor points. Work from the outside inward, or from the center outward, whichever feels more natural.
Step 5 – Close the pattern. Make sure all dots are connected and the design has a balanced, symmetric look. Close any open loops to complete the form.
Step 6 – Add finishing touches. You can add a small border, petals, or a central dot of color if you want to make it more festive.
With practice, this process becomes fast and intuitive. Many experienced kolam artists complete a morning design in just a few minutes.
For more ideas on patterns that work well for any occasion, you can explore small festive rangoli ideas that work across celebrations for inspiration alongside your kolam practice.
Popular Simple Traditional Kolam Patterns
Several classic patterns are ideal for beginners:
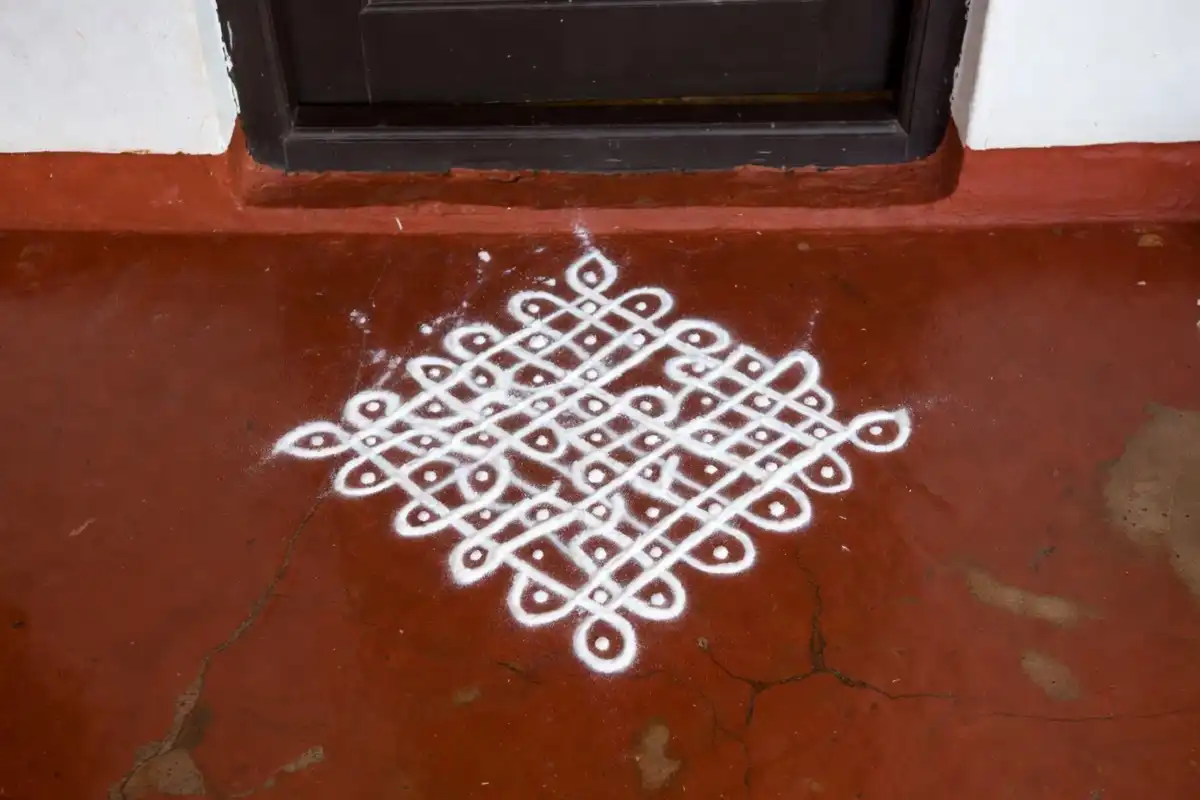
Pulli Kolam (Dot Kolam) – This is the most traditional form, built entirely on a dot grid. The lines weave around each dot and never cross them. It is a staple of daily practice across South India.
Sikku Kolam (Knotted Kolam) – A slightly more advanced style where lines cross over and under each other in a woven manner. Even simple versions of this look visually rich and satisfying.
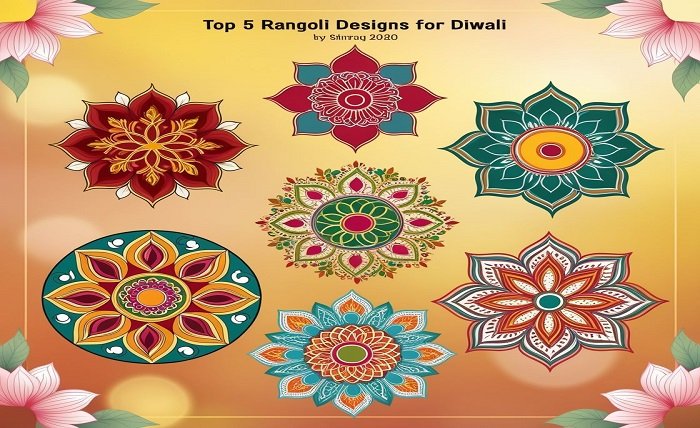
Lotus Kolam – Petal shapes are arranged around a central point to form a flower. This is one of the most familiar kolam shapes and is suitable for beginners. If you enjoy this style, check out easy lotus rangoli designs for your home entrance for related patterns and color ideas.
Border Kolam – A long, flowing design meant to run along a doorstep or hallway. These are often simple repeating units that connect side by side.
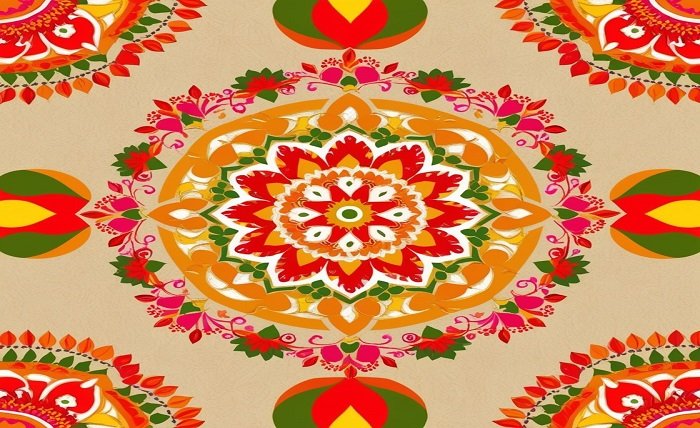
Geometric Kolam – Square, triangular, and hexagonal shapes arranged in repeat patterns. These connect naturally to the broader tradition of geometric floor art across India. You can find additional geometric ideas in this collection of easy geometric rangoli patterns that share similar construction logic.
Best Occasions to Draw a Traditional Kolam
While kolam is a daily practice in many South Indian homes, certain occasions make it especially meaningful:
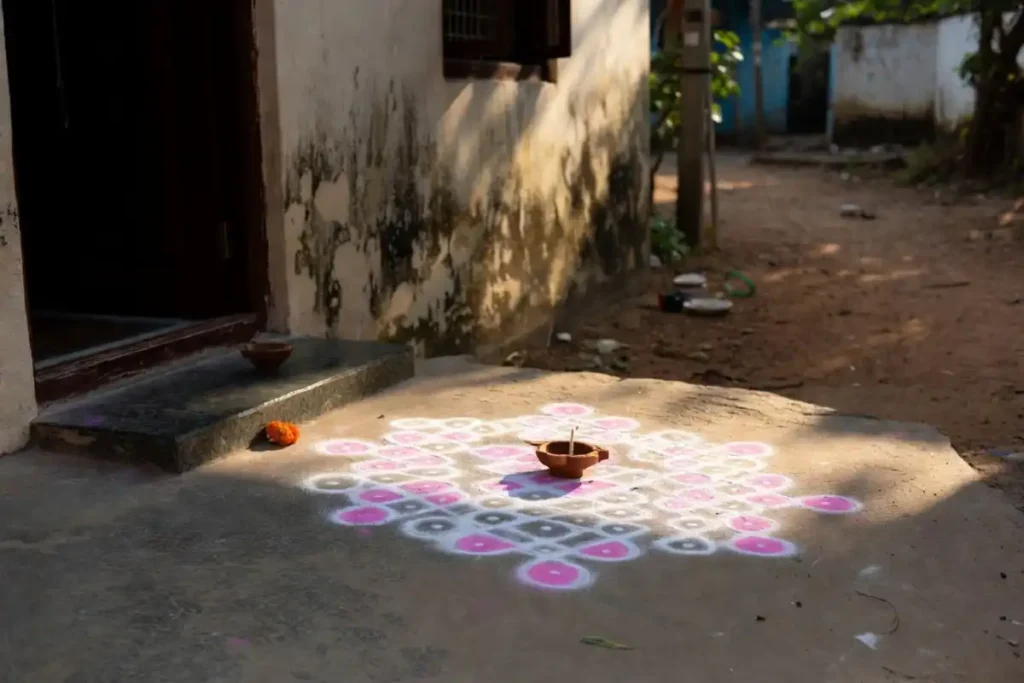
Daily morning ritual – A fresh kolam is drawn each morning as part of the household routine. It signals that the home is active, welcoming, and cared for.
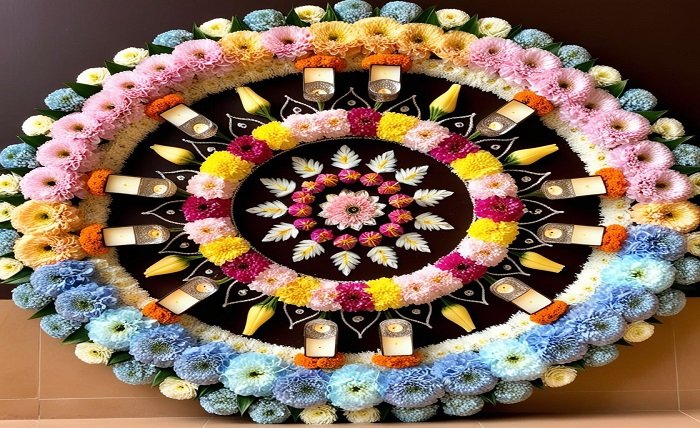
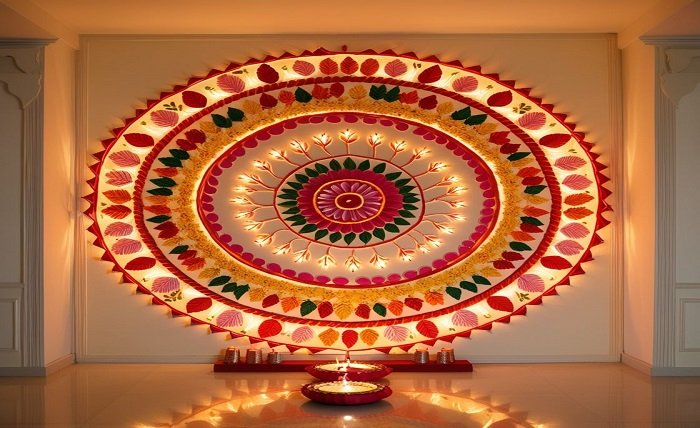
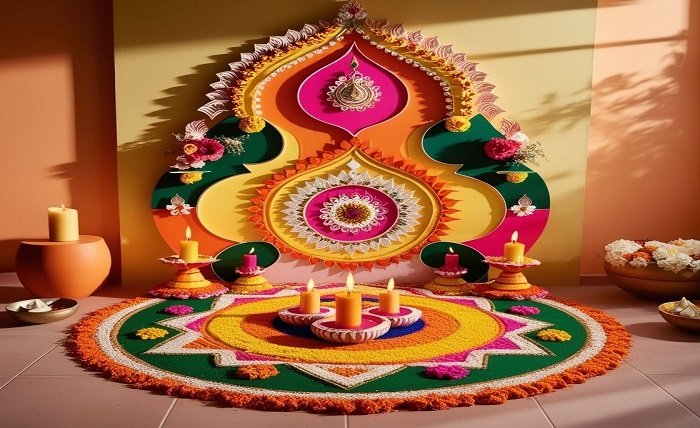
Diwali and Karthigai Deepam – These festivals call for larger, more elaborate kolam designs, often surrounded by clay lamps. Color is often added during this time.
Pongal – The harvest festival is one of the biggest occasions for kolam in Tamil Nadu. Large, colorful designs are drawn in front of homes and public spaces.
Weddings and auspicious ceremonies – Kolam is drawn at the entrance of wedding halls and homes during ceremonies as a mark of celebration and welcome.
Navaratri – During the nine-night festival, some households draw a new kolam each day, sometimes incorporating rice piles or clay figures as part of a display called Golu.
The tradition is flexible enough that a simple version suits everyday mornings and a slightly more detailed one works well for any celebration.
Regional Variations of Traditional Kolam
The core idea of kolam travels across South India but picks up local names and styles along the way.
In Tamil Nadu, it is called Kolam and typically uses white rice flour. In Karnataka, the same art is called Rangoli or Muggu in some areas. In Andhra Pradesh and Telangana, it is most commonly known as Muggulu. In Kerala, similar floor designs appear during festivals like Onam and are called Pookkalam, though these use flower petals rather than powder.
Each regional style has its own preferred shapes and techniques, but the underlying logic of dots, lines, and symmetry remains consistent. This shared visual language is part of what makes the kolam tradition so widely understood and appreciated across cultures.
The Smithsonian Center for Folklife and Cultural Heritage has documented many such living art traditions from South Asia, highlighting how daily practices like kolam connect communities across generations.
Tips for Beginners
A few practical habits will help you improve quickly:
- Practice on paper first before moving to the floor
- Start with smaller dot grids (3×3 or 5×5) and work up gradually
- Keep a consistent spacing between dots for a neat finish
- Use a slow, steady hand when drawing curves
- Do not worry about perfect symmetry early on; feel for the rhythm first
- Watch experienced kolam artists draw in real time, as many share short tutorials through cultural organizations and community platforms
The India Foundation for the Arts supports documentation and teaching of traditional practices including floor art, and is a helpful resource for learning more about the cultural context of kolam.
Common Mistakes and How to Fix Them
Even simple traditional kolam takes a little practice. Here are issues beginners often run into and how to handle them:
Uneven dot spacing – This makes the final design look off-balance. Slow down during the dot-placement step and count your spacing carefully.
Lines that cross unintentionally – In some kolam styles, crossing lines is intentional. In others, it is not. Decide which style you are working in before you begin.
Powder smearing – This happens when the floor is too wet or the powder is applied too thickly. Use a light, dry hand and apply a thin stream of powder.
Designs that do not close symmetrically – If you start from one side and work across, the other side may not match. Try working from the center outward to keep both sides even.
FAQs
What is the difference between a kolam and a rangoli?
Is it hard to learn a simple traditional kolam?
What materials are used for a traditional kolam?
Can kolam be drawn indoors?
How long does a kolam last?
Conclusion
A simple traditional kolam is more than a floor decoration. It is a daily act of care, an expression of cultural identity, and a practice that connects people to something larger than themselves. Starting with a small dot grid and a handful of rice flour is all you need to begin. As your confidence grows, you can explore more complex patterns, add color, or try different regional styles. Whether you draw it every morning or save it for special occasions, the kolam tradition rewards practice with both skill and calm. Give it a try at your own doorstep and see how quickly it becomes a meaningful part of your routine.