Easy Diwali Rangoli at Home for Beginners
Every Diwali, the same worry shows up in a lot of first-time rangoli makers: the design looks stunning in the photo, but the moment you kneel down with a fistful of colored powder, your hand shakes and the lines go crooked. That gap between “I want this at my door” and “I can actually draw this” is where most beginners give up before they even start.
You don’t need a steady artist’s hand or years of practice to make a rangoli that looks good enough to stop guests at your doorway. You need the right size, the right materials, and a design built for a first attempt rather than a competition stage. This guide walks through exactly that — real designs, realistic timing, and the small mistakes that quietly ruin most first tries.
What Actually Makes a Rangoli “Beginner-Friendly”
Not every simple-looking rangoli is actually easy to make. A lot of “easy” designs shared online still expect confident freehand curves, which is exactly what a first-timer doesn’t have yet.
A genuinely beginner-friendly rangoli has three things going for it:
A grid or guide
Dots, chalk lines, or a stencil that tells your hand where to go, instead of relying on muscle memory.
Straight lines and repeated shapes
Squares, triangles, and simple curves are far more forgiving than a freehand peacock feather.
A small footprint
Two to three feet across is plenty. Bigger rangoli looks more impressive in photos, but it also means more space for a line to wander off course.
Keep those three in mind and almost any design becomes manageable, even on your first attempt.
Materials You Actually Need
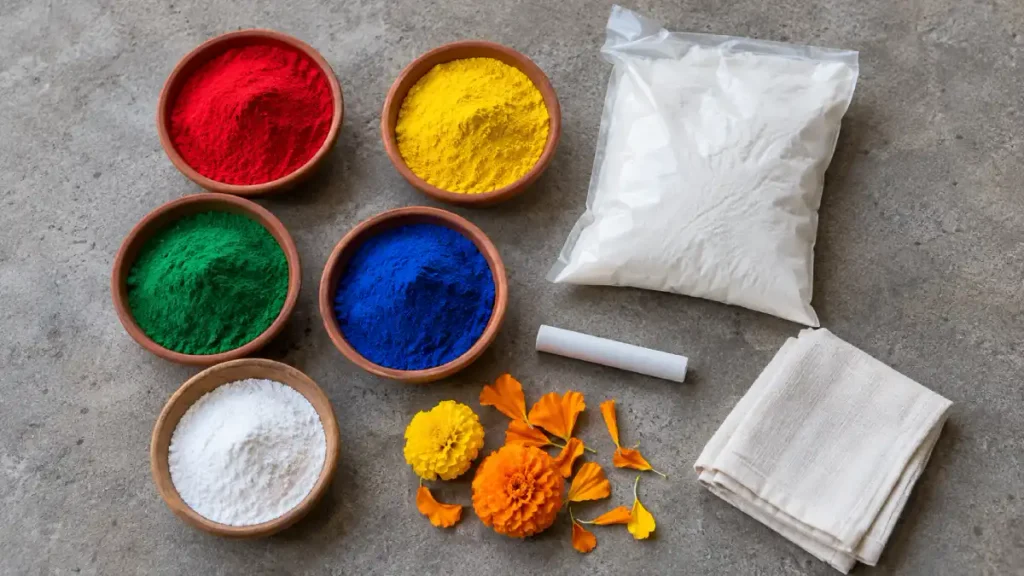
You don’t need to buy every rangoli product on the shelf. Here’s what each material is good for, and where it falls short, based on what actually works on a real floor rather than a demo video.
| Material | Best for | Trade-off |
|---|---|---|
| Rice flour (dry) | Outlines, dot grids, traditional white kolam-style work | Plain white only, needs a steady pinch to control flow |
| Colored rangoli powder (gulal) | Filling large areas fast, bold festival color | Blows around in wind or under a fan, stains grout if it sits too long |
| Colored sand | Crisp edges, holds shape well, good for outdoor spots | Slightly more expensive, heavier to pour evenly |
| Flower petals | Fastest option, biodegradable, forgiving of imperfect lines | Wilts within hours, limited to the colors flowers come in |
| Chalk or chalk powder | Sketching the outline before you commit to color | Rubs off easily, only meant as a guide, not the final layer |
For your first rangoli, buy one small pack of colored powder in three or four colors, a bag of plain rice flour for outlining, and keep a damp cloth nearby. That’s genuinely enough. Save the fancy stencil kits and sand sets for once you know which style you enjoy.
Step-by-Step: Your First Diwali Rangoli
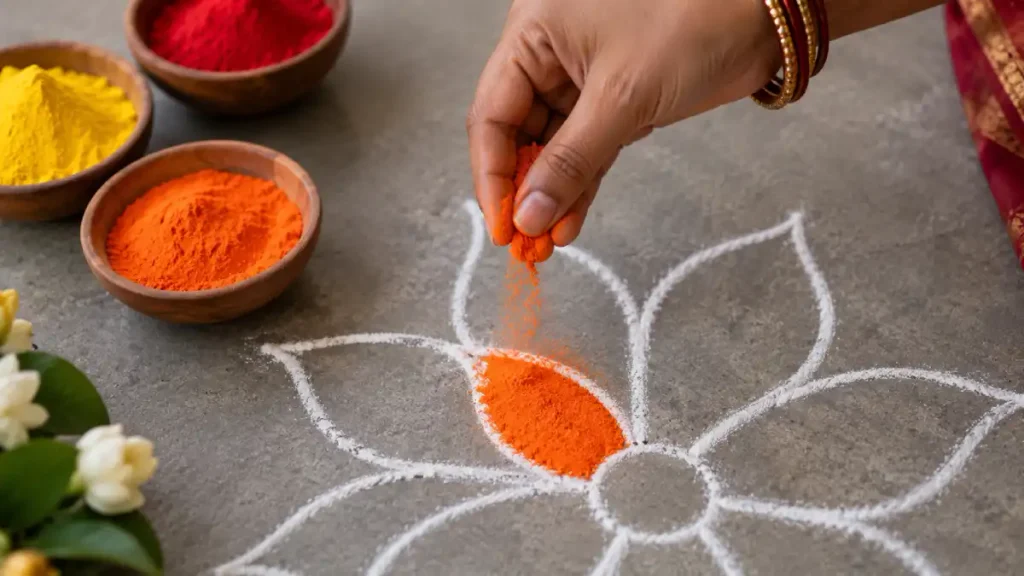
This process works for almost any small, beginner-level design. Follow it in order rather than jumping straight to filling in color — the order is what keeps the final rangoli looking clean.
Clean and dry the floor. Sweep away dust and let the surface dry completely. Even slightly damp cement will make the powder clump and smear.
Mark your boundary. Use chalk to draw a light circle or square where the rangoli will sit. This stops the design from growing bigger than your floor space, which is one of the most common beginner mistakes.
Place your dot grid, if using one. For dot-based designs, space dots evenly using your fingers as a rough measure — thumb to little finger is a handy built-in ruler. Odd-numbered grids (5×5, 7×7, 9×9) are traditional and easier to keep symmetrical than even ones.
Sketch the outline in rice flour or chalk. Work from the center outward. Keep the outline thin; you can always thicken it later, but a thick sketch line is hard to hide once you start filling in color.
Fill in color, one section and one color at a time. Pinch the powder between your thumb and first two fingers and let it fall in a slow, steady stream from about an inch above the floor. Working close to the surface, not from a height, is what keeps the edges sharp.
Outline each colored section in white or a contrasting shade. This single step does more to make a rangoli look finished than almost anything else — it’s the difference between a design that looks like a smudge and one that looks intentional.
Add diyas, petals, or a candle once the powder work is done. Place lamps around the edge or at the center, and only light them once you’re done handling loose powder nearby.
Easy Diwali Rangoli Ideas for Beginners
These six designs are ranked roughly from simplest to slightly more involved, so you can pick one that matches your comfort level rather than your ambition.
Five-Petal Flower
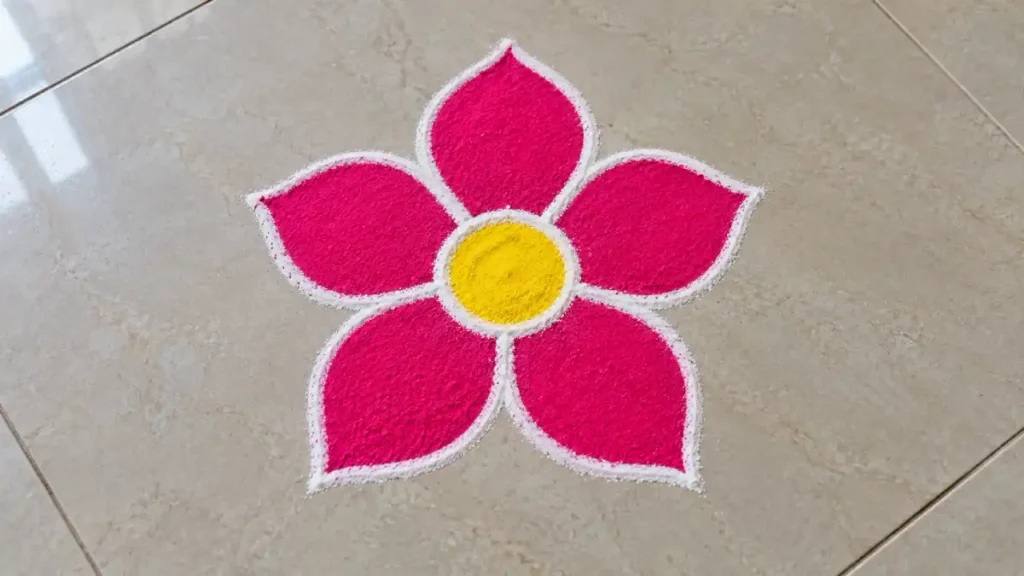
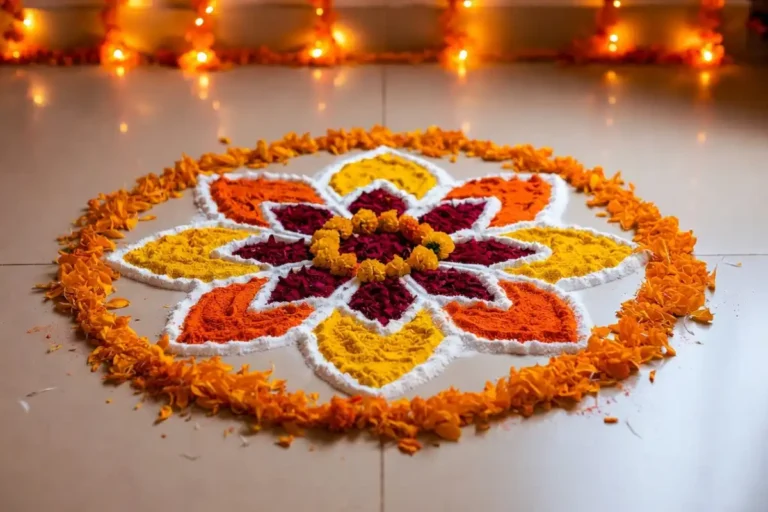
A single flower with five rounded petals and a yellow center is about as forgiving as rangoli gets. Draw a small circle in the middle, about two inches wide, for the center. Then add five equal teardrop shapes around it, spaced like the points on a clock. Fill the center in yellow and the petals in one bold color like pink or red. Two colors and five to seven minutes is all it takes. A thin white outline around each petal at the end makes it look sharper than the effort it took.
Dot Grid Star
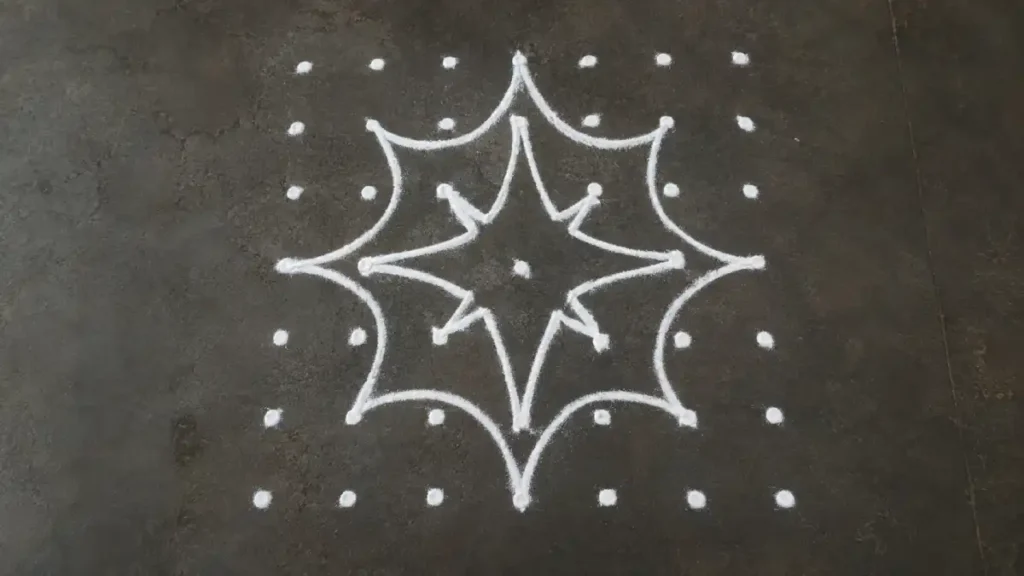
Mark a 5×5 or 7×7 dot grid using your fingers as a rough spacing guide. Odd-numbered grids work best because they leave one dot exactly at the center. Starting from that center dot, connect alternating dots with gentle curves instead of straight lines. Work outward one ring at a time until the star closes.
The dots do the hard work of keeping your lines even. This one takes about 10 to 15 minutes, mostly spent getting the grid spacing right.
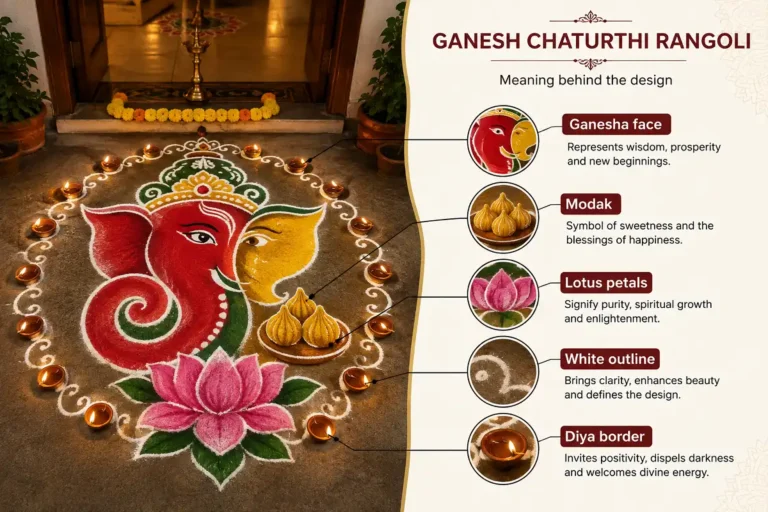
Diya Circle Border
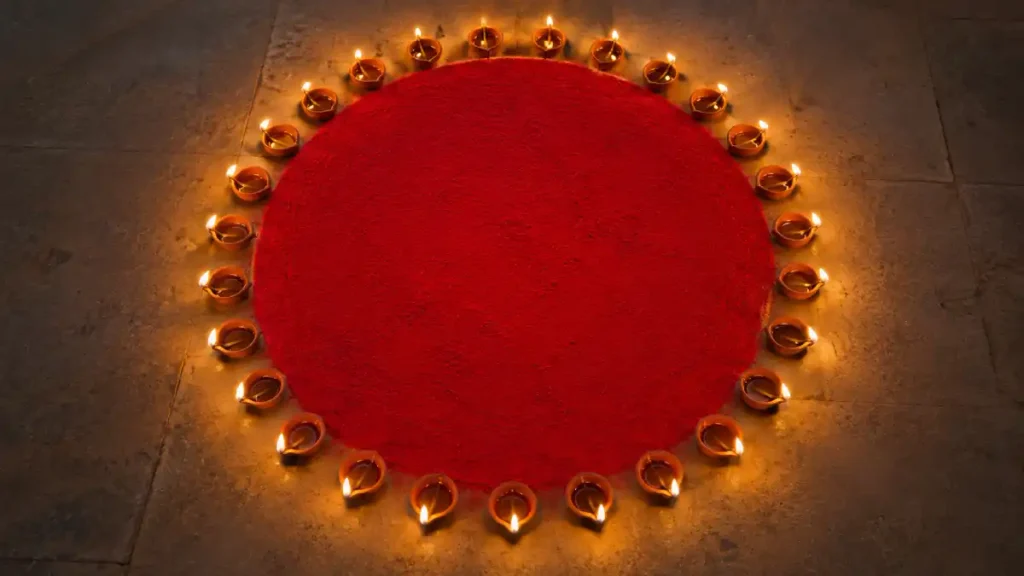
Draw one large circle, two to three feet wide, using chalk or a string tied to a center point. Fill the inside with a single bold color like red or maroon. Let the powder settle for a minute before touching it again.
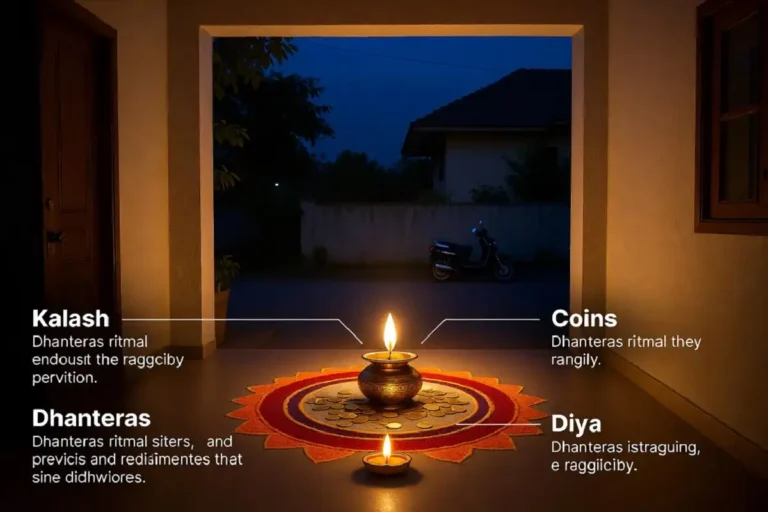
Then place small clay diyas evenly around the ring, about four to six inches apart. This design photographs beautifully at night and needs almost no drawing skill. The lamps do most of the visual work once they’re lit.
Concentric Square Rangoli
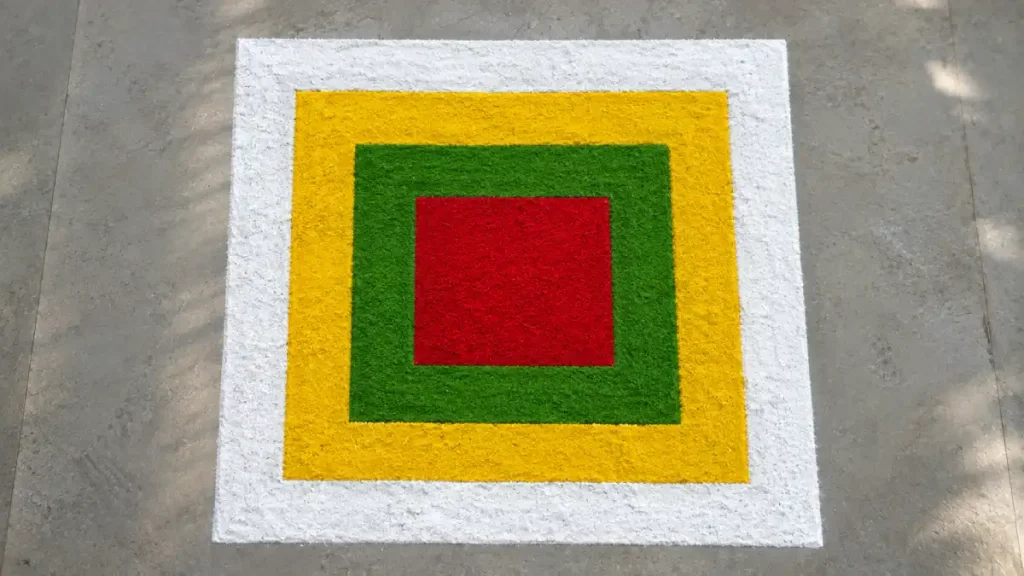
Draw three or four squares, one inside the other, each a bit smaller than the last. A plate or a piece of cardboard makes a decent stencil if your straight lines wobble. Fill each square in a different color, working from the outside in. Straight lines are far easier to keep even than curves. This is a strong pick if your hand tends to shake on rounded shapes. A four-square version takes about 15 minutes and fits neatly in a doorway.
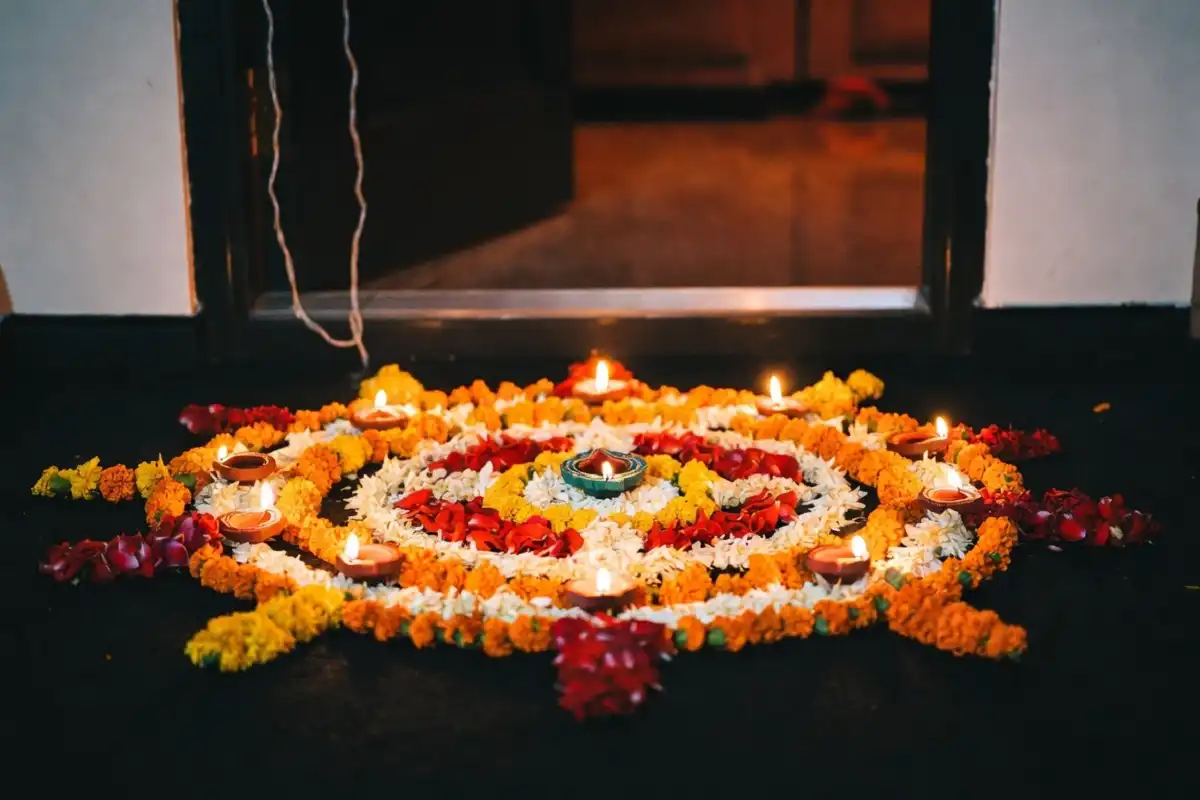
Petal Ring Rangoli (No Powder Needed)
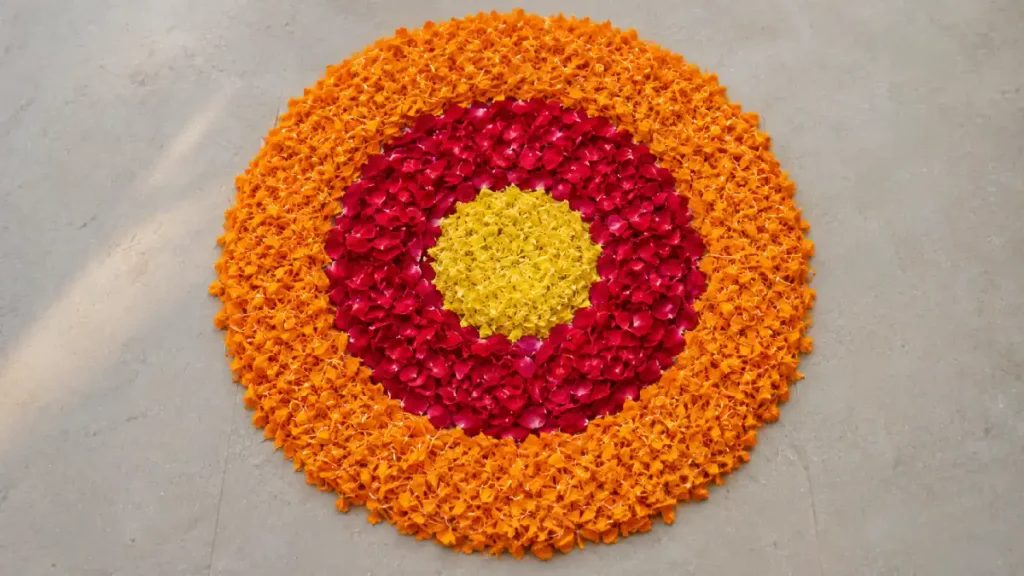
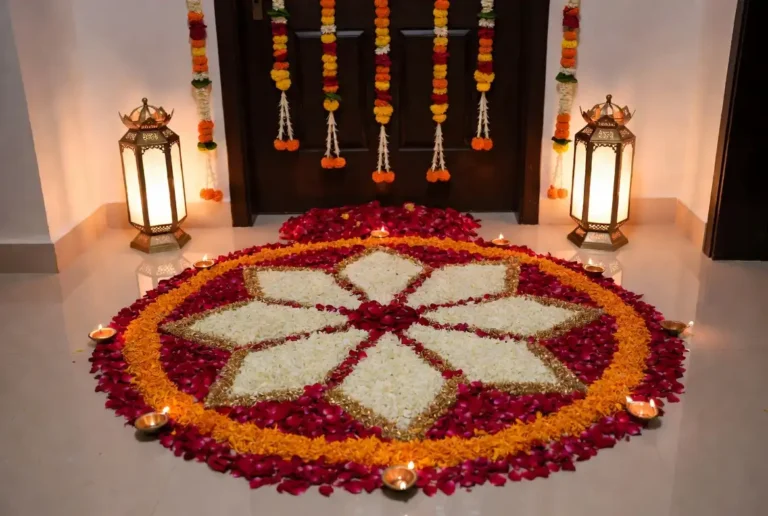
Skip the powder entirely and arrange flower petals in rings instead. Work from the outer edge inward, letting each ring overlap slightly. Marigold on the outside, rose in the middle, and loose petals at the center works well. There’s no line to smudge and no color to spill. It’s the fastest design on this list, done in about 10 minutes. The only catch is that it wilts within a few hours, so make it close to when guests arrive.
Simple Peacock Motif
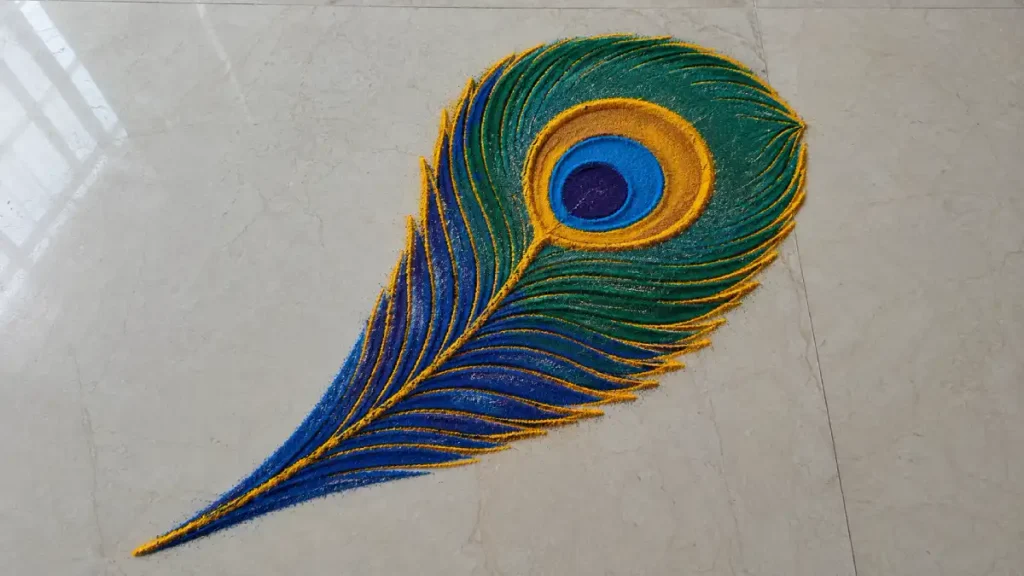
A single peacock feather is a manageable way to bring in a traditional Diwali symbol. Draw one long, curved teardrop shape for the feather body. Near the tip, add a small circle inside a bigger one to form the feather’s “eye.” Fill the eye in blue and green, and the rest of the feather in a lighter green. Finish the whole shape with a thin gold outline. It takes about 15 minutes and looks far more advanced than it actually is.
Common Beginner Mistakes (and Quick Fixes)
Starting too big. A design that looks manageable on paper often turns unmanageable at three feet wide. Start at half the size you’re imagining, and only scale up once you’re comfortable.
Pouring color from too high. Powder dropped from a height scatters and blurs the edges. Keep your fingers close to the floor.
Skipping the outline step. Filled color without a contrasting outline reads as a colored blob rather than a design, especially in photos.
Working on a damp or oily floor. Powder clumps instantly on anything but a clean, dry surface, no matter how careful your hand is.
Ignoring wind and fans. Indoor fans and even a light breeze near a doorway can undo twenty minutes of work in seconds. Turn off nearby fans before you start filling in color.
How Much Time and Space to Set Aside
For a beginner design in the two-to-three-foot range, plan for 20 to 40 minutes, including cleanup of the floor beforehand.
Petal-only designs are faster, often done in 10 minutes. Anything with a dot grid or multiple colors will run longer the first few times, simply because you’re still learning to judge spacing by eye. That’s normal — the second and third rangoli you make will go noticeably faster than the first.
Frequently Asked Questions
Quick answers for anyone making their first Diwali rangoli at home.
Can I make rangoli without any drawing skill at all?
Yes. Petal-based designs, dot-grid patterns, and diya-only borders need almost no freehand drawing. A dot grid especially does most of the work for you.
What if I make a mistake halfway through?
Brush the powder away gently with a dry cloth or soft brush and redo that section. Rangoli powder is forgiving as long as the floor underneath is dry.
Is chalk or rice flour better for outlining?
Rice flour is the traditional choice and blends better with festival colors, but chalk is easier to erase cleanly if you’re still practicing your outline before committing to powder.
How do I keep the rangoli from smudging once it’s placed near the door?
Keep foot traffic away from the design with a small marker or request at the entrance, and avoid placing it directly in a doorway path if you expect a lot of guests walking through.
Do I need a stencil for my first attempt?
Not necessarily. A dot grid gives you similar guidance and teaches you spacing skills a stencil won’t. Save stencils for designs with curves you’re not ready to freehand yet.
What’s the safest way to use diyas with a rangoli?
Finish all powder work first, place the diyas last, and light them only on
For another rangoli approach, explore our guide to creating your own Rangoli design.