3D Rangoli Designs Step by Step for Beginners
Rangoli is one of the oldest and most loved art forms in India. It brings color, joy, and tradition to every celebration. While flat rangoli patterns are popular, 3D rangoli designs add a whole new level of depth and visual drama. They look almost like sculptures on the floor. Whether you are making one for Diwali, Navratri, or a casual home event, learning 3D rangoli designs step by step will help you create something truly impressive. This guide walks you through everything you need to know.
What Makes a Rangoli Design 3D?
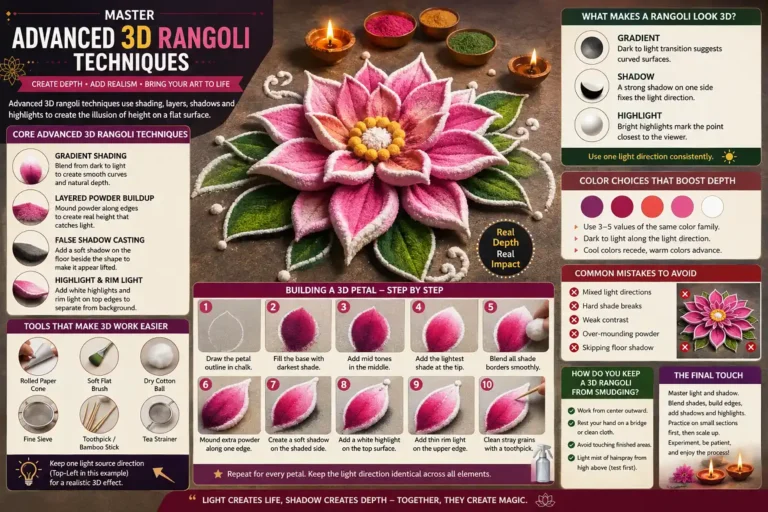
A 3D rangoli design creates the illusion of raised surfaces, depth, and shadows even though it is made on a flat floor. This effect is achieved through careful color shading, the use of light and dark tones side by side, and layering of materials like sand, powder, or flower petals.
The difference from a regular rangoli is the use of gradient shading. For example, one side of a petal gets a light tone and the other gets a deep shade of the same color. This simple trick makes each shape look like it is lifting off the ground. That is the core principle behind all 3D rangoli designs step by step.
The Core Principle
Light shade + medium shade + dark shade + smooth blending = convincing 3D depth.
Tools and Materials You Will Need
Before starting your 3D rangoli designs step by step, gather these items:
Rangoli Powder
Rangoli powder or colored sand in at least 4 to 5 shades per color family
Drawing Tool
Chalk or a white rangoli pen to draw the outline
Filling Tools
Small funnels or cone-shaped paper for precise filling
Blending Tool
A flat brush or fingertip for blending colors
Measuring Tools
Ruler or compass for symmetric base patterns
Surface
A clean, dry floor surface
Using multiple shades of the same color, such as light pink, medium pink, and deep pink, is the core secret to achieving a convincing 3D look.
How to Create 3D Rangoli Designs Step by Step
Plan Your Design on Paper
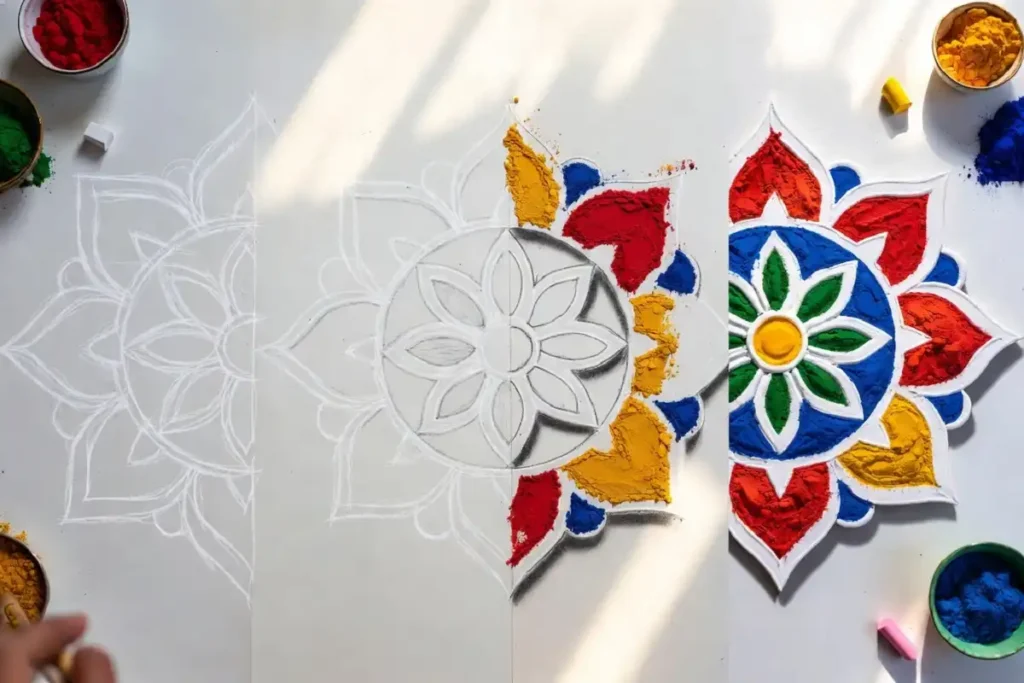
Start by sketching your chosen pattern on paper. Popular choices for 3D rangoli include lotus flowers, peacocks, geometric mandalas, and layered circular motifs. Keep your design simple if you are a beginner. A single lotus with 8 to 12 petals works very well.
Decide the size of your rangoli on the floor. A diameter of 2 to 3 feet is manageable for a first attempt. Mark the center point on the floor with a chalk dot.
Draw the Outline on the Floor
Use chalk or a rangoli pen to draw the full outline of your design. Start from the center and work outward. Use a compass tied with chalk to draw clean circles. For petal shapes, draw curved lines that meet at pointed tips.
At this stage, your design is flat. The 3D effect will come in the coloring phase.
Identify Light and Shadow Zones
This is the most important step in making a 3D rangoli. Decide where your imaginary light source is coming from. If light comes from the top left, then:
The top-left side of each shape gets the lightest shade
The center gets a medium shade
The bottom-right edge gets the darkest shade
Mark these zones lightly with chalk so you remember which area gets which tone.
Fill Colors From Dark to Light
Start filling with the darkest shade first along the shadow edge. Then move to the medium shade in the center zone. Finally, fill the highlight zone with the lightest shade. Use a soft brush or your fingertip to gently blend the boundaries between shades.
Blending is what separates a flat rangoli from a truly convincing 3D rangoli. Spend extra time on the transitions.
Add Background and Borders
Once your main motifs are filled, fill in the background color. A plain black, white, or dark navy background makes the 3D elements pop. Add a clean border around the whole design using a contrasting powder color to frame it neatly.
Add Highlights and Final Details
Use pure white powder to add tiny highlight dots at the topmost point of each raised shape. This small detail dramatically increases the 3D illusion. You can also use gold or silver glitter powder for a festive touch.
Color Tips for a Convincing 3D Effect
Color choice is everything in 3D rangoli designs step by step. Here are a few practical tips:
Always use at least three shades of each color: light, medium, and dark
Avoid using two completely different colors next to each other for shading; the shades must be from the same color family
Warm colors like red, orange, and yellow naturally appear to advance and look raised
Cool colors like blue and purple appear to recede and work well for shadow zones
A white highlight on the peak of each shape is non-negotiable for a realistic 3D effect
Shadow
Body
Highlight
Glow
For festive events, combining deep red with gold shading or royal blue with silver tones creates a rich, dimensional appearance. You can find more guidance on pairing shades effectively in this resource on geometric rangoli shapes, colors and tips.
Best 3D Rangoli Designs Step by Step for Festivals
Diwali 3D Rangoli
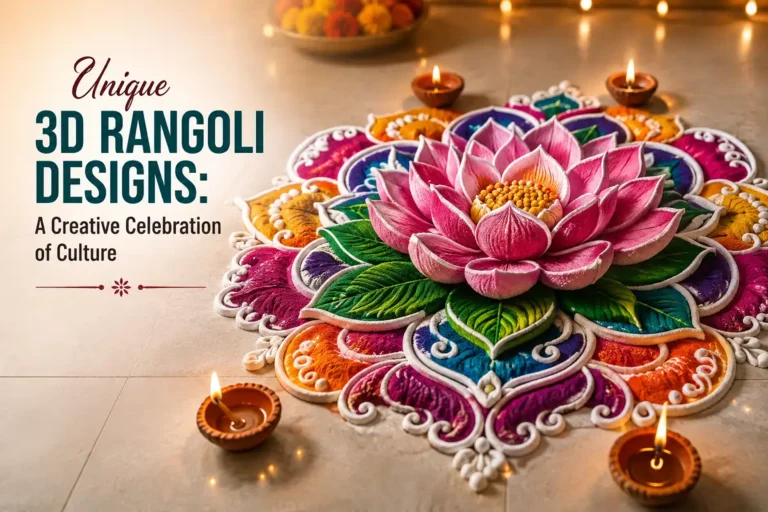
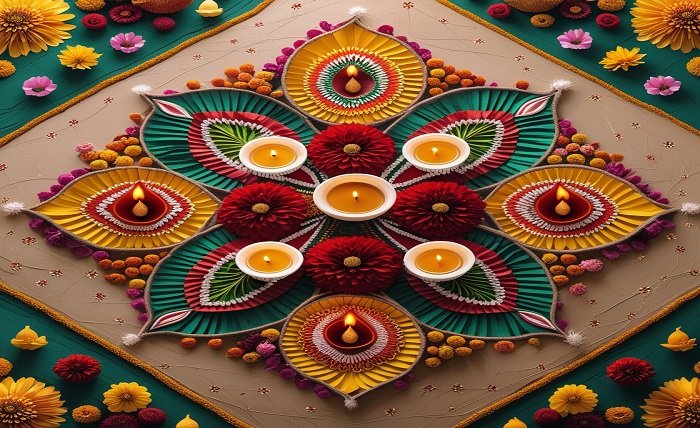
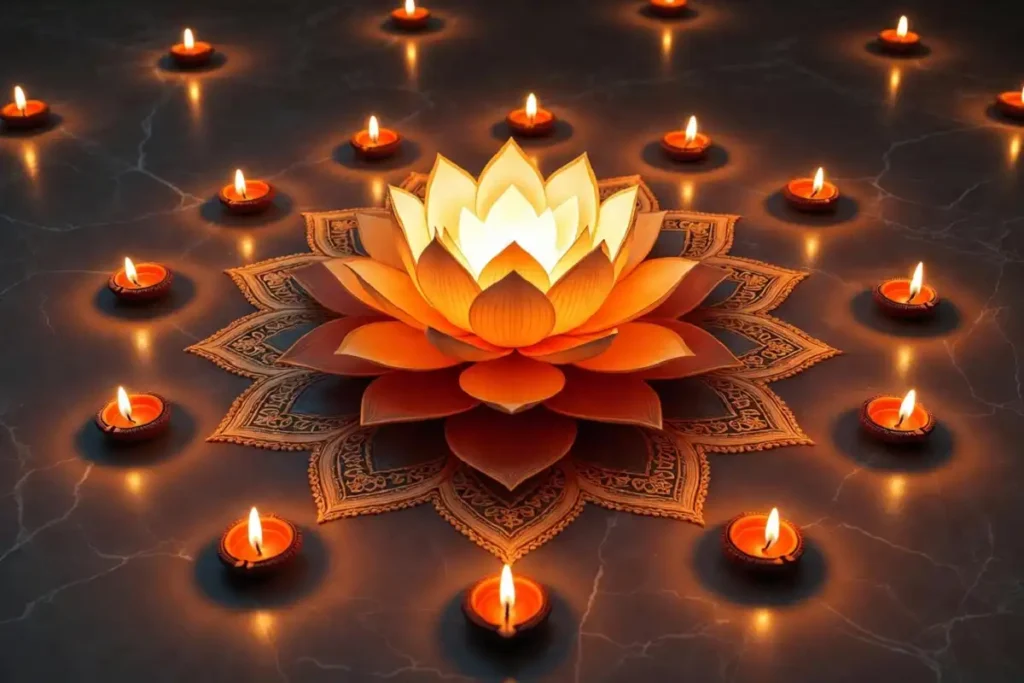
For Diwali, the lotus is the most popular motif. Use deep orange and yellow with white highlights. Add small diyas or tea lights around the border for a beautiful effect. A 3D mandala with layered petals arranged in concentric circles looks spectacular for this festival.
Navratri 3D Rangoli
Navratri calls for bold and vibrant color. Try a 3D peacock design with feathers fanning outward. Use multiple shades of teal, blue, and green for the feathers. The layered shading technique makes each feather look curved and alive.
Onam 3D Rangoli
For Onam, the Pookalam (flower rangoli) is traditional. You can add a 3D element by shading each layer of flowers so the outer rings appear lower and the center appears elevated. Use fresh flowers and colored powder together for a mixed-media 3D effect.
Everyday Home 3D Rangoli
Even outside festivals, a small 3D rangoli at the entrance of your home looks welcoming. A simple 3D flower with 6 petals, shaded in two tones of pink and white, takes about 20 to 30 minutes to complete. If you are just starting out, check out this helpful guide for simple rangoli designs for beginners step by step to build your base skills first.
Common Mistakes to Avoid
Even experienced artists make errors when attempting 3D rangoli designs step by step. Here are the most common ones and how to fix them:
Using only two shades
Two shades produce a basic shadow effect, not a true 3D look. Always use at least three tones.
Skipping the blending step
Hard edges between shades look unnatural. Always blend the color transitions, even briefly.
Ignoring the light source
If you apply shading randomly, the 3D illusion breaks. Decide your light direction before you start and stick to it throughout.
Rushing the outline
A crooked or uneven chalk outline makes it hard to fill colors neatly. Take your time drawing the base.
Not using a dark background
A light or busy background competes with the design. A dark, plain background lets the 3D effect stand out clearly.
Geometric Patterns in 3D Rangoli
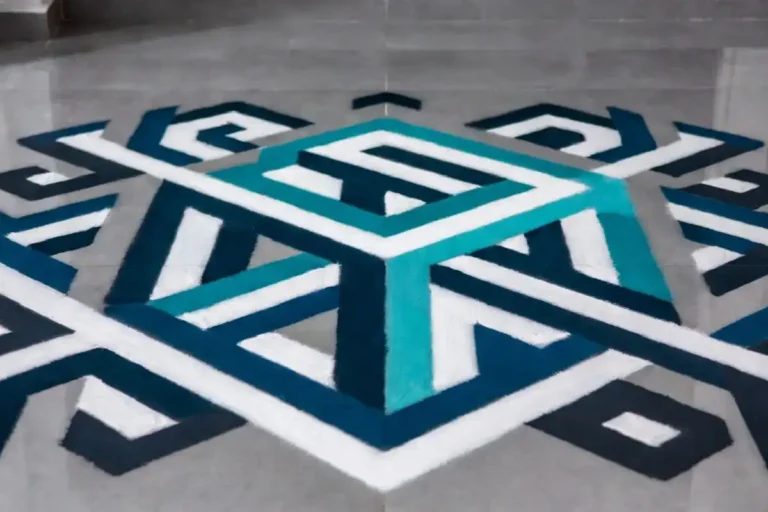
Geometric shapes like triangles, hexagons, and diamond grids work extremely well in 3D rangoli designs step by step because their flat sides respond well to gradient shading. A hexagonal grid with one face in light color, one in medium, and one in dark creates a stunning cube-like illusion.
If you enjoy geometric art, you might also like exploring geometric pattern ideas for art and design to find patterns you can adapt for 3D rangoli work.
According to the Victoria and Albert Museum, rangoli is recognized internationally as a significant folk art tradition, and its geometric forms carry deep cultural symbolism rooted in cosmological patterns. The Smithsonian Center for Folklife and Cultural Heritage also documents how geometric rangoli motifs carry community and spiritual meaning across generations.
Tips for Maintaining Your 3D Rangoli
Once you complete your 3D rangoli designs step by step, you will want them to last as long as possible:
Avoid foot traffic near the design
Do not use a fan or allow direct wind on loose powder
Lightly spray a fixing solution (water mixed with a tiny drop of glue) from a distance if you want it to last several days
Photograph it in natural morning light for the best visual impact
For outdoor designs, use weatherproof colored sand instead of fine powder
FAQs
How long does it take to make a 3D rangoli design step by step? +
For a beginner working on a medium-sized 3D rangoli (about 2 feet in diameter), expect to spend around 1.5 to 2.5 hours from outline to finish. Larger or more detailed designs can take 4 to 6 hours or more, especially when multiple shading layers are involved.
Can beginners make 3D rangoli designs? +
Yes, beginners can absolutely make 3D rangoli designs. The key is to start with a simple shape like a single flower or a small mandala, use three shades of one color, and practice blending on paper before working on the floor. Progress comes quickly with just a little practice.
What is the best material for making 3D rangoli? +
Rangoli powder (also called rangoli color) is the most commonly used material and gives the smoothest shading results. Colored sand is more durable, especially for outdoor use. Flower petals work for a natural look but are harder to shade for the 3D effect.
How do I fix mistakes in a 3D rangoli? +
Simply use a dry brush or cotton bud to gently lift and remove the misplaced powder. Re-draw the chalk outline if needed and refill the area. Working section by section rather than the whole design at once reduces the chance of errors.
Which 3D rangoli design is easiest for Diwali? +
A simple concentric circle rangoli with a lotus center is the easiest 3D rangoli for Diwali. Use three shades of orange and yellow, shade each ring from light on the outside to dark on the inside, and add white dot highlights at the center of each petal. It looks impressive and takes under 2 hours.
Conclusion
Learning 3D rangoli designs step by step is a skill that rewards patience and practice. The secret lies in understanding light and shadow, choosing the right color shades, and blending them smoothly. Start with a simple flower or geometric shape, master the shading technique, and you will soon be creating rangoli that draws admiration from everyone who sees it. Whether you are decorating for a festival or just brightening up your home entrance, 3D rangoli brings art, tradition, and creativity together in the most beautiful way. Begin with one design today and let the colors do the talking.