Beautiful Geometric Drawing Patterns for Rangoli
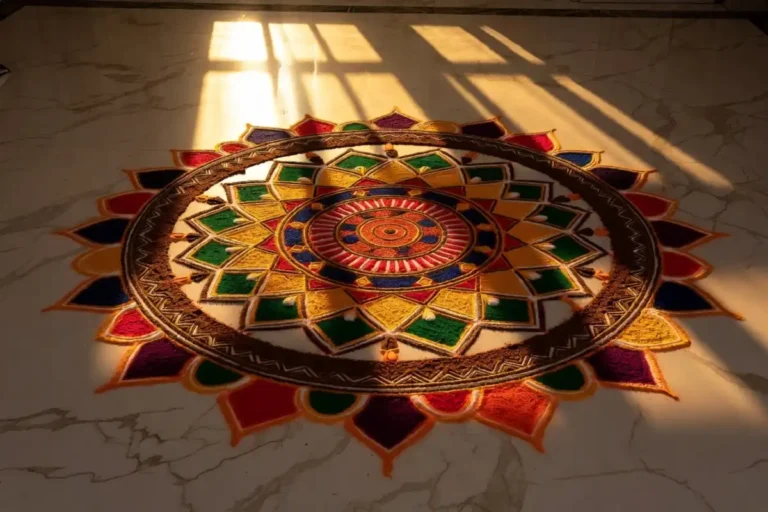
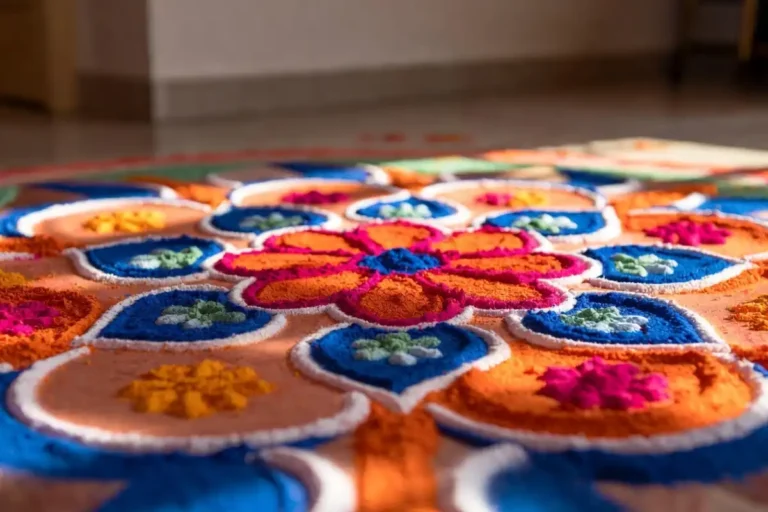
Geometric drawing is the foundation of some of the most striking rangoli designs you will ever see. By using shapes like triangles, squares, hexagons, and circles in a planned, structured way, you can create rangoli that looks both precise and artistically rich. This approach works well for all skill levels. Whether you are decorating your home entrance for a festival or exploring rangoli as a creative hobby, learning the basics of geometric drawing gives you a solid framework to build on.
What Is Geometric Drawing in Rangoli
Geometric drawing in rangoli refers to the practice of building floor designs using mathematical shapes arranged in symmetrical or repeating patterns. Instead of freehand curves and organic motifs, you work with straight lines, measured angles, and defined forms.
This method has deep roots in Indian art traditions. Kolam patterns from South India, for example, are built entirely on dot grids and connecting lines, which is one of the oldest forms of geometric drawing used in floor decoration.
The appeal of this approach is that it gives even beginners a clear structure to follow. Once you understand the basic rules of symmetry and shape repetition, creating complex-looking designs becomes much more manageable.
Core Shapes in Geometric Drawing for Rangoli
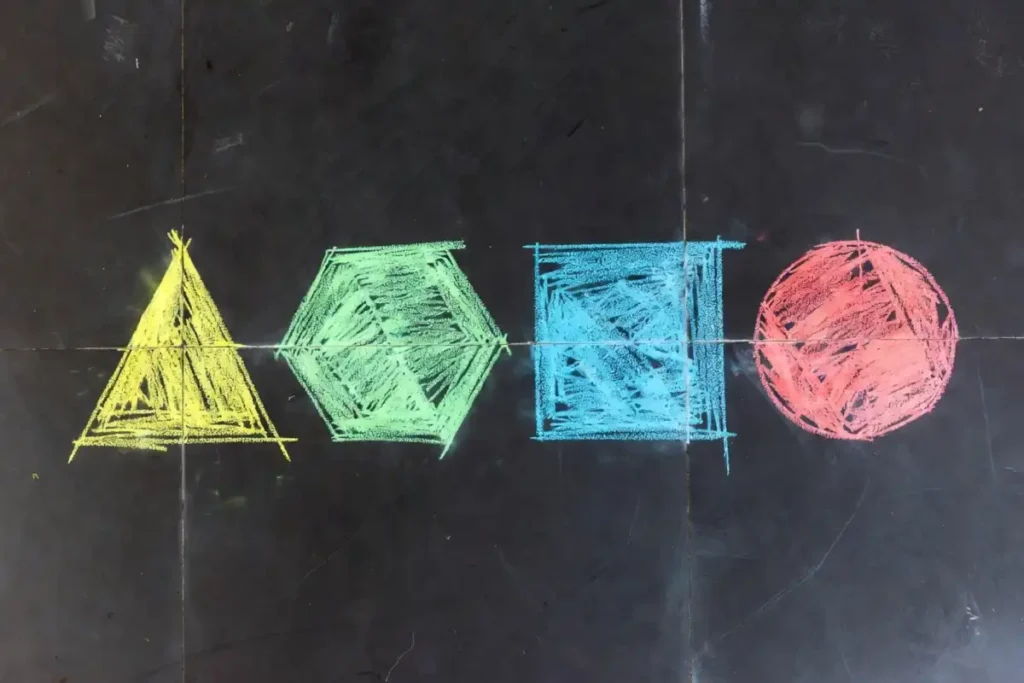
Every geometric drawing starts with a small set of fundamental shapes. Knowing how each one behaves helps you combine them into richer compositions.
Triangles
Triangles are the most versatile unit in geometric drawing. They can point inward, outward, or rotate around a center to form stars and pinwheels. Two overlapping triangles immediately create a six-pointed star, one of the most recognizable motifs in rangoli art.
Squares & Rectangles
Squares and rectangles provide stability and a grid-like structure. Rotated at 45 degrees, a square becomes a diamond and adds diagonal energy to an otherwise horizontal layout.
Hexagons
Hexagons are ideal for tiling large surfaces. Their six equal sides connect naturally to neighboring hexagons without gaps, making them perfect for expansive floor designs.
Circles
Circles serve as connectors and framing devices. Drawing concentric circles around a central point creates radial zones that organize other shapes cleanly.
Dots
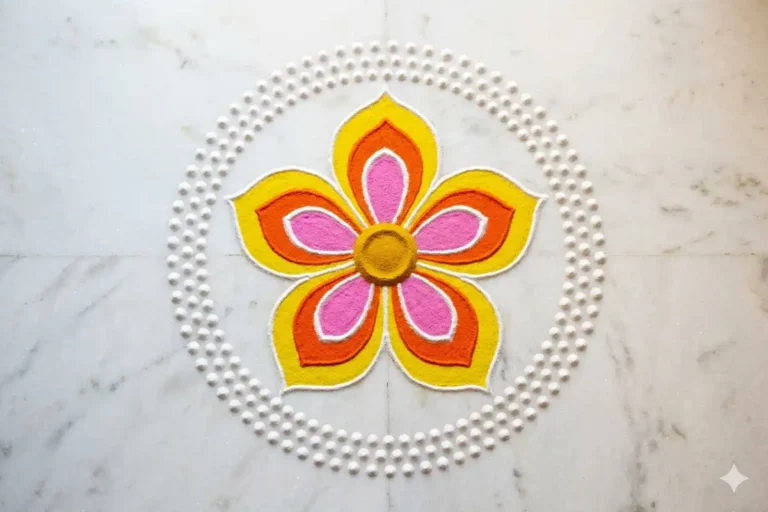
Dots are the starting point for almost all traditional geometric drawing in rangoli. A dot grid drawn in chalk or rice flour gives you a map that all other shapes grow from.
For a deeper look at how each of these shapes carries visual meaning, the guide on shapes, meaning, use, and design ideas offers useful context for both beginners and experienced artists.
Step-by-Step: How to Start a Geometric Drawing for Rangoli
Following a clear process removes guesswork and helps you stay symmetrical throughout.
Choose your space and size
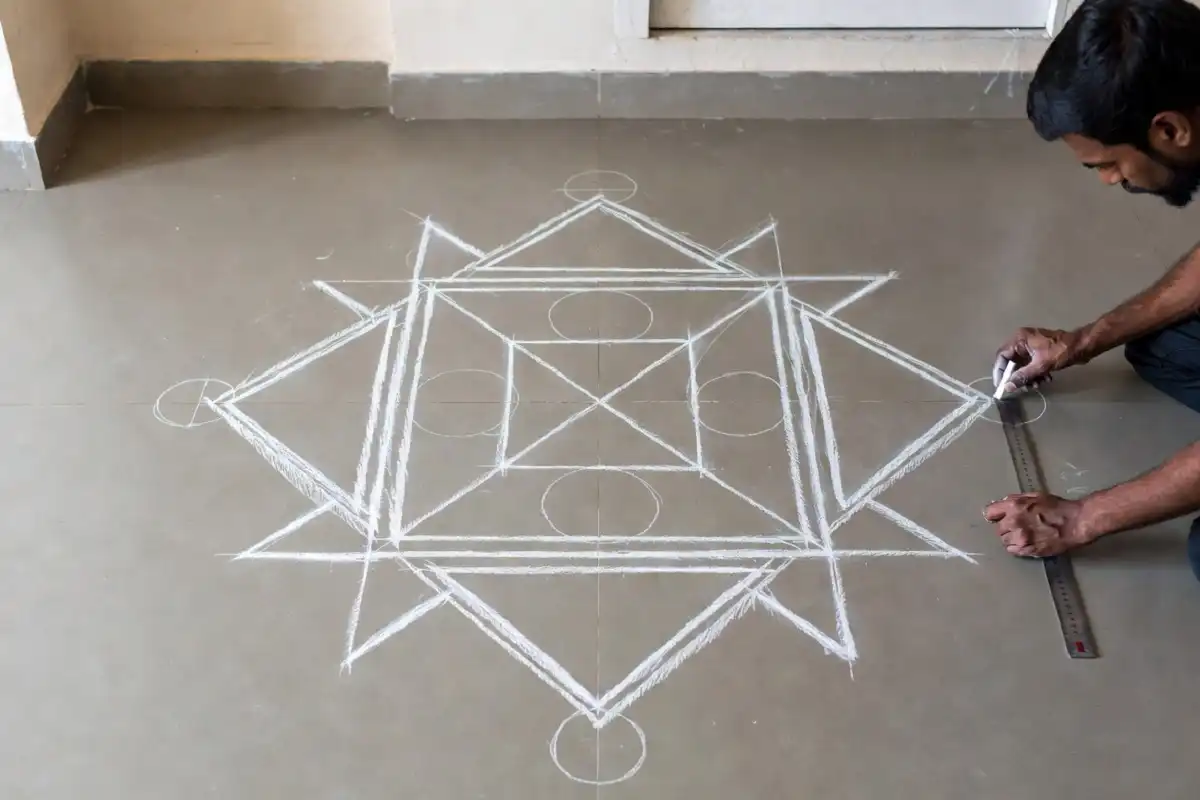
Decide where the rangoli will go and mark the outer boundary lightly with chalk. A circular or square boundary works well for geometric drawing.
Mark the center point
Every radial geometric drawing grows from a single center dot. Place this carefully because all other measurements reference it.
Draw a dot grid
Space dots evenly across your working area. The distance between dots determines the scale of your shapes. Tight spacing creates fine detail; wider spacing produces bold, large forms.
Connect the dots to form shapes
Start at the center and work outward, connecting dots to create triangles, squares, or hexagons depending on your chosen pattern.
Add layers
Once the inner shapes are drawn, add a ring of complementary shapes around the outside. Repeat this outward expansion until the design fills the space.
Outline before coloring
Go over your chalk lines with a fine powder outline to lock in the design before filling with color.
Fill from center to edge
Apply color inward to outward to avoid smudging already-filled areas.
Beginner Geometric Drawing Patterns to Try
If you are new to geometric drawing for rangoli, these patterns give you a gentle starting point without requiring advanced skills.
The Simple Star
Overlap two equilateral triangles from a single center point. Fill each of the six segments with alternating colors. Frame the star with a circle for a clean finish.
The Diamond Grid
Draw a 5×5 dot grid and connect every other dot diagonally. The result is a repeating diamond pattern that tiles across the floor naturally.
The Pinwheel
Draw four or six triangles radiating from a center, each rotated slightly clockwise. Use two alternating colors to enhance the spinning effect.
Concentric Squares
Draw a small square at the center, then draw larger squares around it, each rotated 10 to 15 degrees from the last. The slight rotation creates a spiral optical effect with no curves required.
These patterns are low in complexity but high in visual impact. They are also easy to scale up by simply increasing the dot grid spacing.
Color Strategy for Geometric Drawing Rangoli
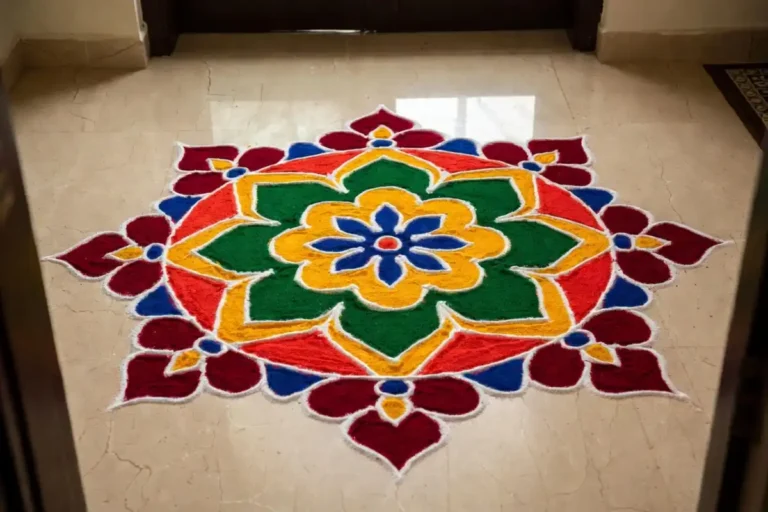
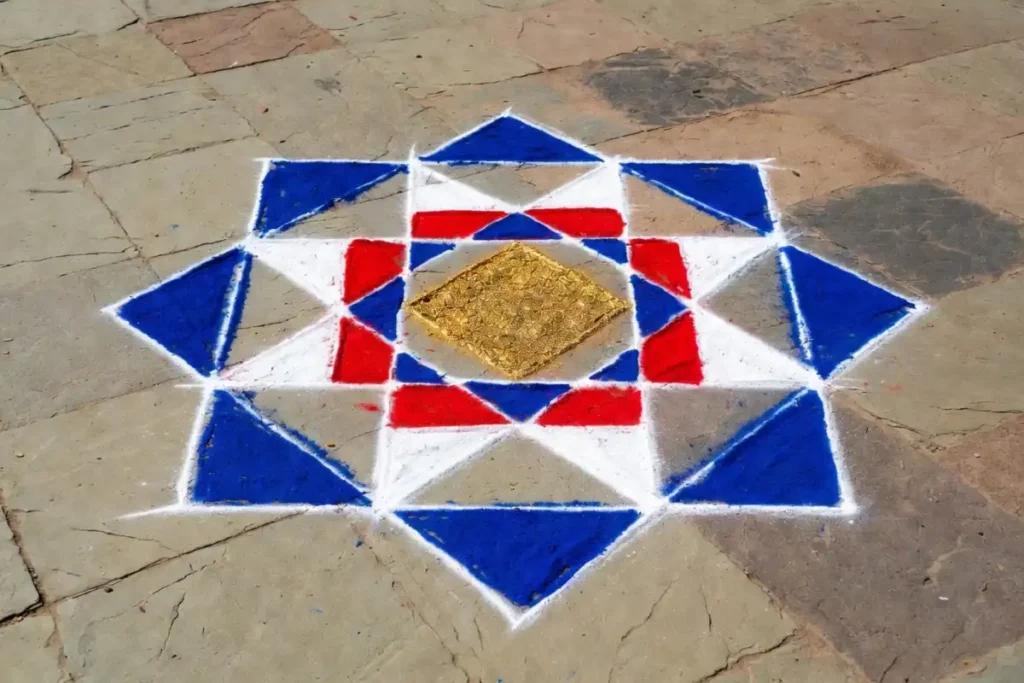
Color placement in geometric drawing follows the same logic as the shapes: contrast and repetition. Because each shape is filled with a flat, single color, the relationships between neighboring colors do most of the visual work.
A few principles that consistently produce strong results:
- Place dark colors next to light ones at every shared border to sharpen the geometric structure
- Repeat each color at least twice in the design so it reads as intentional rather than random
- Use a neutral color like white or cream as a buffer between two highly saturated colors
- Keep the outermost ring slightly lighter than the center to draw the eye inward
For more ideas on combining patterns and colors effectively, this resource on pattern ideas for art and design covers practical combinations that translate well to floor art.
Advanced Geometric Drawing Techniques
Once you are comfortable with basic shapes and dot grids, these techniques open up more sophisticated design possibilities.
Interlocking Grids
Overlaying two dot grids at different angles, for example one at 0 degrees and one at 30 degrees, creates complex intersection points that generate entirely new shapes where they meet. This is a powerful way to produce intricate patterns without needing to draw every element individually.
Radial Symmetry with Multiple Axes
Most beginner designs use four-fold symmetry (four matching quadrants). Moving to six-fold or eight-fold symmetry adds significantly more complexity and visual richness. A compass helps maintain accuracy when dividing a circle into six or eight equal sections.
Subdivided Shapes
Any triangle or square in your design can be subdivided into smaller versions of itself. A large triangle split into four smaller triangles, each filled with a slightly different shade, creates a gradient-like depth effect without using any gradients at all.
Combined Geometric and Organic Elements
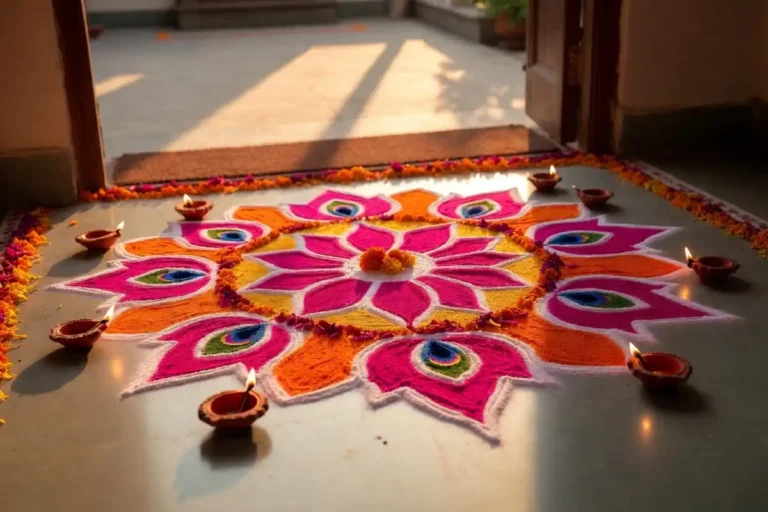
Placing small flower petals or seed accents at the intersection points of a geometric drawing adds texture and warmth while keeping the core structure clean. This is a common technique in festival rangoli where the geometric framework provides precision and the organic elements bring softness.
The Smithsonian’s collection of South Asian decorative arts offers excellent visual references for how geometric and organic elements have coexisted in Indian art traditions over centuries.
Tools That Make Geometric Drawing Easier
The right tools reduce errors and speed up the process considerably.
Essential for drawing accurate circles of any size
Keeps straight lines true and angles consistent
Marks the initial dot grid without staining the floor
Allows precise color filling within small geometric areas
Useful for dividing a circle into equal segments for radial designs
Can be placed under tracing paper as a guide before transferring to the floor

Digital tools also help. Grid-based drawing apps let you prototype a geometric drawing before committing to the floor, which is especially useful for large or complex festival designs. This guide on how to use pattern PNG in creative design work explains how digital pattern files can serve as planning templates.
Geometric Drawing for Different Festivals
The same geometric drawing principles apply across festivals, but the scale, color palette, and central motif shift to suit each occasion.
Diwali
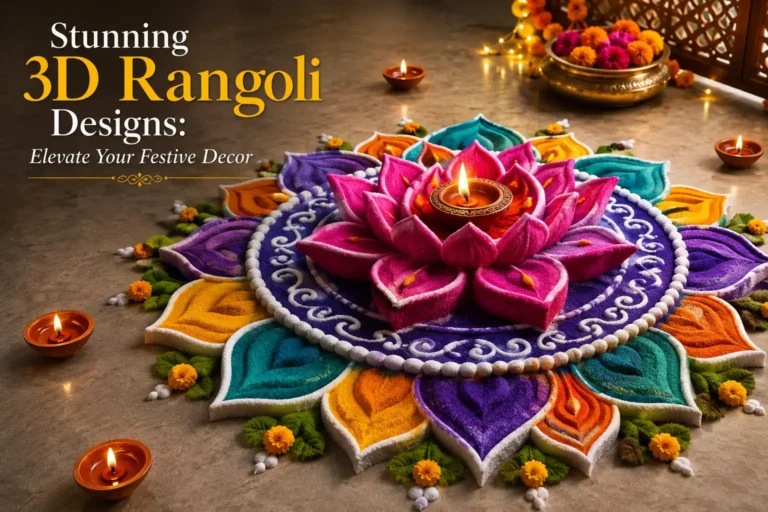
For Diwali, designs tend to be large and luminous, with deep oranges, reds, and golds dominating the palette. A lamp or diya is often placed at the center of the geometric framework.
Navratri
For Navratri, the nine-day festival invites a different color for each day. A geometric drawing that uses concentric rings works perfectly here, as each ring can be recolored daily.
Pongal & Ugadi
For Pongal and Ugadi, simpler geometric drawings in white rice flour with minimal color are traditional. Clean line work and precise dot grids are the focus rather than elaborate color fills.
Weddings
For weddings, geometric drawing tends to incorporate auspicious motifs like swastikas or lotus outlines within the geometric framework, blending cultural symbolism with structured pattern work.
FAQs
What is geometric drawing in the context of rangoli? +
Geometric drawing in rangoli means designing floor patterns using mathematical shapes such as triangles, squares, hexagons, and circles, arranged in symmetrical or repeating structures rather than freehand organic forms.
Do I need drawing skills to make a geometric rangoli? +
No formal drawing skills are required. A dot grid and basic tools like a ruler and compass are enough to create precise geometric rangoli, making it accessible to complete beginners.
What is the best starting shape for a geometric drawing rangoli? +
A triangle is the most forgiving and versatile starting shape. Two overlapping triangles instantly form a six-pointed star, which is a complete, attractive design on its own and a natural base to build from.
How do I keep my geometric drawing symmetrical? +
Working from a center point outward and using a dot grid as your guide keeps all measurements consistent. A ruler and set square help maintain equal angles and line lengths throughout the design.
Can geometric drawing rangoli be made indoors? +
Yes, geometric drawing rangoli works well indoors on tile or stone floors. Use dry rangoli powder rather than wet materials, and protect the surface with a light base coat of white powder before coloring.
How do I fix a mistake in a geometric drawing rangoli? +
Gently brush away the affected powder with a soft brush, re-mark the correct lines with chalk, and refill the area with fresh color. Working in small sections makes corrections easier to manage.
Conclusion
Geometric drawing gives rangoli art its most satisfying combination of precision and creativity. Starting with a simple dot grid and a few basic shapes, you can build designs that range from quiet and minimal to elaborate and festival-ready. The structure of geometric drawing means that the more you practice, the faster and more confident your process becomes. Choose a simple pattern to begin, pay attention to color contrast, and let each layer you add build on the last. With time, geometric drawing for rangoli becomes one of the most rewarding creative skills you can develop.
If you enjoy exploring new rangoli patterns and want more visual inspiration, you can also follow Rangoli Designs on Pinterest for more rangoli ideas, patterns, and creative inspiration.
A personal blog dedicated to Indian rangoli art. Tutorials, design ideas, and inspiration for every festival and every floor.