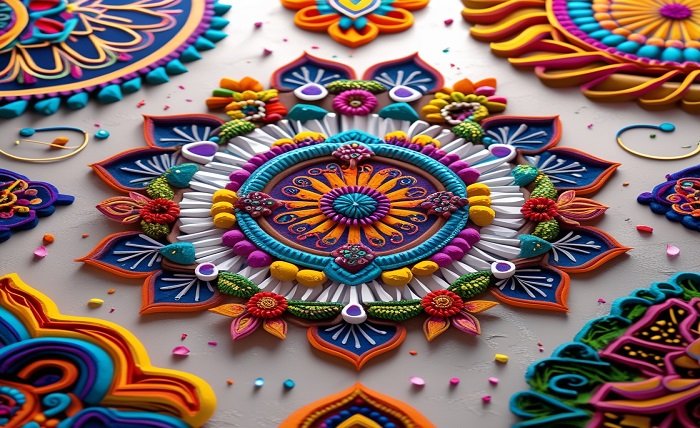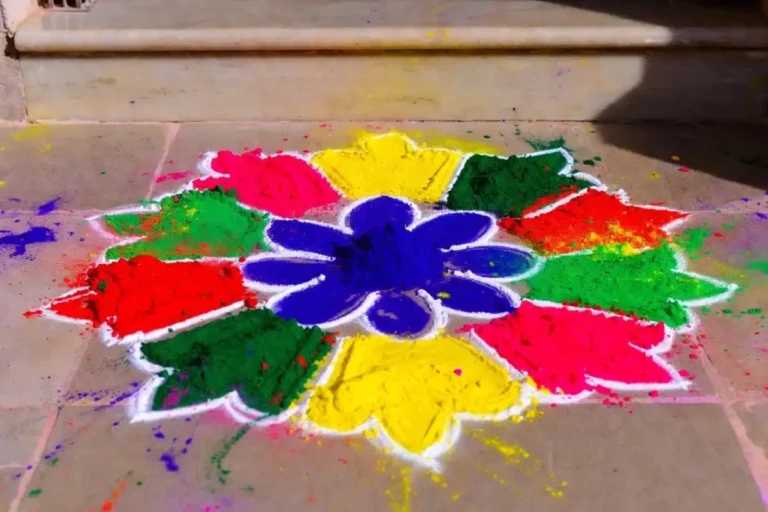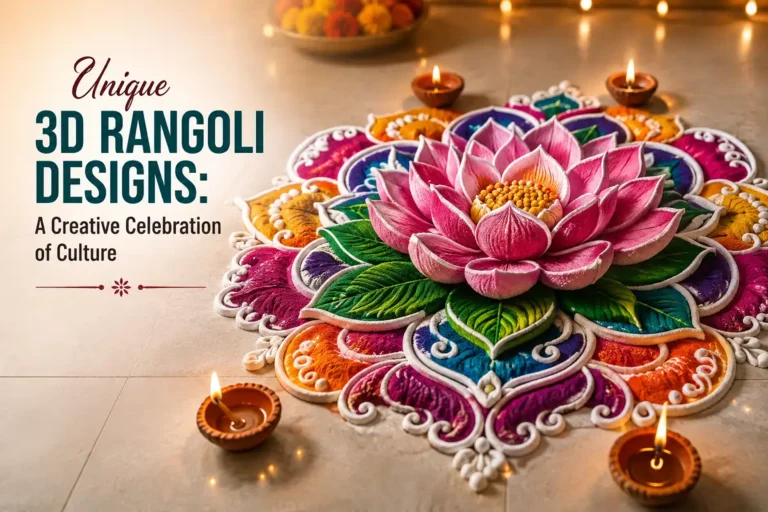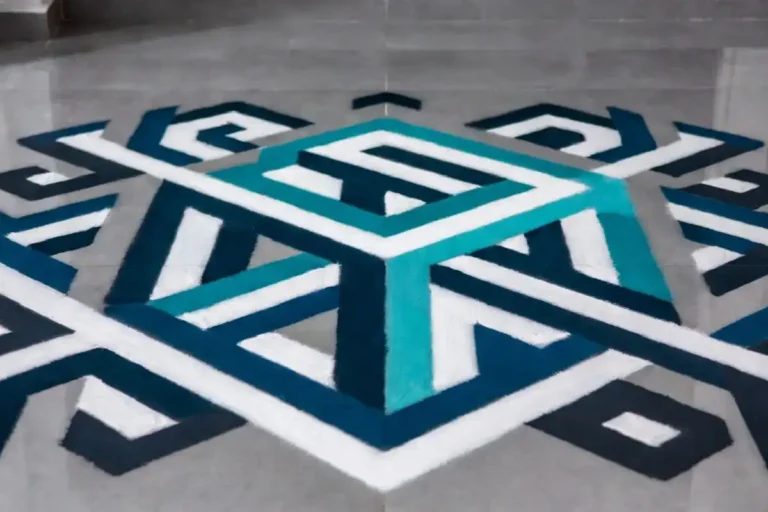
3D Floating Rangoli Design: How to Make It at Home
3D floating rangoli design creates the illusion of a pattern lifting off the floor. It tricks the eye using shadow, color layering, and a raised center. You do not need training. You need the right technique and patience.
A 3D floating rangoli design uses light-to-dark color shading and a raised central motif to fake depth. Draw the base flat. Then add graded shadows around the edges. The center appears to float above the ground.
What Is a 3D Floating Rangoli Design?
A 3D floating rangoli design is a floor pattern that looks suspended in the air. The effect comes from optical shading, not real height. Your brain reads the dark-to-light gradient as depth. So a flat drawing on the floor seems to hover.
Traditional rangoli sits flat. This style breaks that rule. It borrows from optical illusion art, the same principle street chalk artists use on pavements. The design stays two-dimensional. The perception is three-dimensional.
Diwali is when most people attempt this look. It suits any festival where you want a bold entrance piece.
What Makes a Rangoli Look Like It Floats?
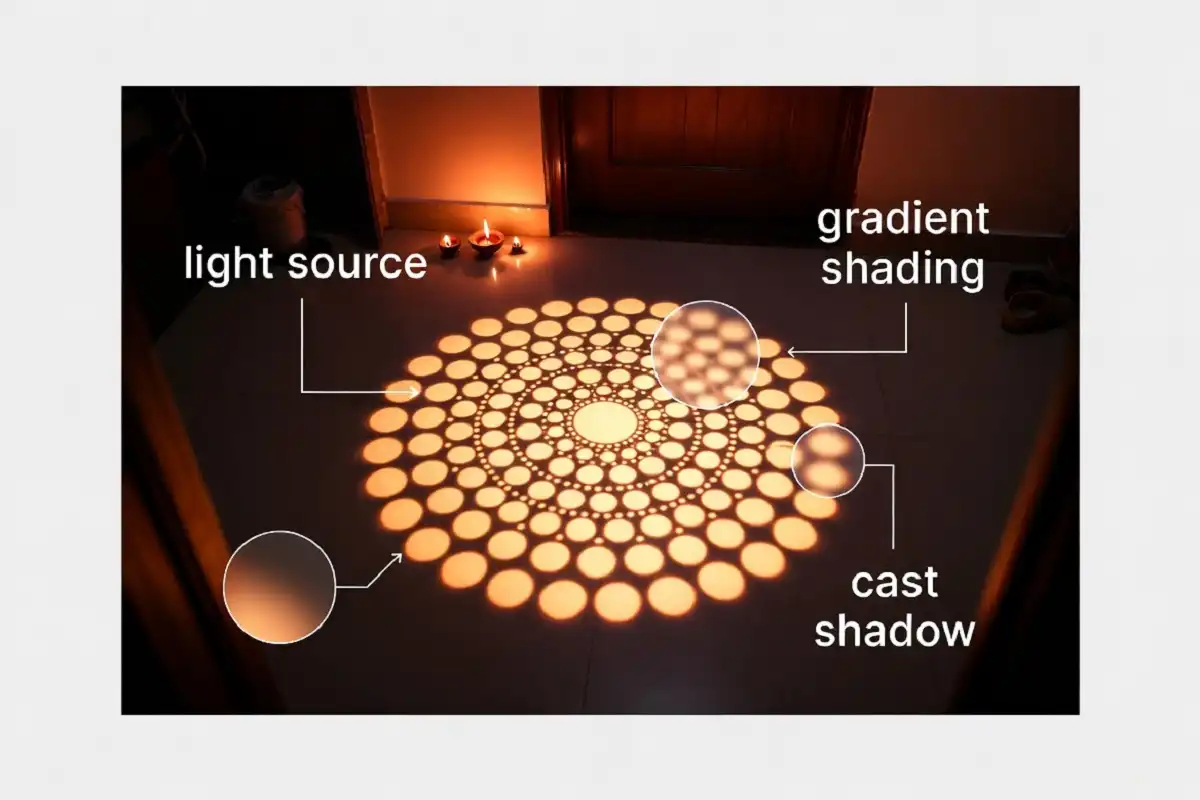
Three things make a rangoli look like it floats: shadow direction, color gradient, and a single light source. Get these right and the illusion holds from the correct viewing angle.
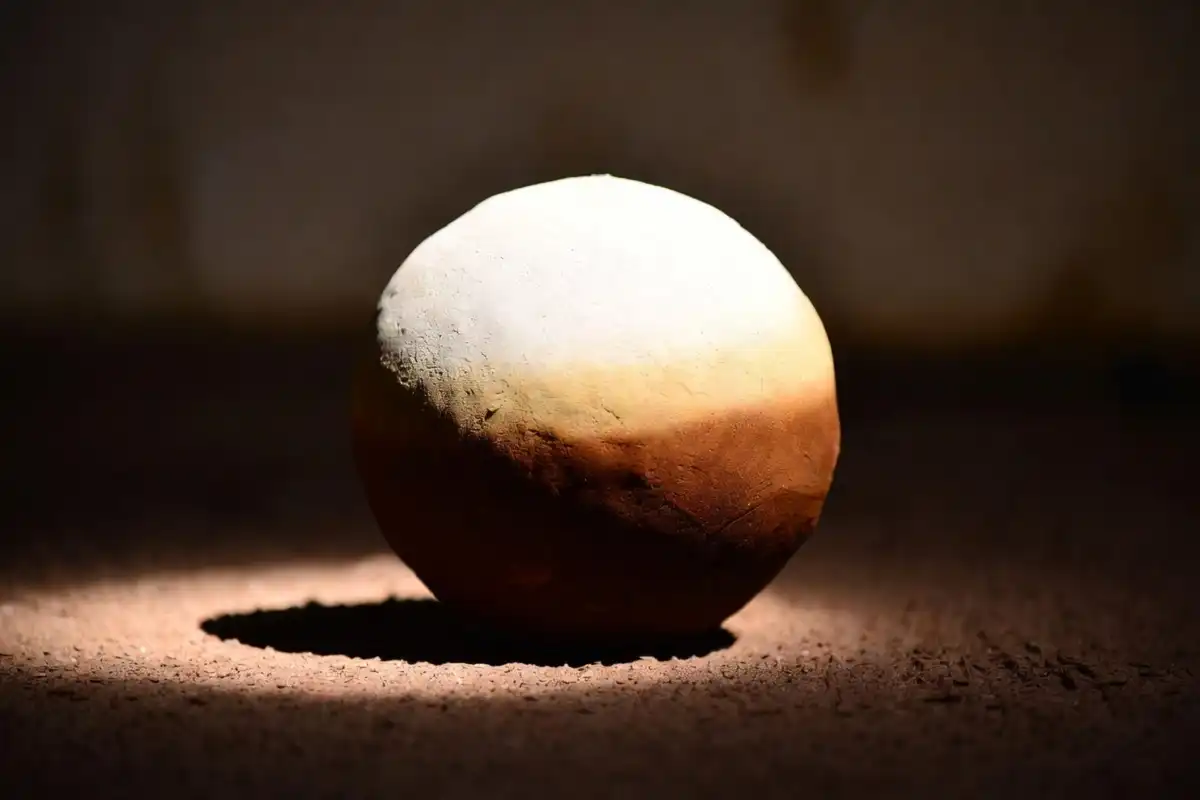
Shadow does the heavy lifting. You place a dark band on one side of every shape. This mimics a shadow cast by a raised object. The eye assumes the object is lifted.
Color gradient adds volume. Each shape moves from bright at the top to deep at the base. This rounded shading makes flat circles look like floating spheres or orbs.
The single light source keeps it believable. Pick one direction, top-left or top-right. Every shadow in the piece falls the same way. Mixed shadow directions kill the effect instantly.
Flat Base
The rangoli begins as a flat floor pattern.
Color Gradient
Light-to-dark shading creates rounded volume.
Cast Shadow
A dark offset shadow suggests separation from the floor.
Floating Effect
The eye combines the layers and reads the shape as raised.
Materials You Need
You need colored rangoli powder, white powder, a dark shade like black or deep blue, and a few basic tools. The quality of your powder decides how smooth your gradient looks.
Keep these ready:
- 01 Fine rangoli powder in your main colors, plus white and black for shading.
- 02 A cone or squeeze bottle for outlines and thin lines.
- 03 Cotton buds and a soft brush for blending gradients.
- 04 A sieve or small strainer to drop powder evenly.
- 05 Chalk to sketch the guide before you fill.
Fine powder blends better than coarse grain. If your powder is rough, sift it once before you start. For a deeper look at picking the right supplies, see the materials that work best for 3D rangoli guide.
Build
Colored rangoli powder
Creates the main form and tonal layers.Define
White powder + chalk
Helps establish highlights, guides and outlines.Shade
Black or deep blue
Provides the darker tones needed for depth.Blend
Cotton buds + soft brush
Softens transitions between color layers.Fine powder produces smoother gradients and cleaner transitions.
How to Make a 3D Floating Rangoli Design Step by Step
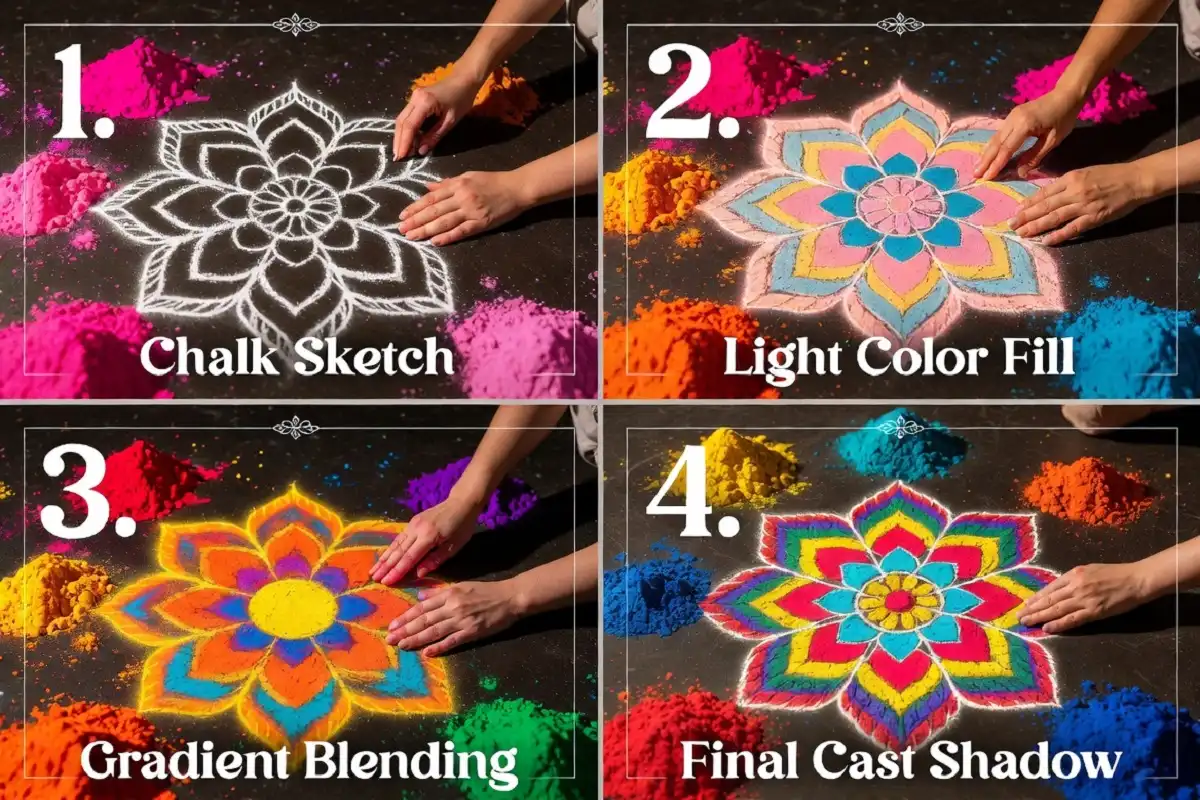
Start with a simple central shape, shade it from light to dark, then add a hard shadow beneath it. Work slowly. Rushing the gradient ruins the depth.
Sketch
Establish the central motif and keep it centered.
Light Source
Choose one direction so every shadow follows it.
Lightest Tone
Place the brightest color where the imagined light hits.
Gradient
Move gradually from medium tone to a darker base.
Cast Shadow
Add the floor shadow beneath one side of the motif.
Highlight
Add a small white highlight to strengthen roundness.
Frame
Finish with a simple border or scattered dots.
Sketch the base. Use chalk to draw your central motif. A circle, a diya, or a lotus works well for beginners. Keep it centered.
Pick your light source. Decide the light comes from the top-left. Note it. Every shadow follows this choice.
Fill the lightest tone first. Place your brightest color at the top edge of the shape. This is where light hits.
Build the gradient. Add a medium tone below the light. Then a darker tone at the bottom. Blend the seams with a cotton bud so the shift looks smooth.
Add the cast shadow. Draw a dark shape on the floor beneath one side of the motif. This is the shadow of the “floating” object. Keep it soft at the edges.
Add a highlight. Drop a tiny spot of pure white at the very top of the shape. This sharp highlight sells the roundness.
Frame it. Add a flat border or scattered dots around the piece. A plain surround makes the raised center pop more.
Which Designs Work Best in 3D Floating Style?
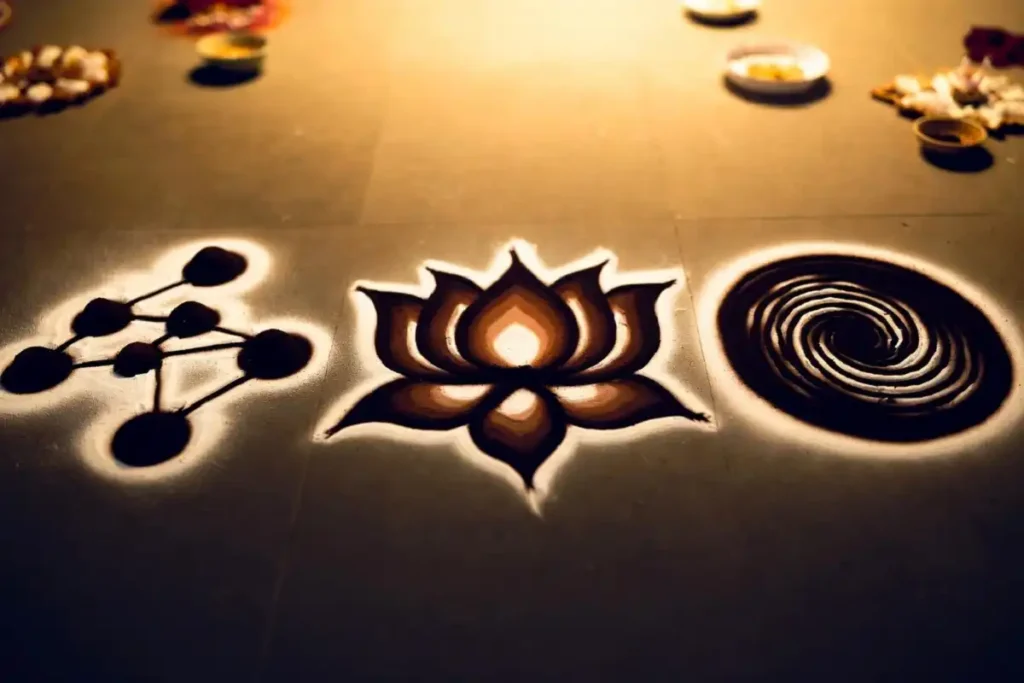
Round and symmetrical designs work best because gradients read cleanly on curves. Spheres, orbs, diyas, flowers, and coiled spirals all sit well in this style.
Spheres are the easiest entry point. A shaded circle instantly looks like a floating ball. String several together for a chain of orbs.
Floral motifs add elegance. Shade each petal from tip to base and the flower lifts off the ground. A shaded lotus is a popular festive choice, and you can borrow shapes from these lotus rangoli patterns for festive homes to start.
Geometric spirals suit competition pieces. A shaded 3D spiral pulls the eye into the center like a tunnel.
Sphere
Easy entry point
A simple gradient quickly creates the appearance of a floating ball.Lotus
Elegant & festive
Petal-by-petal shading gives the floral form more dimensional depth.Spiral
Strong focal effect
Curving geometry draws the eye inward and suits competition pieces.Common Mistakes to Avoid
The biggest mistake is mixing shadow directions. If one shape casts left and another casts right, the illusion collapses. Lock your light source first.
Watch for these errors:
- Harsh color jumps. No blending between tones flattens the shape. Always feather the seam.
- Too many colors. Depth needs tonal control. Three shades of one color beat six random colors.
- Forgetting the cast shadow. The floor shadow is what makes it “float.” Skipping it leaves a flat drawing.
- Wrong viewing angle. A 3D floating rangoli design only works from one side. Plan it to face your main doorway or the camera.
Beginners often want the effect without the shading load. If that sounds like you, these beginner-friendly 3D rangoli steps ease you in before you attempt a full floating piece.
Does a 3D Floating Rangoli Design Work From Every Angle?
No, a 3D floating rangoli design works from one fixed angle only. The illusion depends on your eye lining up with the planned light source and shadow. From the side or the opposite end, the depth flattens out.
This is why placement matters. Set the design so people approach it from the intended direction. For a home entrance, face the illusion toward the gate. For photos, mark the spot where the camera should stand.
Optical illusion depth is a known concept in art and design. You can read more about optical illusions on Wikipedia to understand why the effect fools your brain.
Align the main viewing position with the planned illusion.
Face the design toward the gate or main approach.
Mark the camera position before taking the final photograph.
FAQs
How long does a 3D floating rangoli design take? +
Can I make it without special powder? +
Is this style good for beginners? +
Do I need dark colors for the shadow? +
Final Words
A 3D floating rangoli design is about controlling light on a flat floor. Fix one light source. Shade every shape from bright to dark. Add a soft cast shadow beneath the center. That single shadow is what makes the pattern float. Start with one shaded sphere, get the gradient smooth, then build up to a full floating scene. Practice the blending and the illusion becomes easy to repeat every festival.