Beautiful Village Rangoli Easy Designs at Home
Village Rangoli Easy: Simple Traditional Designs to Try at Home
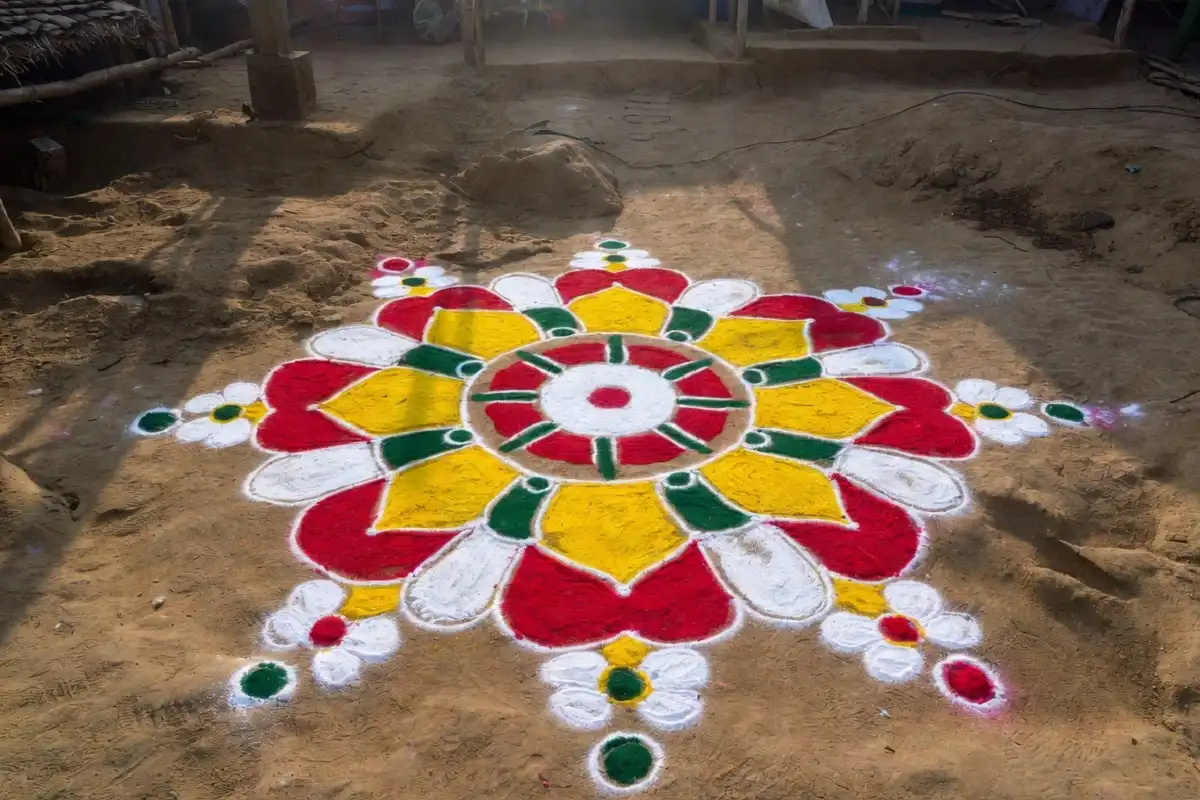
Village rangoli easy patterns hold a special place in Indian home tradition. This is one of the oldest forms of floor art, passed down through families in rural communities across the country. Unlike complex modern designs, village rangoli easy styles use simple shapes, natural materials, and bold colors that feel warm and genuine.
Whether you are new to rangoli or looking for a design rooted in culture, this guide will walk you through everything you need to know to create beautiful village-style floor art at home.
What Makes Village Rangoli Easy to Learn
Village rangoli easy designs come from a place of simplicity. They do not rely on stencils or metallic powders. Instead, they draw on the natural world, using shapes like petals, leaves, dots, and curved lines that reflect life in the countryside.
Traditional village rangoli was made with rice flour, chalk powder, or clay. It was drawn freehand on freshly cleaned mud floors or stone courtyards every morning. The act itself was considered a form of welcome, a way of greeting the day and inviting good energy into the home.
Modern rangoli has evolved with glitter, ready-made kits, and digital stencils. But village rangoli easy patterns remain grounded in what matters most: intention, rhythm, and repetition. That is exactly what makes them accessible to everyone.
Materials Used in Village Rangoli Easy Designs
One of the best things about village rangoli easy art is that it does not require expensive supplies. Most materials are things you already have at home or can find easily.
For creating clean base outlines.
Red, yellow, green, orange, and blue.
A small stick, fingertip, or folded cloth.
Natural accents for colorful designs.
Stone, tile, mud floor, or courtyard.
If you prefer eco-friendly options, turmeric gives a rich yellow, sindoor offers deep red, and dried leaf powder adds earthy green. These natural choices are also kind to the environment, especially when used outdoors.
Easy Village Rangoli Patterns to Try at Home
Simple Dot-Based Village Rangoli
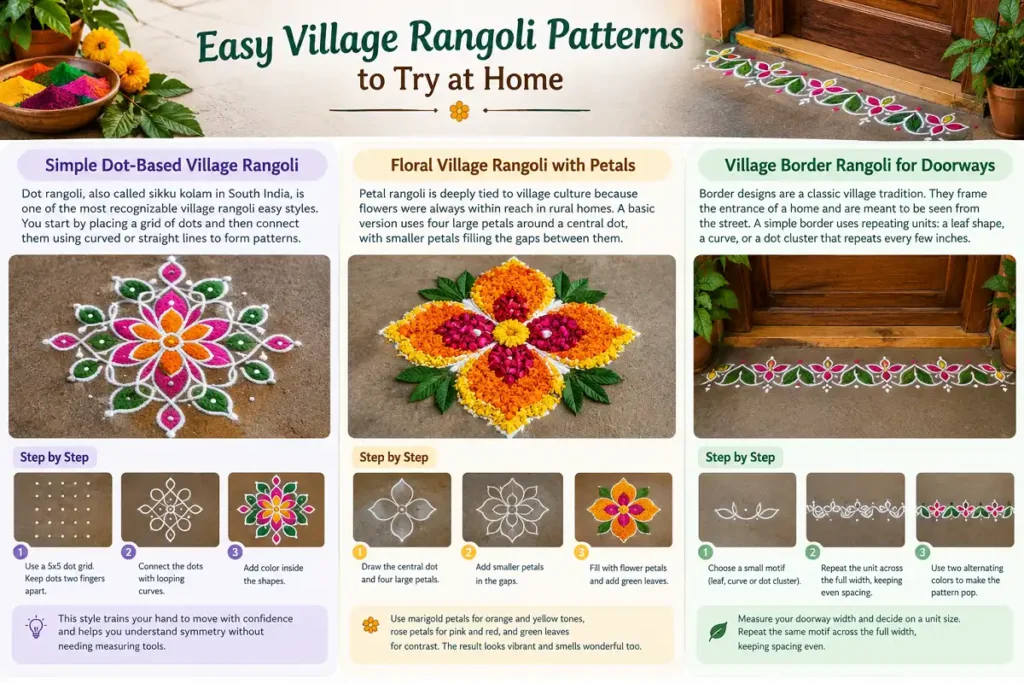
Dot rangoli, also called sikku kolam in South India, is one of the most recognizable village rangoli easy styles. You start by placing a grid of dots and then connect them using curved or straight lines to form patterns.
For a beginner-friendly version, try a 5×5 dot grid. Place dots evenly spaced about two fingers apart. Then connect them using looping curves to form flower-like shapes around the center. Add color inside the shapes using dry powder.
This style trains your hand to move with confidence and helps you understand symmetry without needing measuring tools.
Floral Village Rangoli with Petals
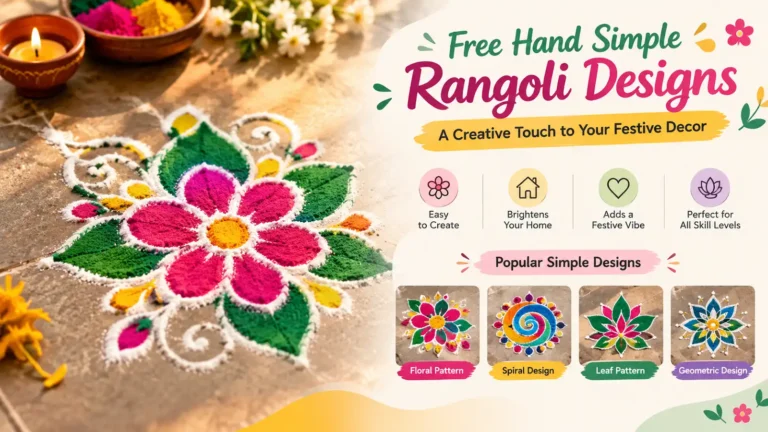
Petal rangoli is deeply tied to village culture because flowers were always within reach in rural homes. A basic version uses four large petals around a central dot, with smaller petals filling the gaps between them.
If you want a fuller version, you can try designs similar to those in this beginner-friendly petal rangoli guide, which breaks down the steps clearly for anyone starting out.
Use marigold petals for orange and yellow tones, rose petals for pink and red, and green leaves for contrast. The result looks vibrant and smells wonderful too.
Village Border Rangoli for Doorways
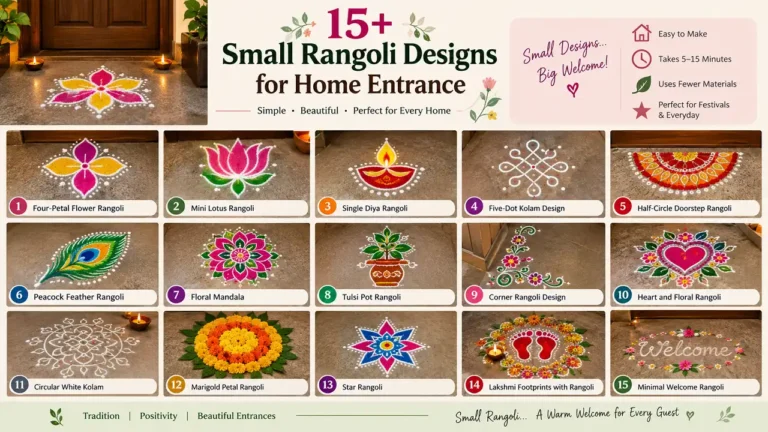
Border designs are a classic village tradition. They frame the entrance of a home and are meant to be seen from the street. A simple border uses repeating units: a small leaf shape, a curve, or a dot cluster that repeats every few inches.
To make one, measure your doorway width and decide on a unit size. Repeat the same small motif across the full width, keeping spacing even. You can use two alternating colors to make the pattern pop.
How to Draw Village Rangoli Easy Step by Step
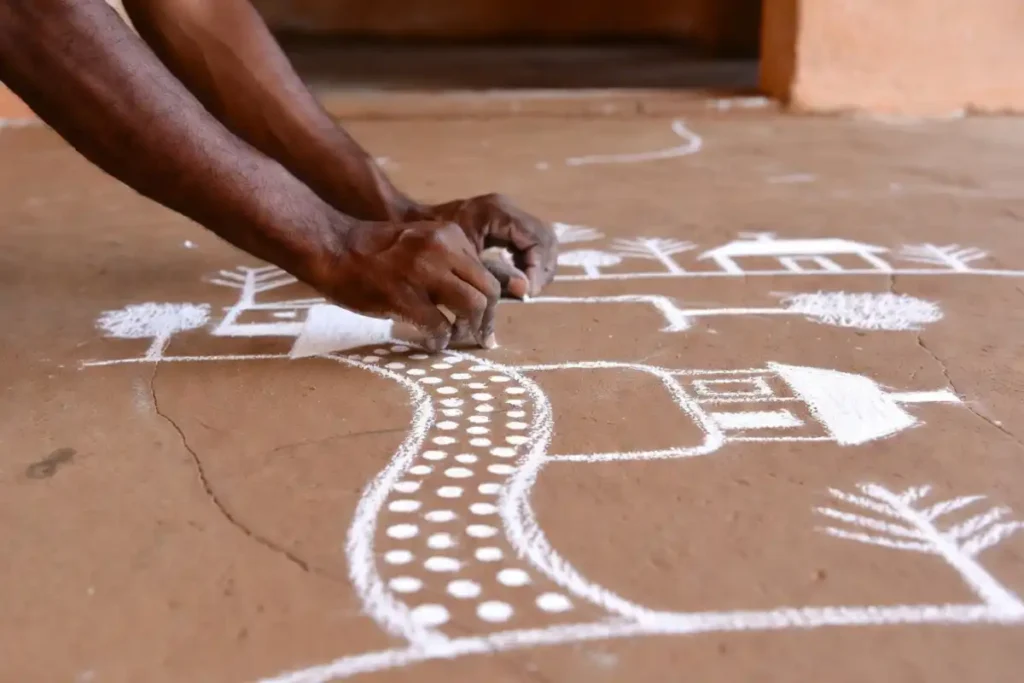
Clean Your Floor
Clean your floor surface and lightly dampen it if it is a mud or stone surface. This helps the powder stay in place.
Mark Your Center Point
Mark your center point. Everything will radiate outward from this spot.
Draw the Base Outline
Using white powder or rice flour, draw your base outline. Keep strokes light so you can adjust as you go.
Add the Main Shapes
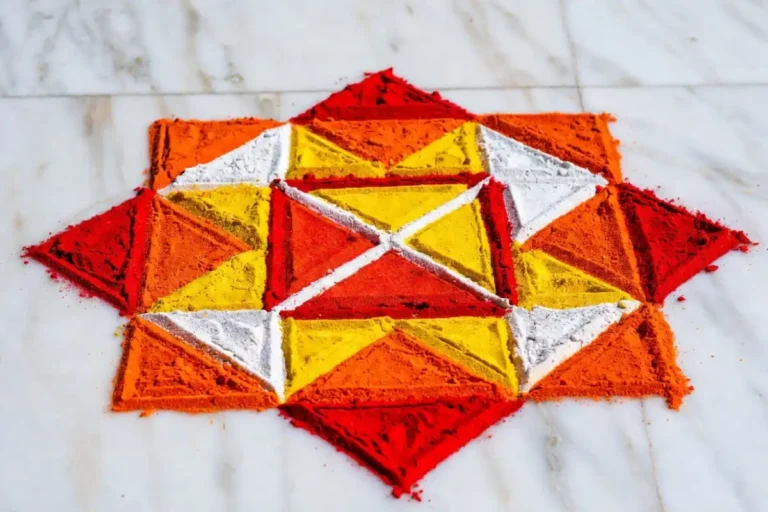
Add your main shapes, whether petals, curved arms, or geometric borders.
Fill in the Colors
Fill in colors starting from the center outward. Use one color at a time to avoid mixing.
Define the Edges
Define the edges using a contrasting color or white outline.
Add Finishing Dots
Add dots at key points to finish the design. Dots are a signature of village rangoli easy art and add balance.
The whole process takes about 15 to 30 minutes once you have practiced a few times.
Color Choices That Make Village Rangoli Easy Designs Pop
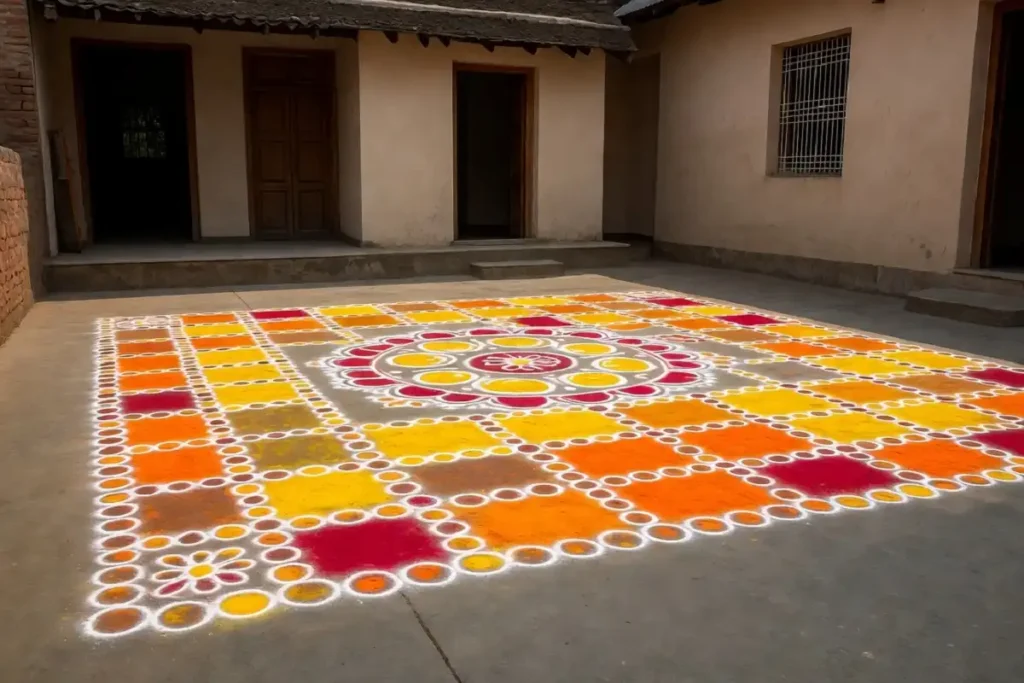
Color is where village rangoli truly comes alive. Traditional village designs tend to favor bold, high-contrast combinations rather than soft pastels.
Beautiful on a dark mud floor.
Finished with white outlines.
A vibrant festive combination.
Clean and sacred for special mornings.
According to the Victoria and Albert Museum’s overview of Indian folk art, color in traditional Indian floor art often carries symbolic meaning tied to local customs and seasons. Red, for example, is associated with auspiciousness, while white connects to purity.
Village Rangoli Easy Ideas for Festivals and Special Occasions
Village rangoli is made for celebration. Every festival in rural India brings a fresh wave of floor art at doorsteps, temples, and courtyards.
Diwali Village Rangoli
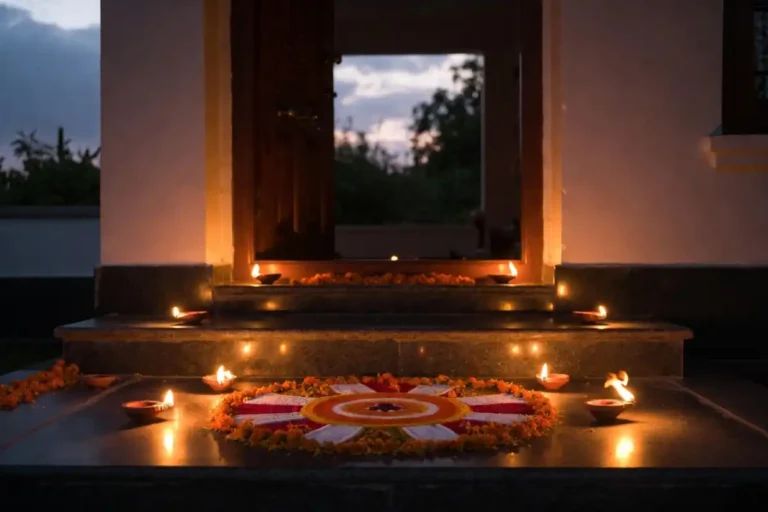
For Diwali, village-style designs often include diyas (clay lamps) at the corners, flower garlands in the center, and geometric frames that glow under lamplight. Keep the design symmetrical and use warm tones like deep orange, red, and gold yellow.
If you want inspiration that blends village charm with festive elegance, explore this collection of beautiful wedding rangoli designs which shares similar principles of symmetry and color depth.
Pongal and Onam Kolam Style
In South Indian villages, rangoli during Pongal or Onam takes the form of elaborate floor kolams made with white rice flour. These patterns can stretch across entire courtyards and include birds, fish, and lotus motifs.
A simple version for home use is a 7×7 dot grid with flower loops around the outer dots. Fill the inner shapes with color and leave the outer ring white for a clean finish.
Everyday Morning Rangoli
You do not need a festival to draw village rangoli easy patterns every day. Many rural families draw a small design every morning as part of their daily routine. A simple five-petal flower at the doorstep takes less than five minutes and sets a calm, intentional tone for the day.
Tips to Keep Village Rangoli Looking Neat
Even simple designs can look messy without a few good habits. Here are some practical tips:
Clean the Surface
Always clean the surface before you begin. Dust and debris break the flow of powder.
Use a Funnel
Use a small funnel or squeeze bottle for precision when filling color.
Work From the Center
Work from the center outward so you do not smudge finished areas.
Apply Powder Gently
Press the powder gently rather than dumping it all at once.
Fix Uneven Lines
Fix uneven lines using a dry brush to sweep away excess powder carefully.
If you want to practice symmetry before drawing on the floor, trace designs on paper first. This builds muscle memory and helps you feel confident. You can also explore a small symmetry rangoli for additional pattern practice that pairs well with village styles.
How Village Rangoli Connects to Indian Cultural Heritage
Village rangoli is more than art. It is a living cultural practice that ties communities to their ancestors, seasons, and beliefs. According to UNESCO’s documentation of living heritage practices in South Asia, traditional floor art forms are recognized as intangible cultural heritage because they carry knowledge, values, and community identity across generations.
Learning village rangoli is a way of preserving that knowledge. When you draw a simple petal shape with rice flour, you are participating in something that has happened in Indian homes for thousands of years.
Conclusion
Village rangoli easy designs are a wonderful way to bring traditional Indian art into everyday life. They ask for very little in terms of materials or skill, but return a great deal in beauty, meaning, and mindfulness.
Starting with a simple dot pattern or a small flower at your doorstep is all it takes to begin. Over time, your hand becomes steadier, your patterns grow richer, and the practice becomes something you look forward to each morning.
Whether you draw for a festival, a quiet Tuesday, or simply to connect with a long tradition, this art form has a place in your home.