Rangoli Grid Pattern Designs: Beautiful Geometric Ideas for Every Occasion
Rangoli grid pattern designs turn a plain floor into a piece of measured geometry. I have drawn them on my doorstep in Janakpuri every Diwali since I was eight, and the grid still gives me the cleanest, most balanced patterns of any method I use.
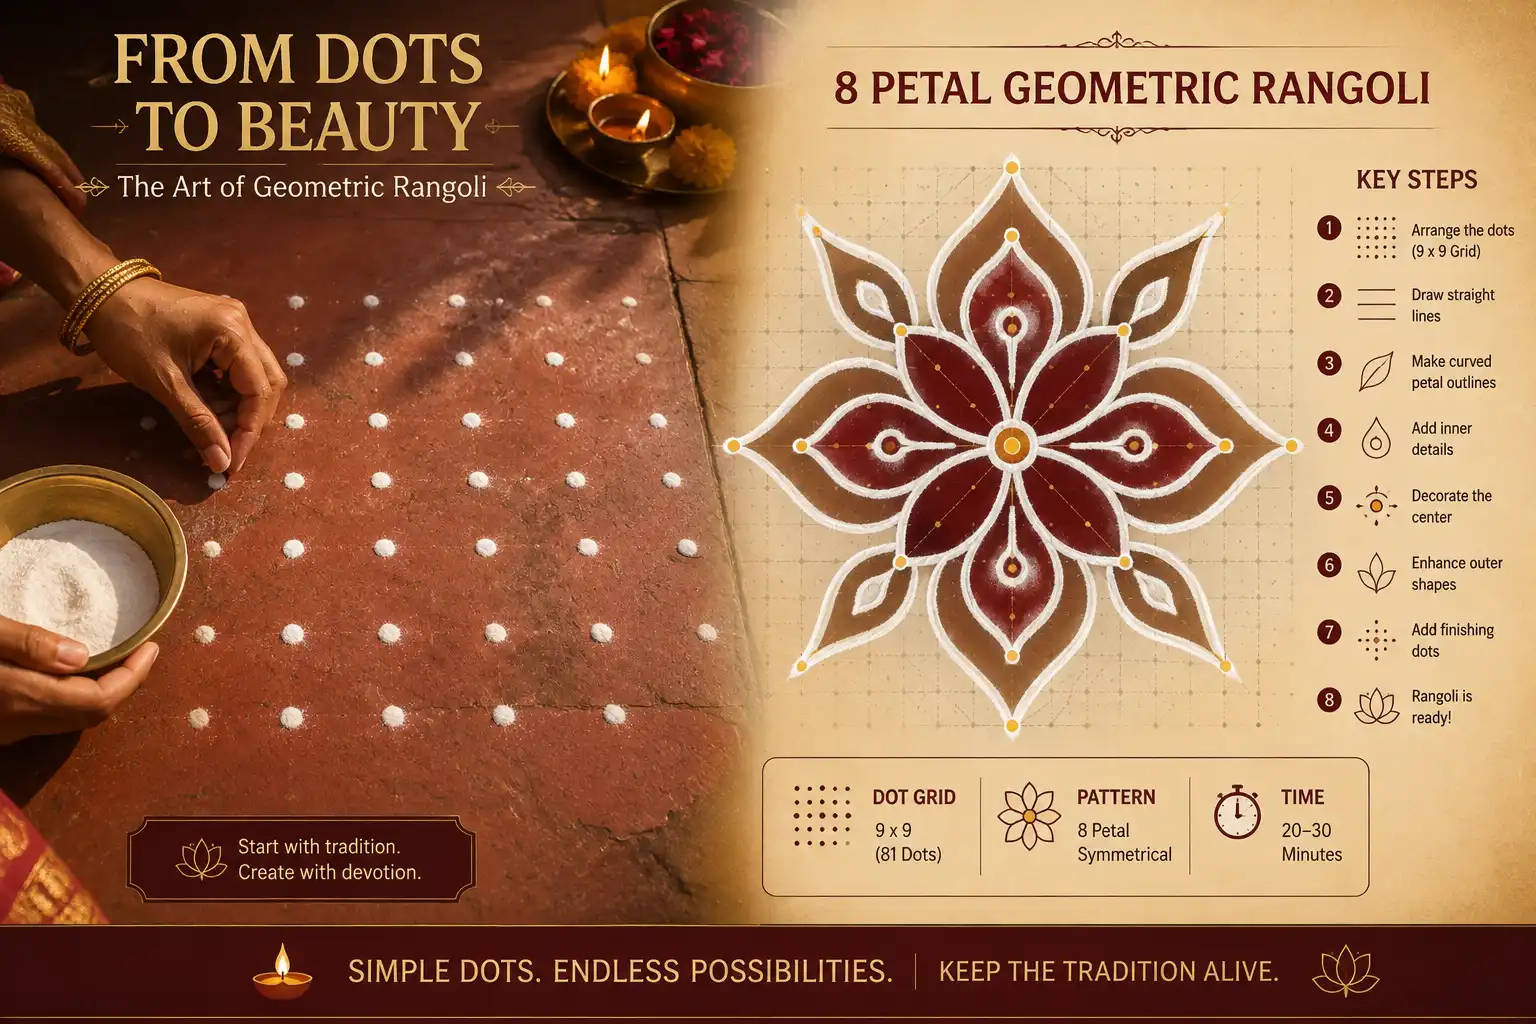
Rangoli grid pattern designs use a dot or graph grid as the base, then connect the points into shapes like squares, diamonds, and hexagons. The grid keeps every line even, so beginners get symmetrical results on the first try.
What Are Rangoli Grid Pattern Designs?
Rangoli grid pattern designs are floor patterns built on a fixed layout of dots or graph lines instead of freehand curves. You place the grid first. Then you connect the points with straight or curved lines to form shapes. This method comes from the traditional pulli kolam of South India, where grandmothers taught daughters to count dots before they ever touched color.
The grid does the hard work of spacing. Your eye does not need to judge distance, because the dots already sit at equal intervals. That is why rangoli grid pattern designs look sharp even when a beginner draws them.
Why Rangoli Grid Pattern Designs Work So Well
They work because symmetry is built into the setup, not added at the end. A grid forces every arm of a star or every side of a hexagon to match its neighbor. In my experience, this is the fastest way to fix wobbly, uneven rangoli without years of practice.
Grid-based work also scales. A 5×5 dot grid gives a small entrance design. A 15×15 grid covers a full courtyard. The pattern logic stays the same at any size, which is not true for freehand floral rangoli.
Tools You Need for Rangoli Grid Pattern Designs
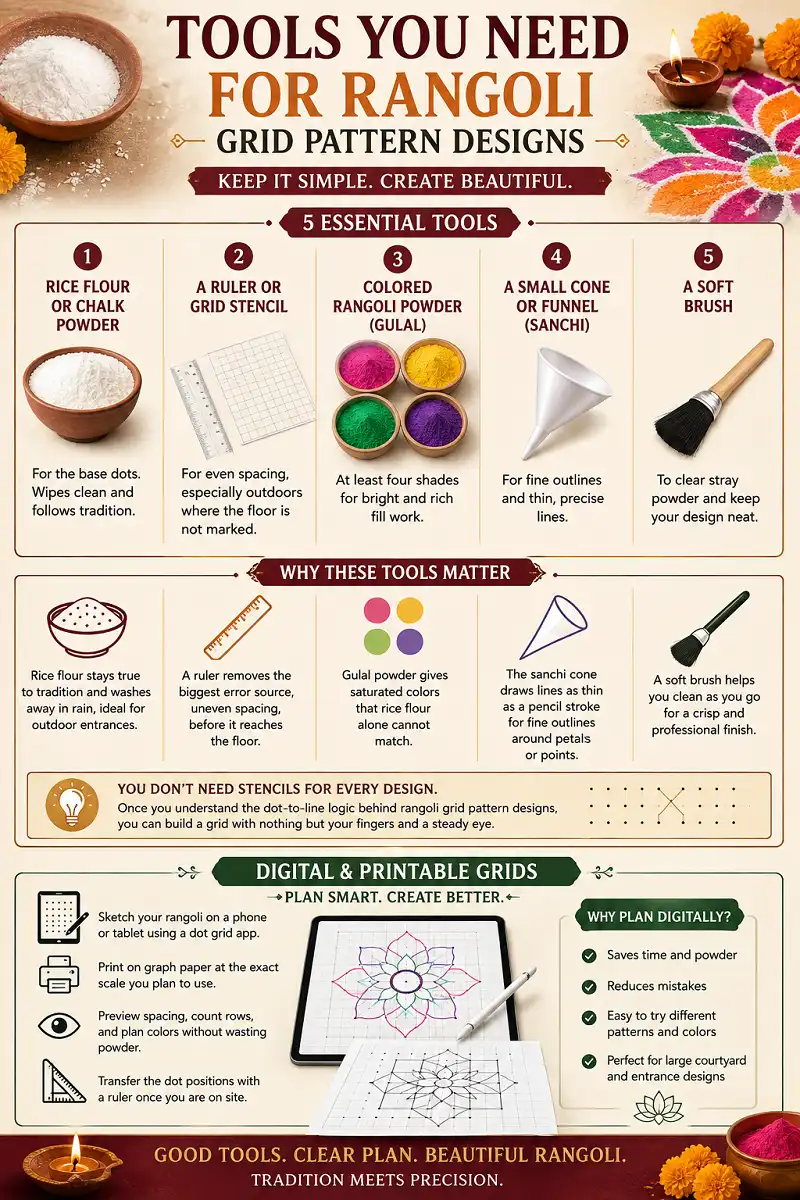
Keep the list short. Extra tools slow you down and rarely improve the result.
You do not need stencils for every design. Once you understand the dot-to-line logic behind rangoli grid pattern designs, you can build a grid with nothing but your fingers and a steady eye.
Each tool earns its place for a reason. Rice flour stays close to tradition and washes away in the next rain, which matters for outdoor entrances used daily. A ruler removes the single biggest error source, uneven spacing, before it ever reaches the floor. Gulal gives you saturated color that rice flour alone cannot match, while the sanchi cone lets you draw a line as thin as a pencil stroke for fine outlines around petals or points.
Digital and Printable Grids for Rangoli Grid Pattern Designs
More designers now sketch rangoli grid pattern designs on a phone or tablet before touching the floor. A simple dot grid app or a printed graph sheet lets you test spacing, count rows, and preview color placement without wasting powder. I plan almost every large courtyard design this way now, since fixing a mistake on paper takes seconds compared to redoing an entire floor pattern. Print the grid at the exact scale you plan to use outdoors, then transfer the dot positions with a ruler once you are on site.
How to Draw Rangoli Grid Pattern Designs Step by Step
-
Setting Up the Dot Grid
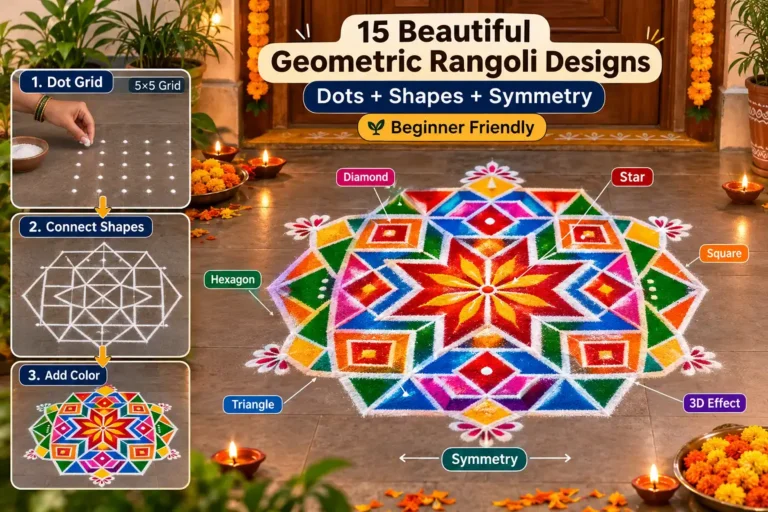
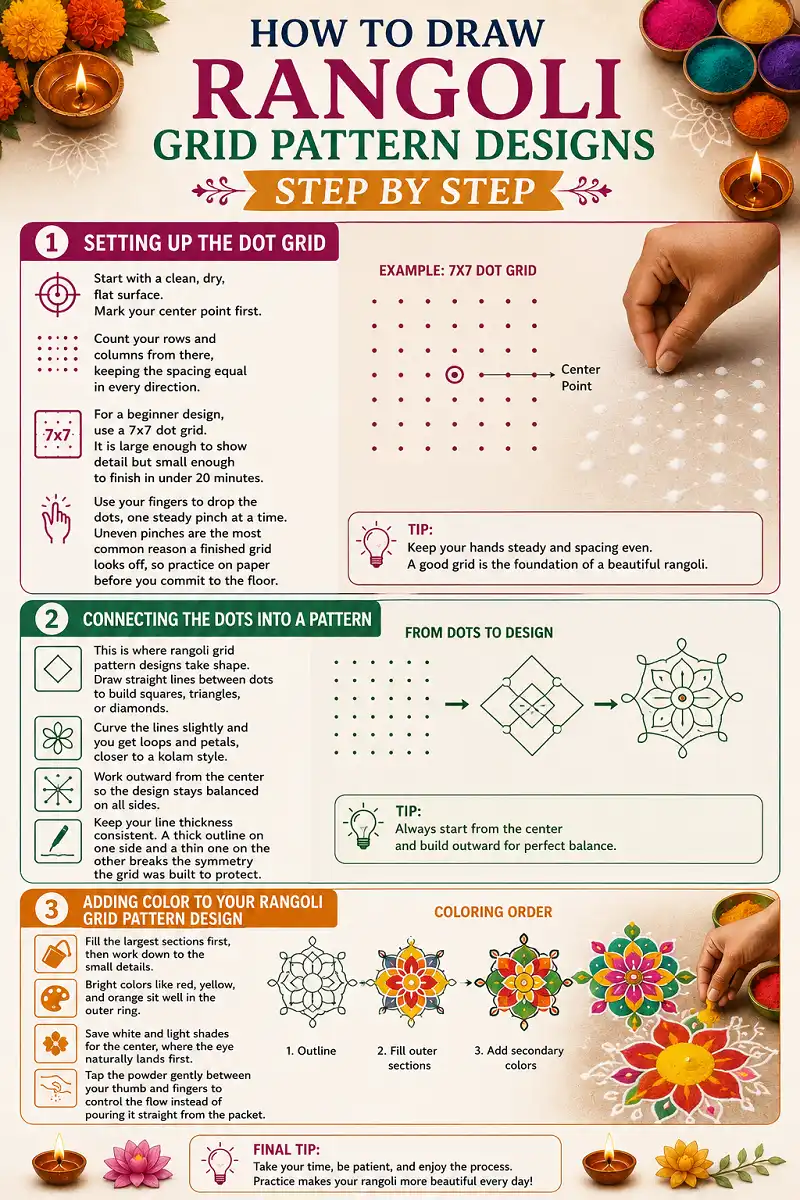
Start with a clean, dry, flat surface. Mark your center point first. Count your rows and columns from there, keeping the spacing equal in every direction. For a beginner design, use a 7×7 dot grid — large enough to show detail but small enough to finish in under 20 minutes. Use your fingers to drop the dots, one steady pinch at a time. Uneven pinches are the most common reason a finished grid looks off, so practice on paper before you commit to the floor.
-
Connecting the Dots Into a Pattern
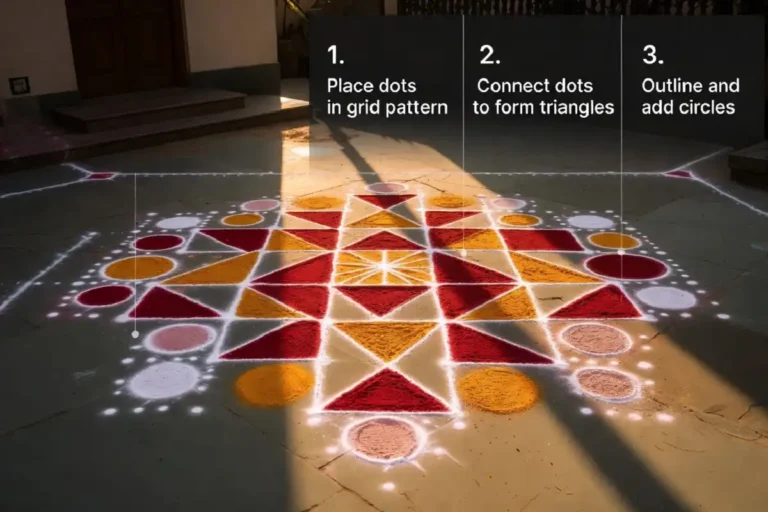
This is where rangoli grid pattern designs take shape. Draw straight lines between dots to build squares, triangles, or diamonds. Curve the lines slightly and you get loops and petals, closer to a kolam style. Work outward from the center so the design stays balanced on all sides. Keep your line thickness consistent — a thick outline on one side and a thin one on the other breaks the symmetry the grid was built to protect.
-
Adding Color to Your Design
Fill the largest sections first, then work down to the small details. Bright colors like red, yellow, and orange sit well in the outer ring. Save white and light shades for the center, where the eye naturally lands first. Tap the powder gently between your thumb and fingers to control the flow instead of pouring it straight from the packet.
How Grid Size Changes a Rangoli Design
Grid size decides how long a design takes and where it works best. Match the size to the space and the occasion instead of guessing.
A quick daily doorstep pattern, done in five to ten minutes. Best for weekday mornings.
The standard beginner size — large enough for real detail without eating your whole afternoon.
Suited to festival entrances like Diwali or a housewarming, where guests get a closer look.
Reserved for courtyards, competitions, or community spaces where the design is viewed from a distance.
Larger grids do not need more skill, only more patience and a steadier count. The connecting technique stays identical at every size.
Types of Rangoli Grid Pattern Designs
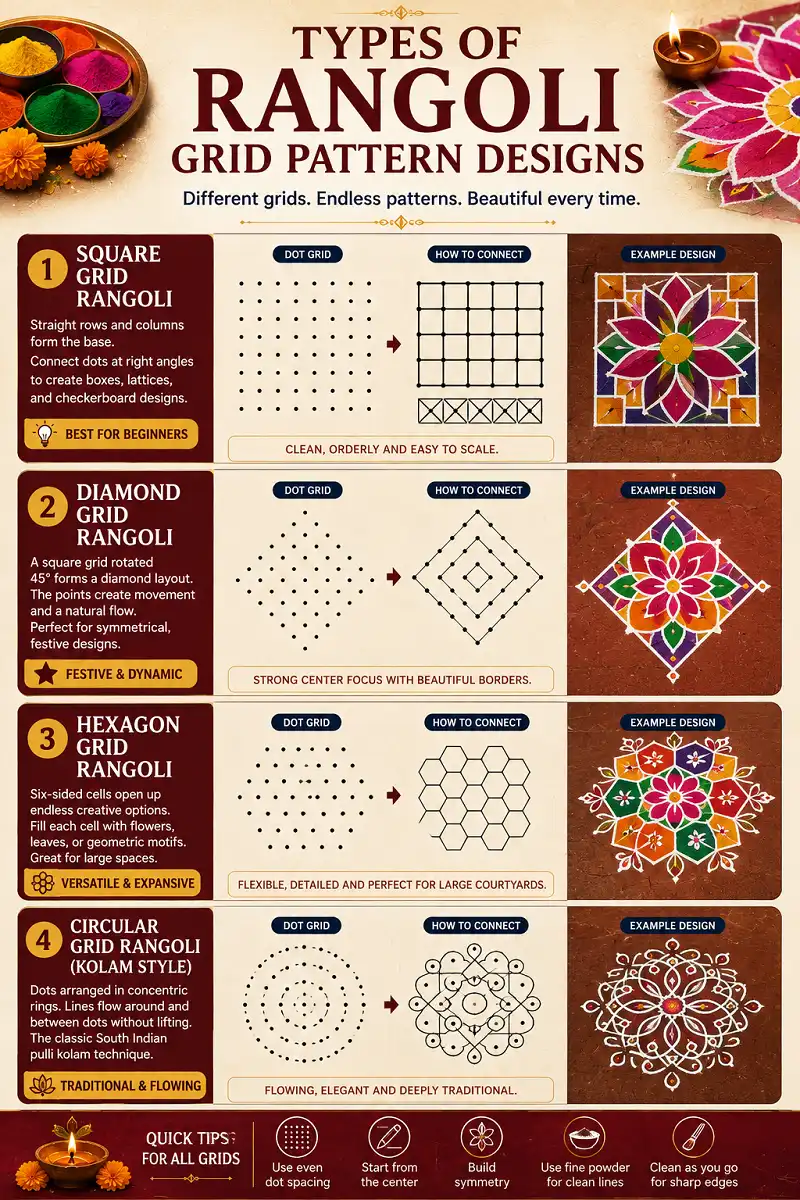
Uses straight rows and columns as the base. Connect adjacent dots at right angles to build boxes, then divide each box diagonally for a checkerboard or lattice look — one of the easiest styles for a first attempt, since every line is horizontal or vertical.
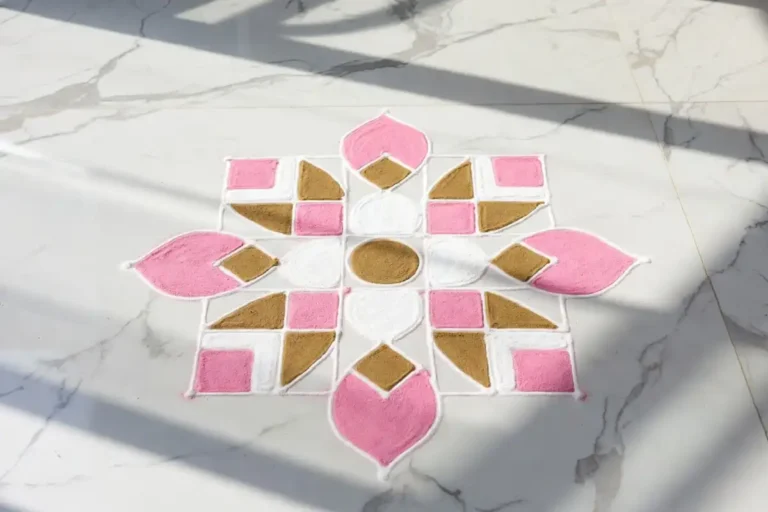
Rotate a square grid by 45 degrees and you get a diamond layout. These read as more festive because the points create movement toward the edges. They work well for symmetrical rangoli design ideas with a strong center focus and a repeating border.
Uses six-sided cells instead of squares. Each cell can hold a flower, a leaf shape, or a small geometric motif, making this one of the most flexible styles for covering a large courtyard. See my full breakdown of hexagon patterns in rangoli for angles and cell spacing.
Places dots in concentric rings instead of straight rows. Lines loop around and between the dots without lifting — the classic South Indian pulli kolam technique. It takes more practice than square or diamond grids, but the finished pattern has a flowing look no straight-line grid can match.
Rangoli Grid Pattern Designs for Beginners
Start small. A 5×5 or 7×7 dot grid with one repeated shape, like a simple diamond or a four-petal flower, teaches the core skill without overwhelming you. Repetition is the entire point of rangoli grid pattern designs for beginners: once you can connect one unit correctly, you can copy it across the whole grid.
Practice on paper first. Graph paper mimics a dot grid closely enough that mistakes cost you nothing. Once your lines are consistent on paper, move to rice flour on the floor. For more entry-level layouts, my guide to simple geometric rangoli ideas has patterns sized for exactly this stage.
Rangoli Grid Pattern Designs for Festivals
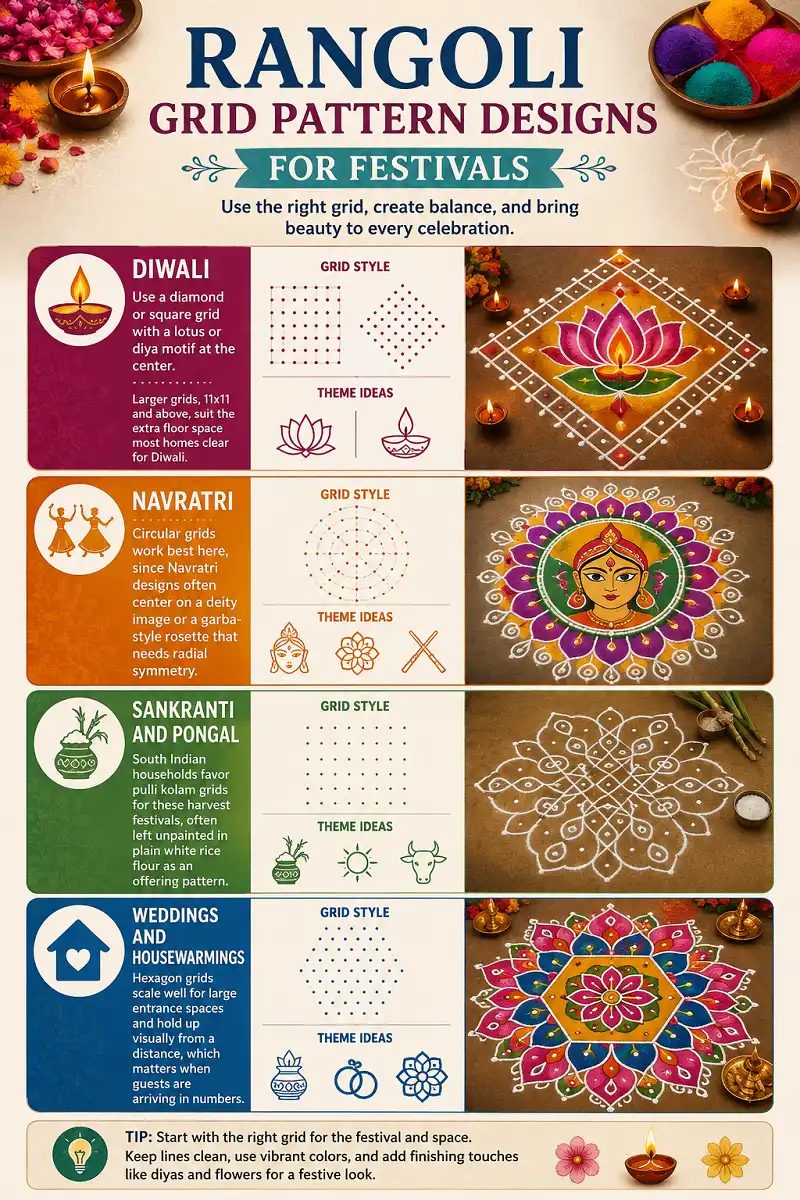
Use a diamond or square grid with a lotus or diya motif at the center. Larger grids, 11×11 and above, suit the extra floor space most homes clear for Diwali.
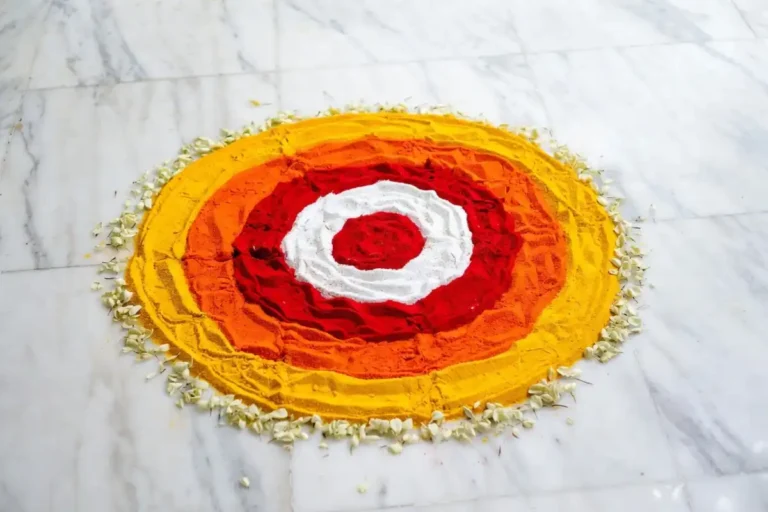
Circular grids work best here, since Navratri designs often center on a deity image or a garba-style rosette that needs radial symmetry.
South Indian households favor pulli kolam grids for these harvest festivals, often left unpainted in plain white rice flour as an offering pattern.
Hexagon grids scale well for large entrance spaces and hold up visually from a distance, which matters when guests are arriving in numbers.
Common Mistakes to Avoid
-
Uneven Dot Spacing
This is the single biggest issue in rangoli grid pattern designs. Measure once with a ruler or stencil rather than eyeballing distances.
-
Starting Too Big
A 21×21 grid looks impressive in photos but takes hours and multiplies every small error. Build confidence on smaller grids first.
-
Mixing Line Weights
Thick lines on one arm of the design and thin lines on another break the symmetry, even when the dot placement is correct.
-
Rushing the Color Fill
Powder spreads faster than you expect. Work in small sections and tap gently instead of pouring.
-
Ignoring the Center Point
Every strong grid design radiates out from one clear center. Mark it before you place a single other dot, or the whole pattern drifts to one side without you noticing until it is finished.
-
Working on a Dirty or Wet Surface
Dust and moisture pull rice flour off line, blurring the sharp edges that make rangoli grid pattern designs look precise. Sweep and dry the floor fully before you begin.
Caring for a Finished Grid Rangoli
A finished floor pattern needs some protection if it has to survive a full day of foot traffic. Keep it away from direct doorways where shoes will land, and place it slightly to one side of the main walking path instead of dead center. Light misting with water helps rice flour and gulal settle and resist wind, though heavy water will smear the lines, so use a light hand. If rain is likely, save elaborate rangoli grid pattern designs for covered porches or indoor spaces and keep the outdoor version simple.
FAQs
Are rangoli grid pattern designs harder than freehand rangoli?
No, they are actually easier for most beginners. The grid removes the guesswork around spacing and symmetry, which is the hardest part of freehand rangoli.
What size grid should a beginner use?
A 5×5 or 7×7 dot grid is ideal. It is large enough to show a clear pattern and small enough to finish without frustration.
Can rangoli grid pattern designs be made without rice flour?
Yes. Chalk, colored sand, flower petals, and even stickers work on a dot grid base. Rice flour remains traditional, but the grid method itself is material-independent.
How is a rangoli grid pattern design different from a kolam?
A kolam is a specific South Indian style of grid rangoli, usually drawn with continuous looping lines around dots. Rangoli grid pattern designs is the broader term that includes kolam along with square, diamond, and hexagon grid styles used across India. The technique has roots that stretch back centuries as part of rangoli as a folk art tradition practiced across South Asian households.
How long does a rangoli grid pattern design take to finish?
A 7×7 beginner grid takes 20 to 30 minutes from dots to finished color. Larger 15×15 courtyard designs can take two to three hours, especially with detailed color fill in every cell.
Can rangoli grid pattern designs be reused every year?
Yes. Since the layout is based on countable dots, you can recreate the exact same design season after season just by counting rows and columns again. Many families keep a sketch of their favorite grid design for this reason.
Final Words
Rangoli grid pattern designs give you a repeatable system instead of a guessing game. Set your dots evenly, connect them with consistent lines, and fill color from the outside in. Start with a small grid, get comfortable with one shape, and the rest of the pattern follows on its own.