3D Rangoli for Diwali: How I Make Designs That Actually Look Raised
3D rangoli for Diwali turns a flat floor pattern into art that seems to rise toward the light. I make one every year at my entrance, and the depth effect is far easier than it looks. Here is my full method, from materials to shading to finished designs.
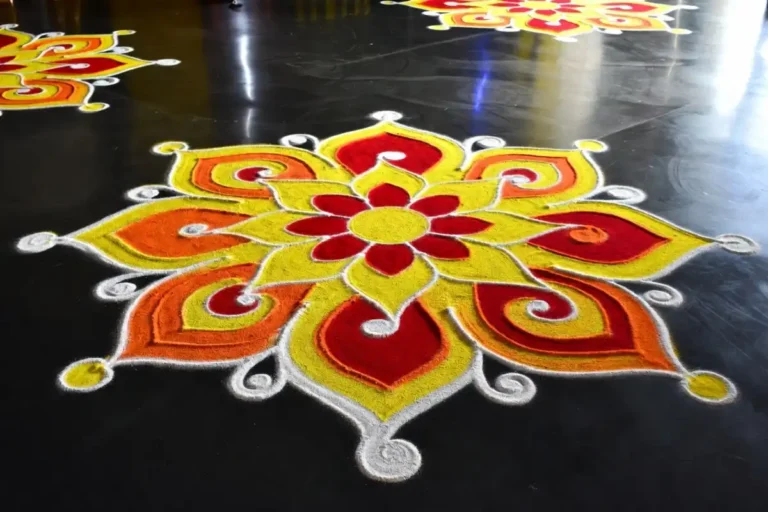
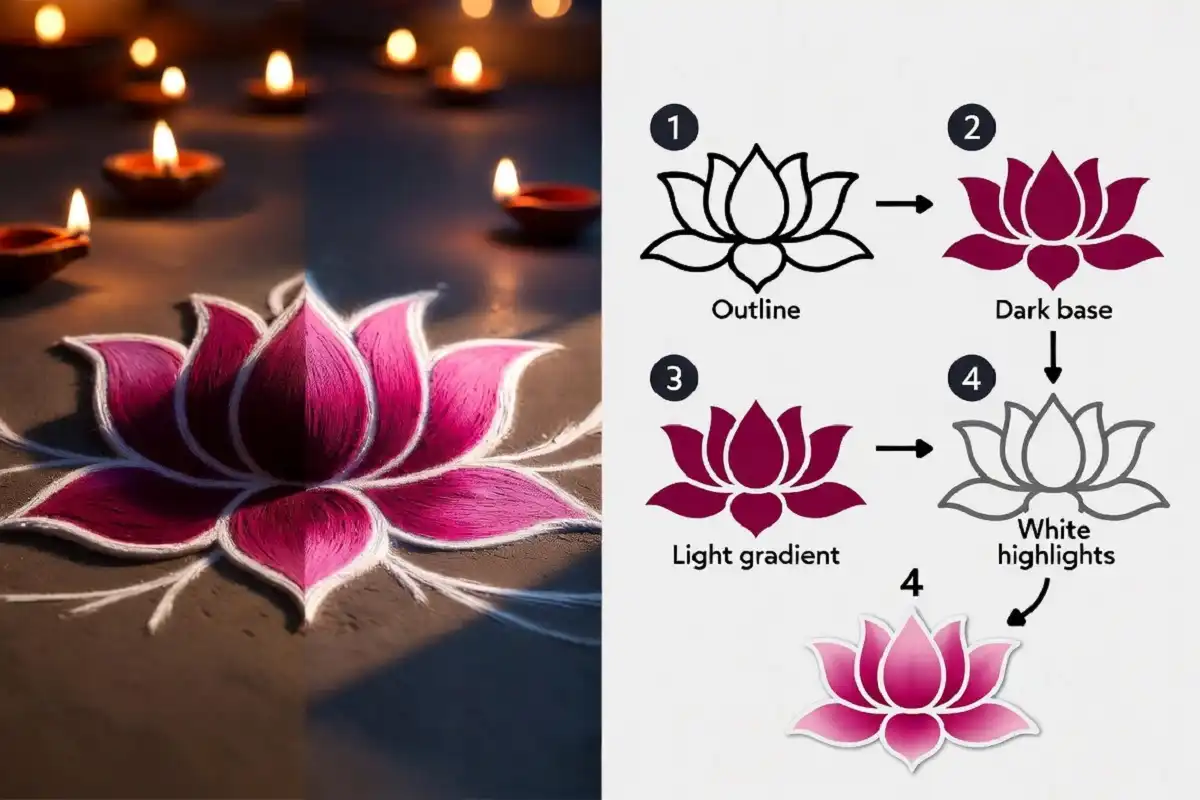
To make a 3D rangoli for Diwali, draw a simple outline, fill it with a dark base color, then layer lighter shades of the same color toward one side. Finish with thin white highlight lines and raised diyas or flowers.
Why the 3D Effect Works So Well During Diwali
Depth comes from contrast, and Diwali gives you the perfect light for it. Diyas sit low on the floor. Their flames throw warm, angled light across the powder. A shaded design catches that light on its bright edges and hides its dark edges in shadow. As a result, the pattern looks lifted even though every grain of powder is flat.
This is why a 3D rangoli for Diwali looks better at night than in daylight. Flat designs stay the same all evening. Shaded designs change with every flicker. So plan your design around where the diyas will sit, not the other way.
What Materials Do You Need for a 3D Rangoli?
You need five to six shades of one color family, white powder, black or dark brown powder, a fine sieve, and a small cone or folded paper for lines. That is the complete kit. Nothing here is expensive.
Here is what I actually use:
- Rangoli powder in one color family — For example: maroon, red, orange, light orange, peach. The gradient creates the depth, so the shades matter more than the colors.
- White powder (chirodi or rice flour) — White makes the highlights. Without it, the design stays dull.
- Black or dark brown powder — This anchors the shadow side of every shape.
- A fine tea sieve — Sifting powder through a sieve blends two shades smoothly. Fingers alone leave hard lines.
- A paper cone or squeeze bottle — You need thin, steady white lines at the end. A cone gives far better control than pinched fingers.
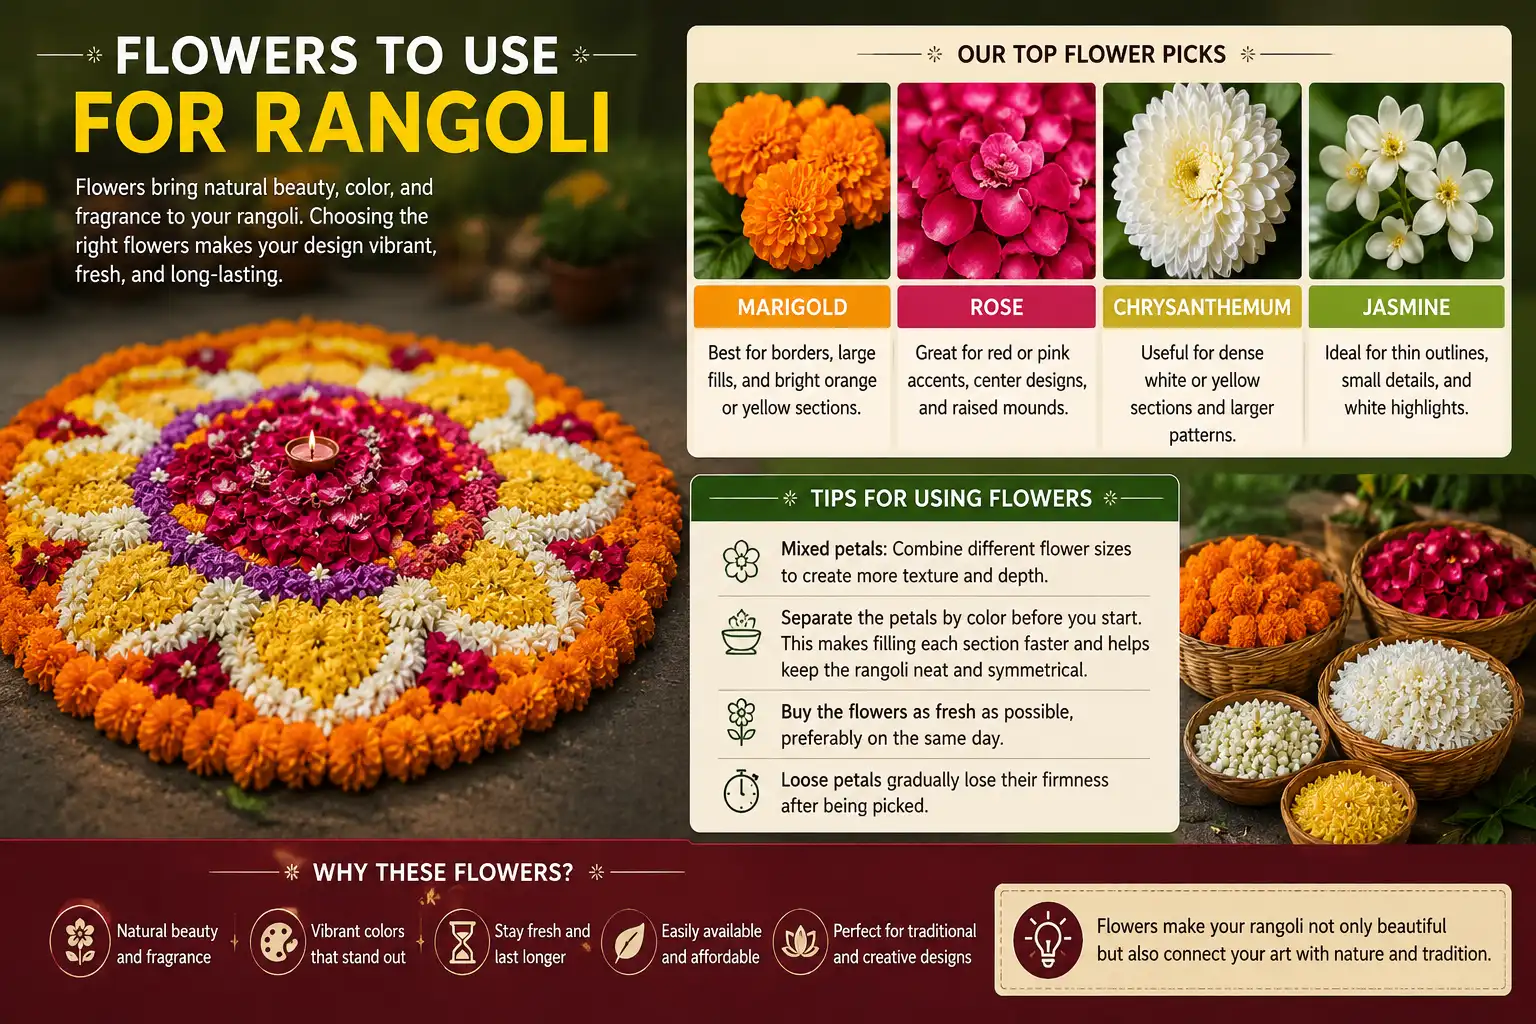
- Clay diyas, marigold petals, or small clay shapes — These add real physical height on top of the shaded illusion.
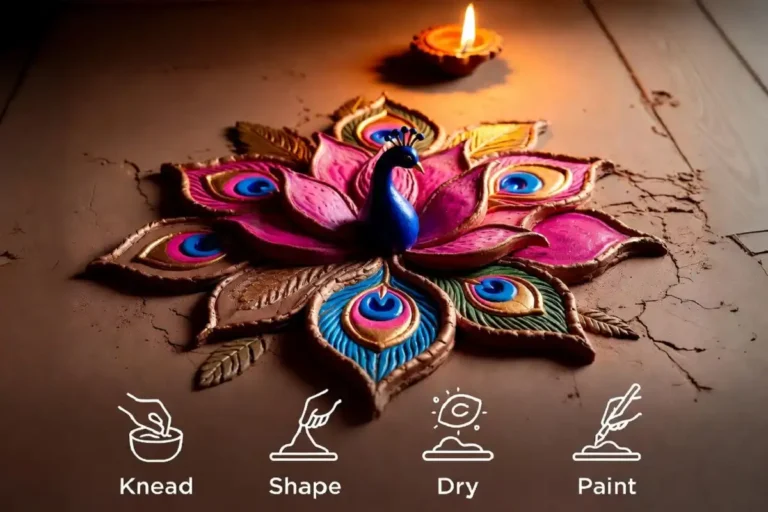
If you want to go further with actual raised pieces, my guide on making 3D rangoli with clay covers how to shape and paint them a day in advance.
How Do You Make a 3D Rangoli for Diwali? (Step by Step)
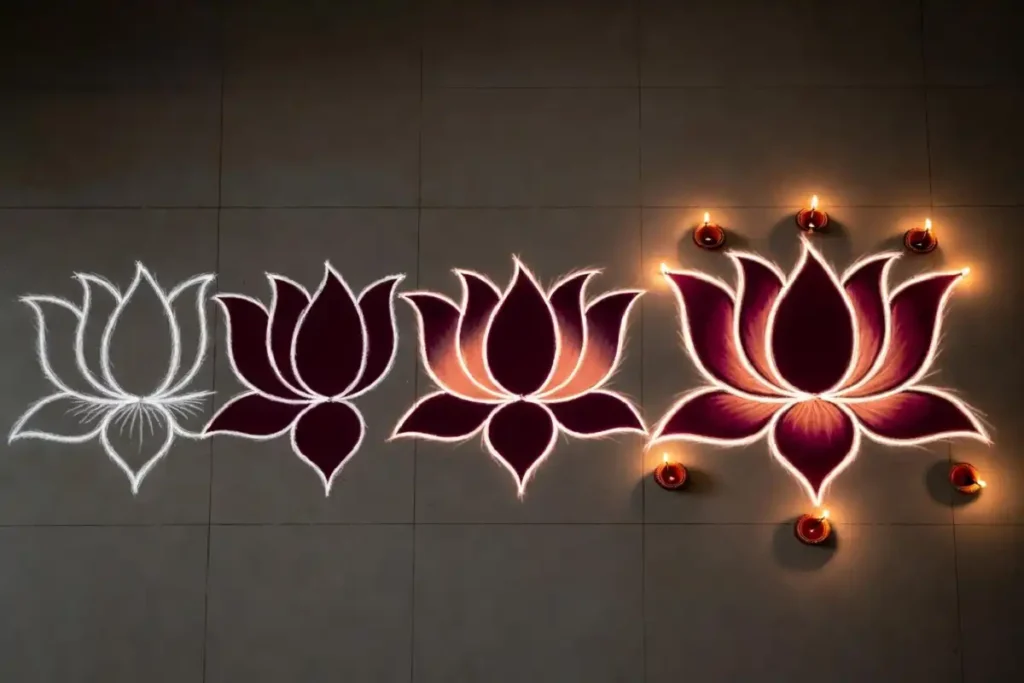
Draw the outline, fill the dark base, build the gradient, add white highlights, then place raised elements. Those five steps produce every 3D rangoli for Diwali I have ever made. Follow them in order.
Draw a Simple, Bold Outline
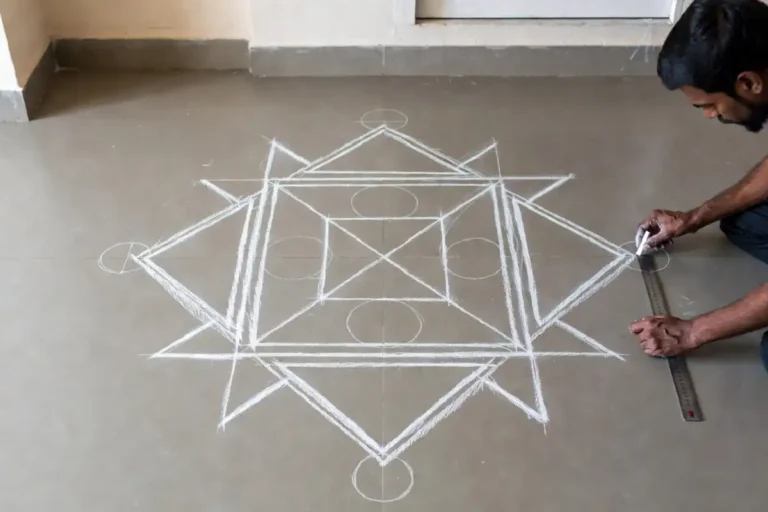
Pick one shape with large sections. A lotus, a single diya, or a five petal flower works best. Draw it with chalk or white powder. Keep every section wider than three fingers. Narrow sections cannot hold a visible gradient, and the 3D effect dies in them.
Fill the Dark Base First
Cover each section completely with your darkest shade. Press the powder lightly with a flat hand so it sits dense. This dark layer becomes the shadow, and everything lighter goes on top of it. Beginners often start with the light color. That order forces you to fight the powder later, so always go dark first.
Build the Gradient Toward One Direction
Decide one light direction for the whole design. I usually pick the side where the main diya will sit. Then sift your medium shade over two thirds of each section, starting from that side. Next, sift the lighter shade over one third. Finally, dust the lightest shade only on the very edge facing the light. Every section must follow the same direction. Mixed directions are the fastest way to flatten the illusion.
Add White Highlight Lines
Pipe a thin white line along each edge that faces your light direction. Keep it thin. A fat white line reads as a border, but a thin one reads as shine. Also add a short dark line on the opposite edge of each shape. That dark edge is the cast shadow, and it does half the work.
Place the Raised Elements
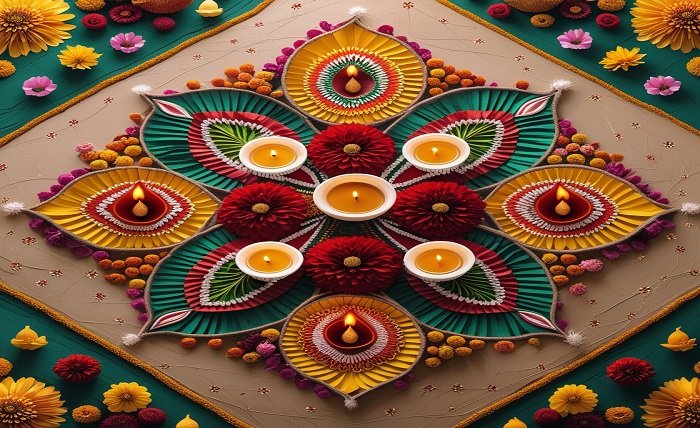
Now add real height. Set lit diyas at the focal points. Stack marigold petals into small mounds at the center. If you made clay pieces earlier, place them where the design needs weight. Physical height plus painted shadow is what separates a true 3D rangoli for Diwali from a shaded flat one.
Five 3D Rangoli for Diwali Design Ideas for 2026
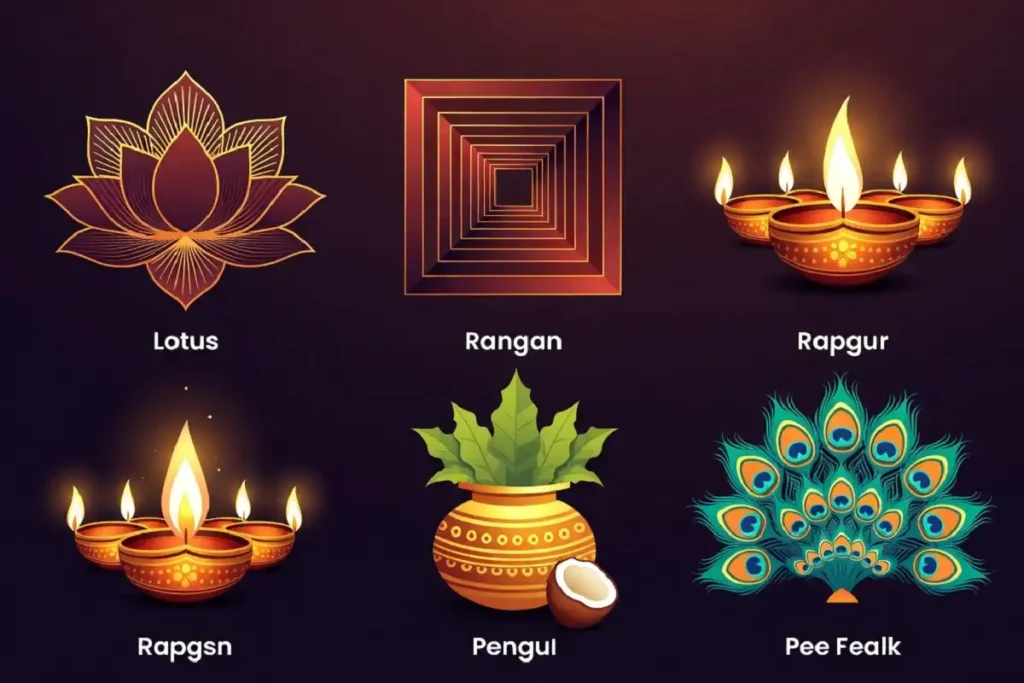
Every 3D rangoli for Diwali idea below works with the same five step method. Pick one based on your space and time.
Shaded Lotus
⏱ ~45 minThe classic Lakshmi symbol for the entrance. Eight petals, maroon to pink gradient, white tips. It takes about 45 minutes and beginners handle it well.
Spiral Staircase Illusion
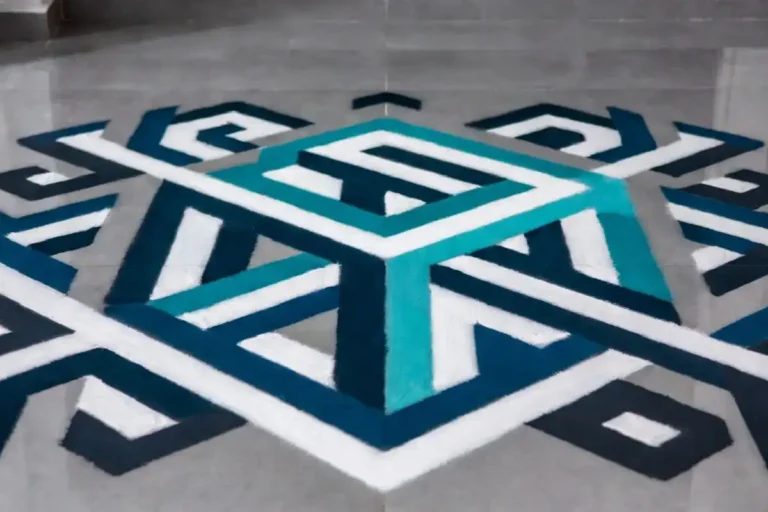
⏱ Needs steady siftingA curved band of rectangles, each shaded dark on one end and light on the other. Placed in sequence, they look like steps rising off the floor. This one wins competitions, and it needs steady sifting.
Diya Cluster
Draw three overlapping diyas with shaded golden flames. Put a real lit diya at the center of each drawn flame. The mix of drawn light and real light is striking after sunset.
Kalash with Mango Leaves
A traditional pot shape shaded copper to gold, topped with green leaf gradients and a real coconut. This suits Dhanteras and Lakshmi Puja evenings.
Peacock Feather Fan
⏱ ~2 hoursBlue to teal gradients with a gold eye in each feather. Larger and slower, around two hours. If you want the full bird instead of just feathers, start with a peacock rangoli guide for beginners and add shading on top.
Common Mistakes That Flatten the 3D Effect
Most failed attempts at a 3D rangoli for Diwali share the same four errors. Check your design against each one.
How Long Does It Take and When Should You Start?
A small 3D rangoli for Diwali takes 45 to 60 minutes, and a large entrance piece takes two to three hours.
For Diwali 2026, the main night falls on Sunday, 8 November. I start mine that afternoon around 3 PM, so the powder stays fresh when guests arrive after sunset. Clay elements should be made and dried a full day earlier.
If this is your first attempt, practice the gradient once on a small patch a week before. Then build up from simple 3D rangoli ideas for your home before committing to a big entrance design.
The Secret to Making Your 3D Rangoli Look Real
The whole secret to creating a beautiful 3D rangoli for Diwali comes down to three simple moves: choose one color family, keep the light coming from a single direction, and use thin white highlights beside dark shadow edges.
One Color FamilySelect a main color and add lighter and darker shades from the same family instead of using too many unrelated colors.
One Light DirectionDecide where your imaginary light source is coming from and keep your highlights consistent throughout the design.
Shadow + HighlightAdd dark outlines around the lower and outer edges, followed by delicate white highlights on the opposite side.
These small details create the illusion of depth and make even a simple lotus, flower, or geometric pattern appear raised from the floor. You do not need an extremely complicated pattern to get an impressive result.
Start small this year, take your time with the shading, and place your diyas thoughtfully around the design. With the right balance of color, light, shadow, and decoration, your 3D rangoli for Diwali can create a striking entrance that catches every guest’s attention.
FAQs
Q. Can I make a 3D rangoli for Diwali without dots?
Yes. The shading method is freehand by nature. Draw the outline with chalk, and the gradient does the rest. Dots only help with symmetric grid patterns.
Q. Which surface works best for a 3D rangoli for Diwali?
A dark, smooth, dry floor. Grey or black tiles make the light shades pop. On rough concrete, lay a thin base coat of white powder first so the gradients sit evenly.
Q. How do I protect it from wind?
Lightly press each finished layer with a flat book or steel plate. Pressed powder resists breeze far better than loose powder. Keep the design away from doorways with direct draft.
🪔 Ready to build your first depth illusion?
Start with Simple 3D Rangoli Ideas for Home