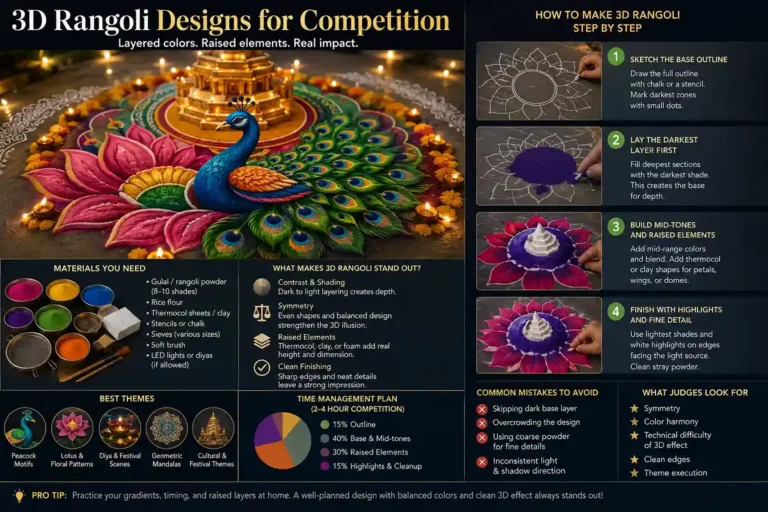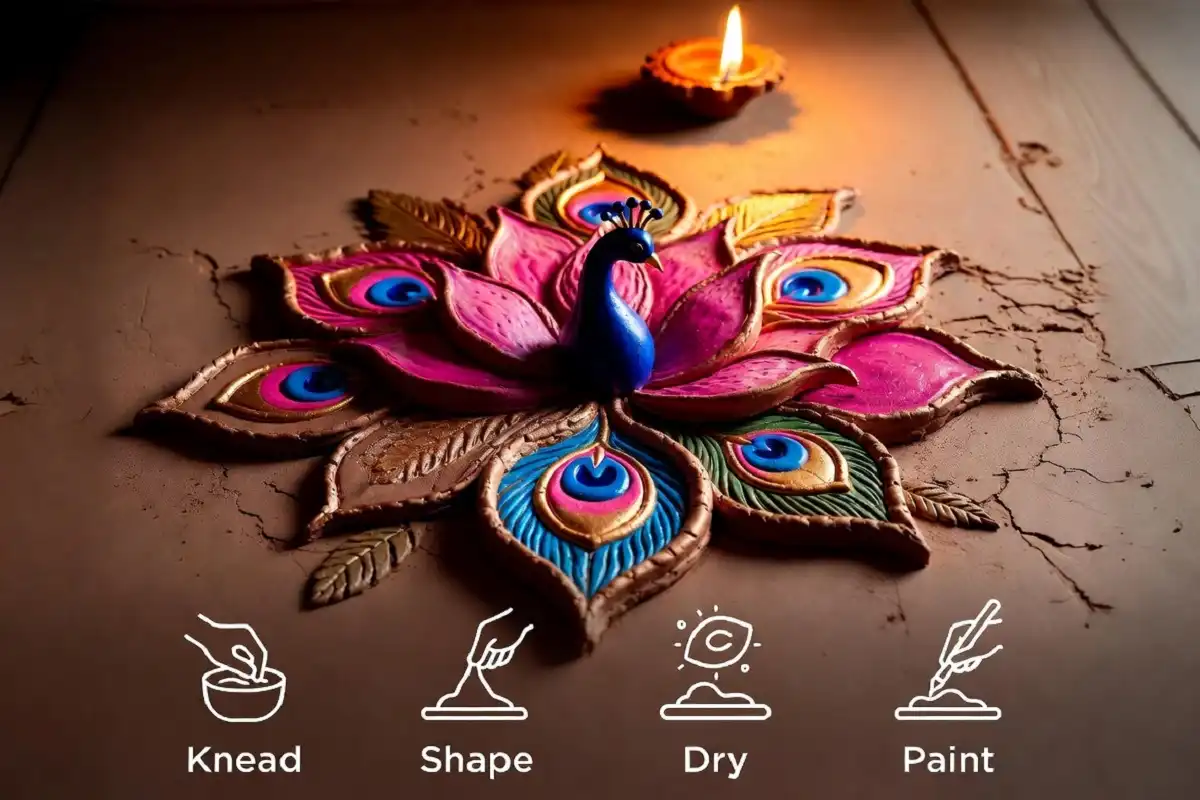
3D Rangoli Using Clay: Complete Step-by-Step Guide
Creating a 3D rangoli using clay is a fun and creative way to give traditional rangoli a beautiful new dimension. Instead of keeping the design flat on the floor, clay allows you to build raised flowers, petals, leaves, diyas, and other decorative elements that make the rangoli look more detailed and eye-catching.
The best part is that you do not need to be an expert artist to try it. With a few basic materials, some patience, and a little creativity, you can create a charming 3D rangoli for Diwali, festivals, pooja rooms, or special occasions. In this complete step-by-step guide, we will walk through the process from preparing the clay and planning the design to shaping, decorating, coloring, and finishing your rangoli.
Follow each step at your own pace and enjoy turning a simple idea into a beautiful handmade creation.
What You Need for 3D Rangoli Using Clay
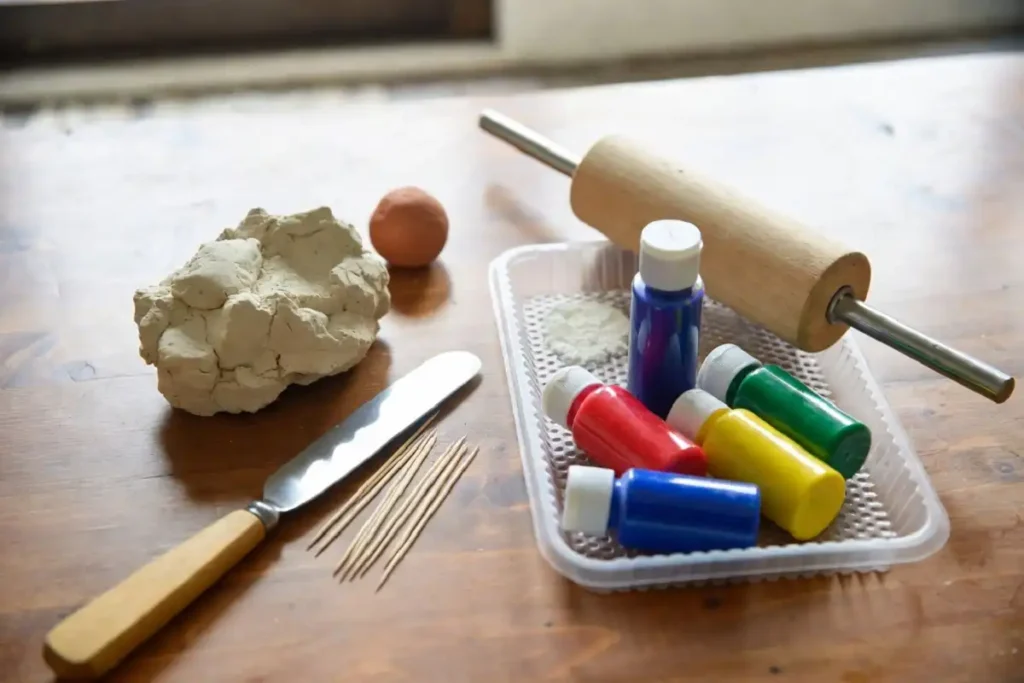
Before you start, gather these items. Each one affects how well your design holds its shape.
Terracotta clay gives the strongest finish for outdoor rangoli. Multani mitti is lighter and easier for beginners, but it needs a longer drying time. I keep both on hand depending on the size of the 3D rangoli using clay design I’m planning.
How to Make 3D Rangoli Using Clay Step by Step
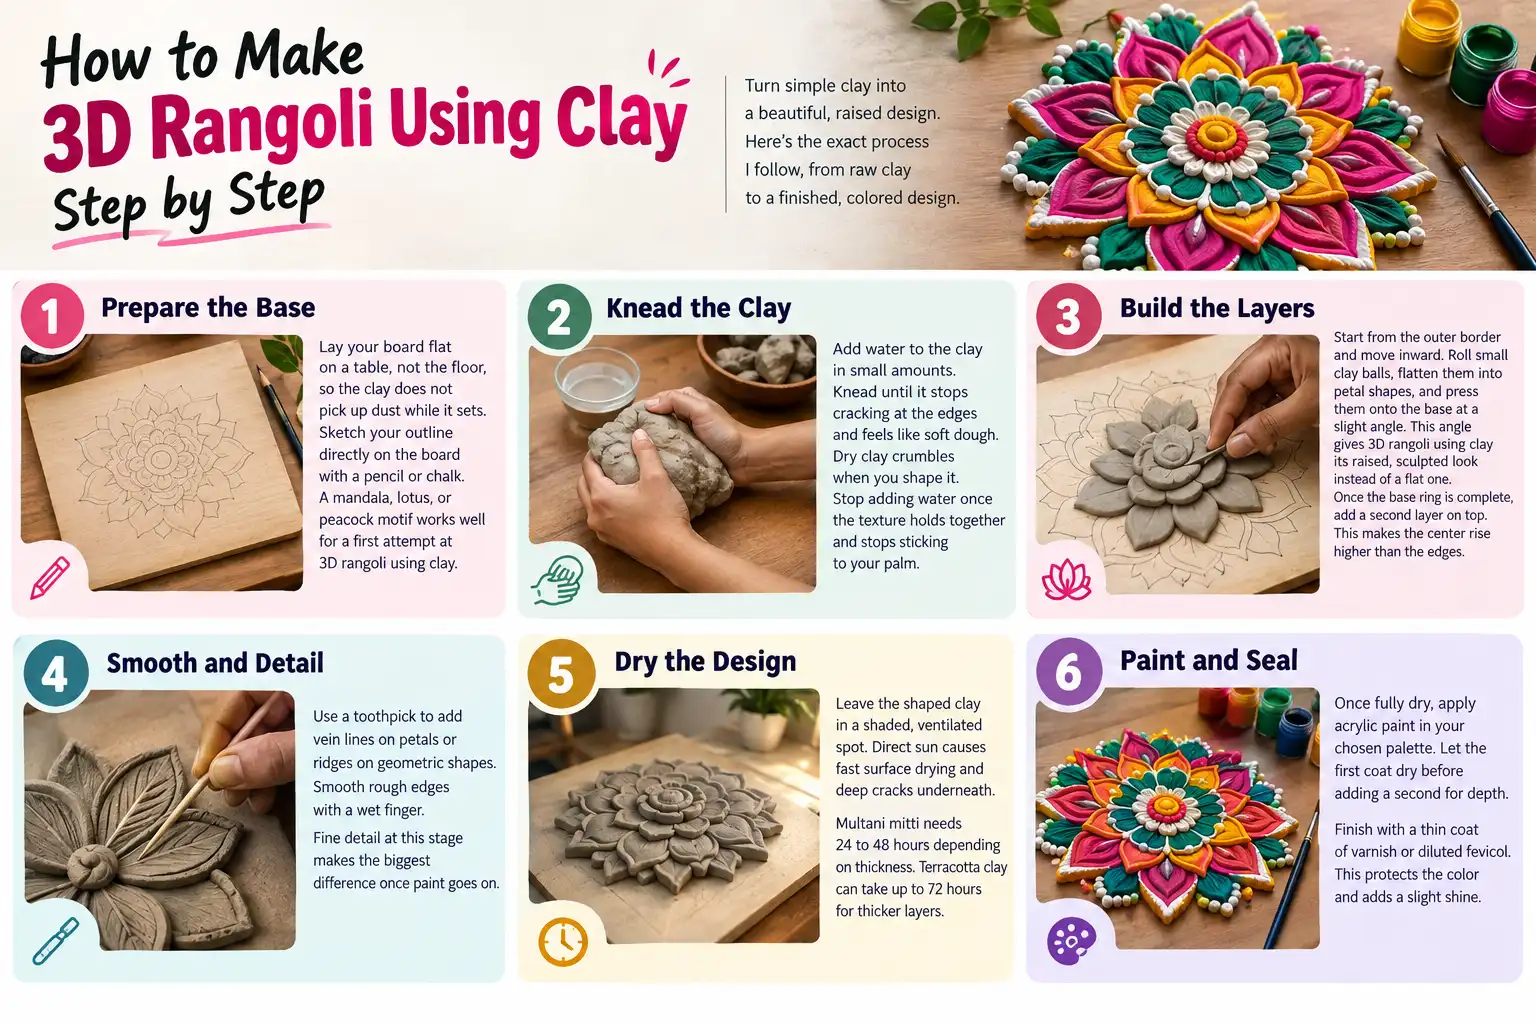
Here is the exact process I follow, from raw clay to a finished, colored design.
-
Prepare the Base
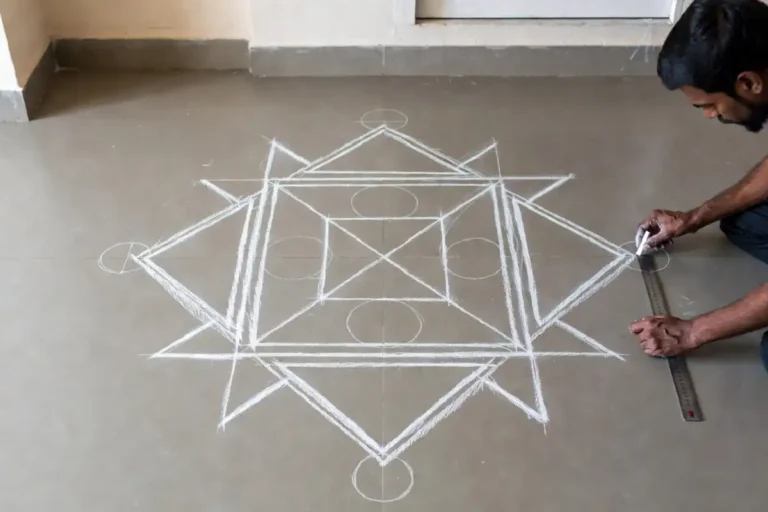
Lay your board flat on a table, not the floor, so the clay does not pick up dust while it sets. Sketch your outline directly on the board with a pencil or chalk. A mandala, lotus, or peacock motif works well for a first attempt at 3D rangoli using clay.
-
Knead the Clay
Add water to the clay in small amounts. Knead until it stops cracking at the edges and feels like soft dough. Dry clay crumbles when you shape it. Stop adding water once the texture holds together and stops sticking to your palm.
-
Build the Layers
Start from the outer border and move inward. Roll small clay balls, flatten them into petal shapes, and press them onto the base at a slight angle. This angle is what gives 3D rangoli using clay its raised, sculpted look instead of a flat one. Once the base ring is complete, add a second layer on top. This makes the center rise higher than the edges.
-
Smooth and Detail
Use a toothpick to add vein lines on petals or ridges on geometric shapes. Smooth rough edges with a wet finger. Fine detail at this stage makes the biggest difference once paint goes on.
-
Dry the Design
Leave the shaped clay in a shaded, ventilated spot. Direct sun causes fast surface drying and deep cracks underneath. Multani mitti needs 24 to 48 hours depending on thickness. Terracotta clay can take up to 72 hours for thicker layers.
-
Paint and Seal
Once fully dry, apply acrylic paint in your chosen palette. Let the first coat dry before adding a second for depth. Finish with a thin coat of varnish or diluted fevicol. This protects the color and adds a slight shine.
Best Clay Types for 3D Rangoli Designs
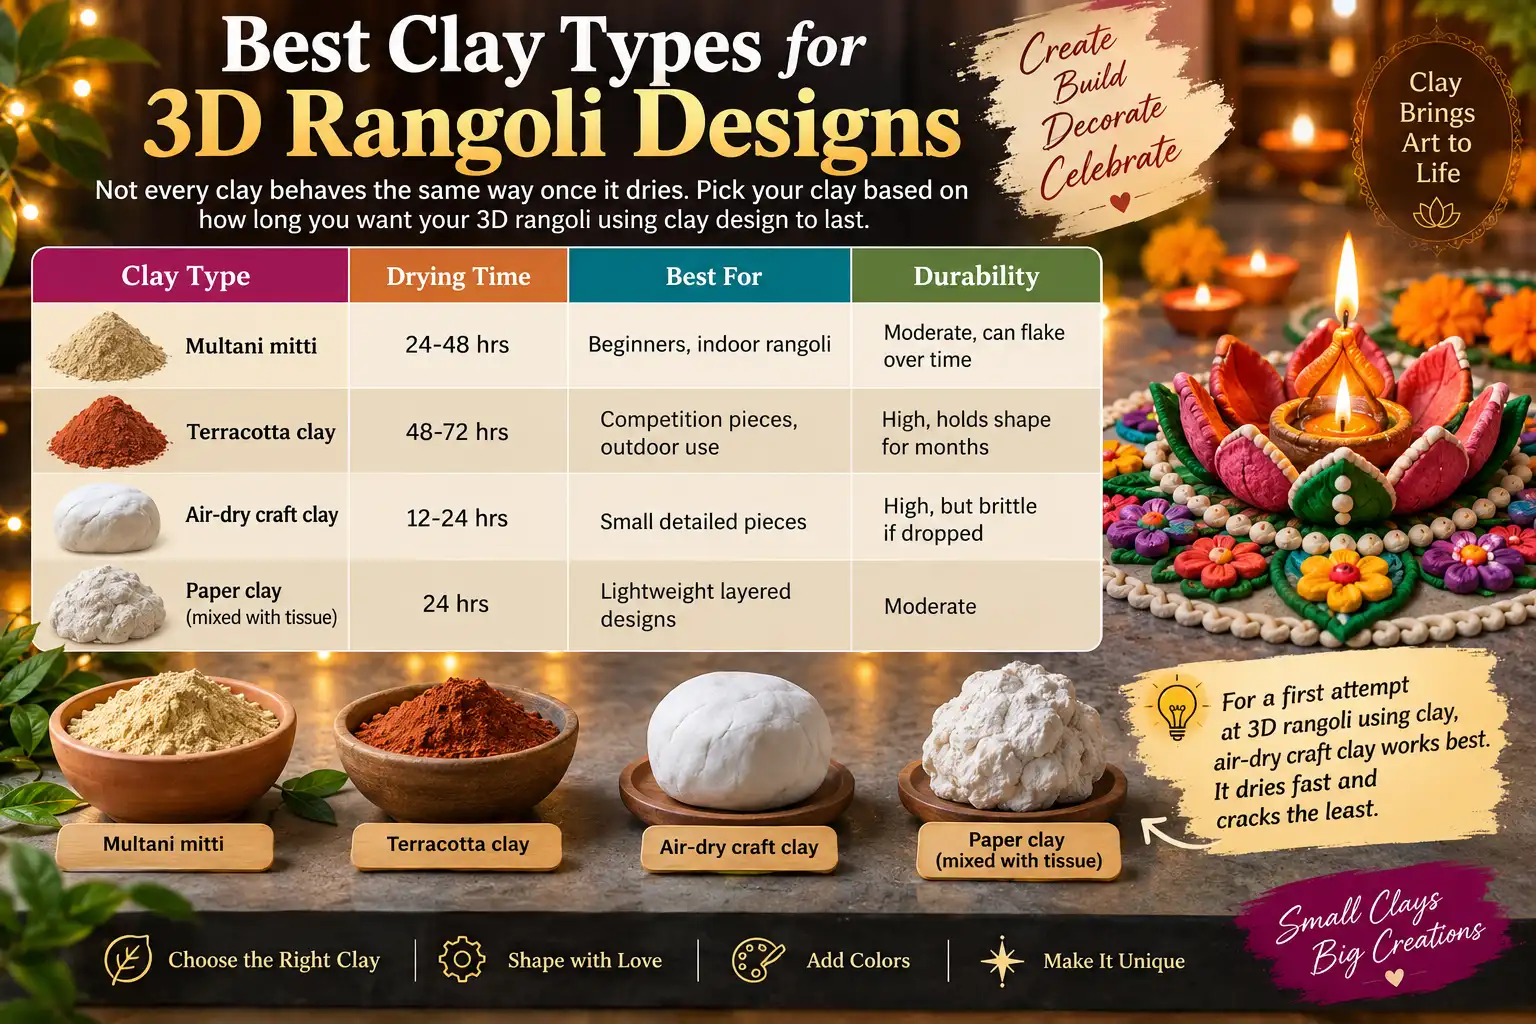
Not every clay behaves the same way once it dries. Pick your clay based on how long you want your 3D rangoli using clay design to last.
Multani Mitti
Terracotta Clay
Air-Dry Craft Clay
Paper Clay (with tissue)
For a first attempt at 3D rangoli using clay, air-dry craft clay works best. It dries fast and cracks the least.
Tips to Keep Your Clay Rangoli From Cracking
Cracking is the most common problem with 3D rangoli using clay, and it almost always comes from drying too fast or building layers too thick.
-
Keep each layer under 1.5 cm thick. Thicker layers dry unevenly and split.
-
Cover the shaped clay loosely with a damp cloth for the first two hours if the room is hot or dry.
-
Add a pinch of maida or fine sand into multani mitti for extra binding strength.
-
Never place the drying board near a fan or direct sunlight.
-
Fill any hairline crack with fresh wet clay before it fully sets, then smooth it flat.
Creative 3D Rangoli Using Clay Design Ideas
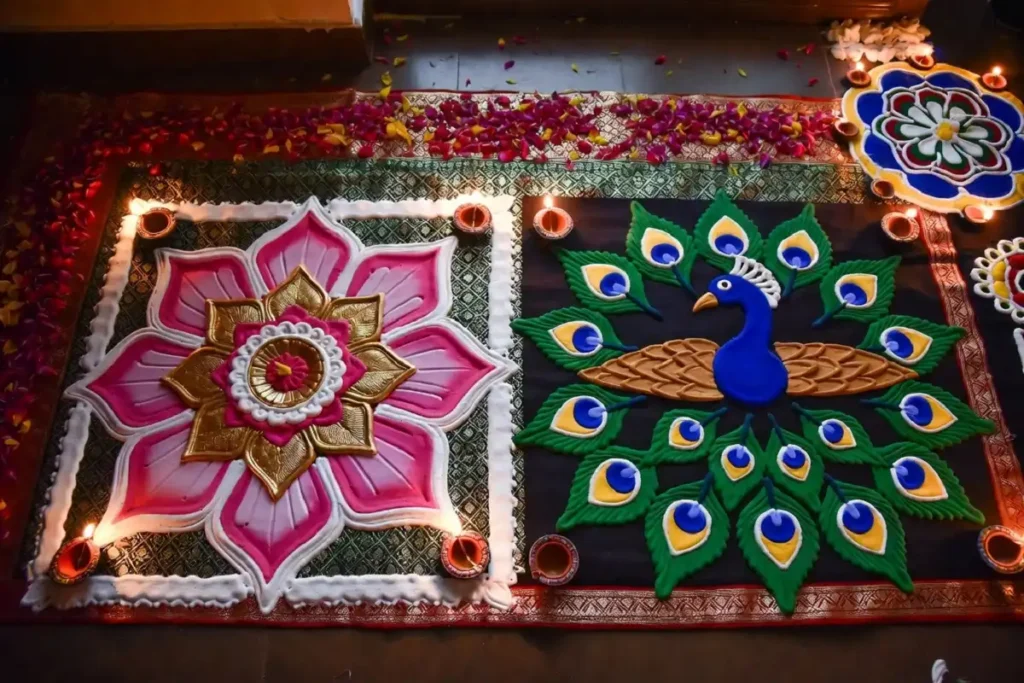
Once you know the base technique, these patterns give the most visual impact for the effort involved.
Five to eight raised petals around a domed center, finished in pink and gold.
A clay peacock body with feather-shaped clay strips fanned outward, colored in blue and green.
Raised diamond or triangle segments arranged in concentric rings — a good pick if you already lean toward geometric patterns in your craft work.
Small clay diya shapes grouped together, each with a raised rim and a painted flame.
New to raised clay shapes? Ease in with a simple beginner-friendly 3D layout before a full mandala. For festival season, look at a few rangoli styles that place well at competitions. Judges score layering and color combinations higher than flat work.
How Long Does a Clay Rangoli Last?
A well-made clay rangoli lasts for months if kept indoors and away from moisture. Terracotta clay pieces sealed with varnish can survive an entire festival season and be stored for reuse next year. Multani mitti pieces are more fragile and work best as one-time festival pieces rather than long-term decor.
How to Make 3D Rangoli Using Clay
3D rangoli using clay takes a little more patience and preparation than a traditional powder rangoli, but the finished design has a beautiful raised and sculpted effect that can last much longer. Start with a simple design, such as a small layered flower, so you can practice shaping and building the clay without making the project too complicated.
Apply the clay in thin, even layers and allow each layer to dry completely before adding another. Once the basic shape is firm, you can carefully paint it with bright colors to bring out the details and make the raised sections stand out.
After you become comfortable with the layering and drying process, try more detailed designs such as peacocks, lotus flowers, leaves, or mandalas. Although the extra drying time requires some planning, the depth, texture, and three-dimensional finish make clay rangoli well worth the effort.
FAQs
Can you make 3D rangoli using clay without a mould?
Yes. Hand-shaping with a knife and toothpick gives more control over petal curves and layering than any mould does. Most experienced rangoli makers skip moulds entirely.
Does clay rangoli need to be soaked in water before storage?
No. Never wet a finished, painted 3D rangoli using clay. Store it in a dry box away from direct sunlight and humidity.
Which clay is safest for kids to use?
Air-dry craft clay is the safest choice. It has no dust, needs no firing, and cleans up easily with water.